
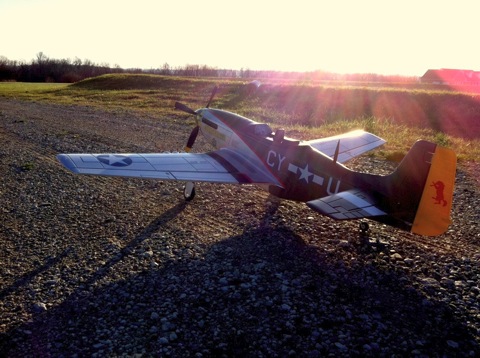
A while back HobbyKing started selling a 1600mm wingspan P-51D Mustang. I always loved the look of the P-51 Mustang and the Gunfighter paint scheme looks amazing. Trouble is there is no way that a 1600mm warbird is ever going to fit into my little Renault Clio. Neither would it fit in my workshop to even build it. So I put it out of my mind.
Time passed and I traveled to the US to stay with Chad, the creator of Flitetest. One day he came home with a bunch of big boxes. Imagine my surprise when one of the boxes contained a plane that I’ve been coveting for a long while. My face lit up and Chad seemed to have noticed it, as he asked me if I wanted to build the Mustang. -YEESSS!! I calmly responded. -And I’m going to put FPV on it!
Build time!

Opening the box

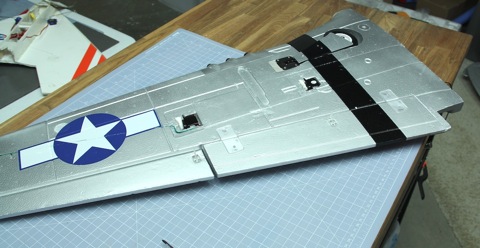
Everything in the box laid out. It’s a huge piece of foam awesomeness.

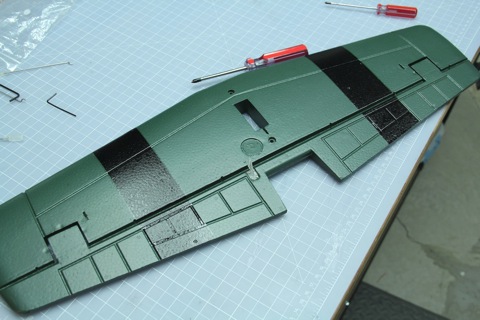
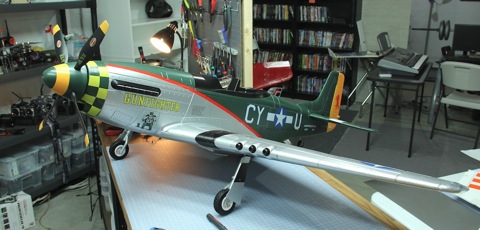
Paint job looks really nice.

Mounting servo horns.
Horns mounted on both the aileron and flaps.

Rudder horns.

Push-Pull system for the tail.
Elevator horn mounted.

One cool thing about this plane is that you don’t have to glue anything. Everything is mounted with screws.

Vertical stabilizer in place.
Screwed in place from the bottom.
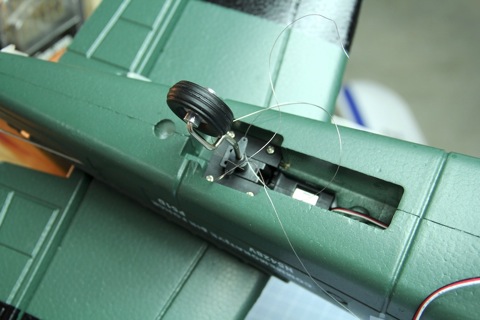
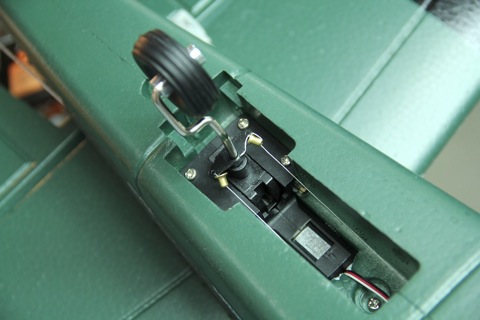
The retractable steerable tail wheel need it’s pull-pull wires installed.

Wires attached to the rudder servo.
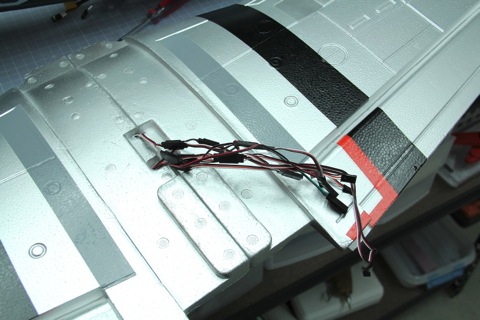
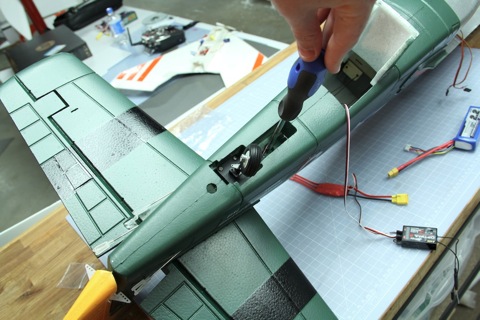
Wings put together. Lots of cables. 2 aileron servos, 2 flap servos, 2 navigation lights and 2 retracts.

Wing mounted on the plane.

The motor was already in place. However there was some slack in the firewall. Some thin CA took care of it though.
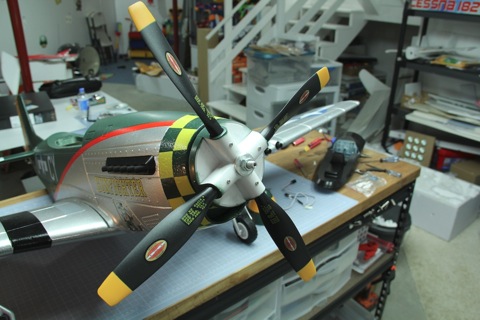
Huge 16” 4 bladed prop
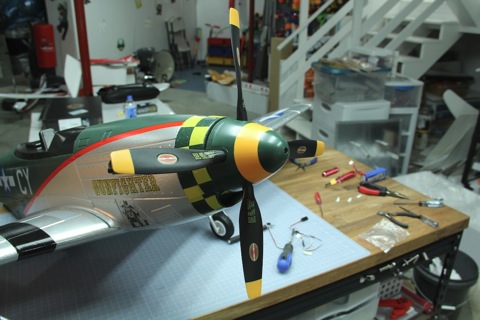
With a nice spinner. Take care to balance both prop and spinner.
Ready for the test flight.

Up up and away!
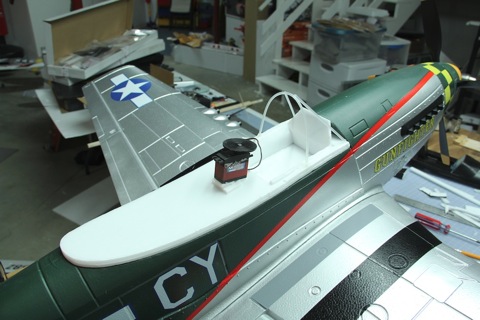
FPV cockpit time!

I cut around the original cockpit to get the right shape and size for my FPV cockpit.

Two layers of 3mm depron.

Test fitted.

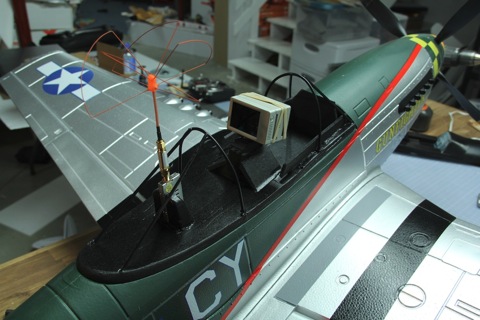
Front cage made from pushrod tubes

cut out and lowered the front part of the cockpit.
Pan servo in place.

Back cage, video transmitter holder, servo support and sides in the front added.
Painted.

Printed out an original P51 dash and cut it to size.

May I introduce the pilot. Mr Ken Fashionitas

I only needed the arms and empty pants, so the rest had to go.

Painted the pants and selves green. The pants are stuffed with foam to save weight.
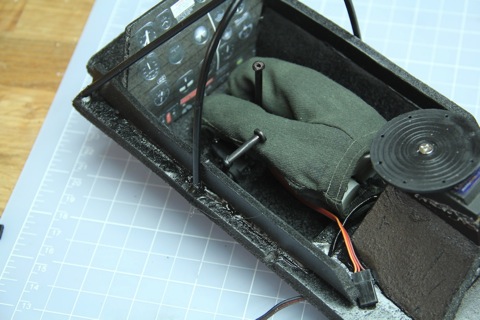
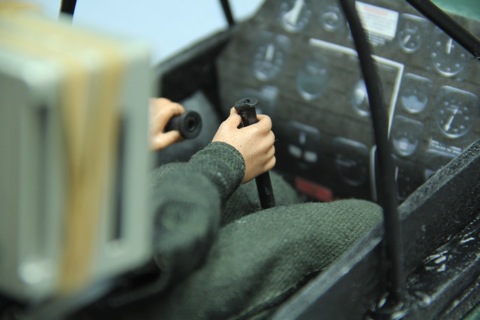
Joystick and throttle lever. Note the servo on the bottom connected to the lever.

Cockpit ready!

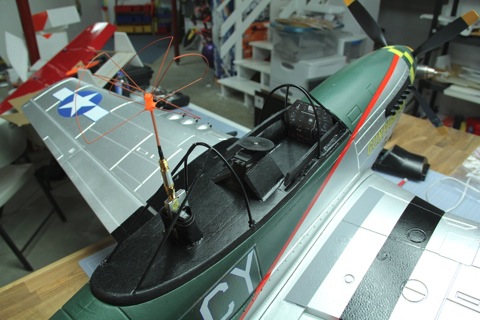
All strapped in and ready to go

View from the front
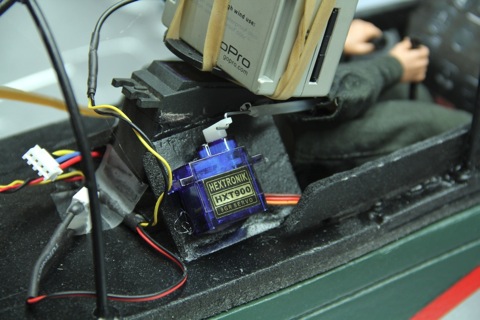
Servo hooked up in parallel with the elevator servo. Makes the arm pull back and push forward on the joystick.

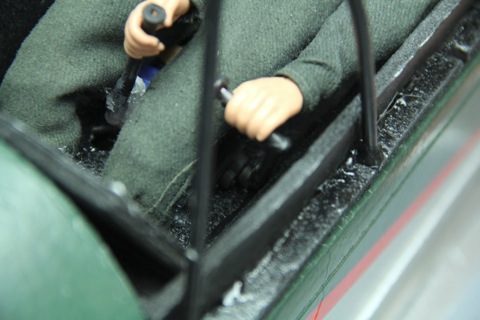
Underneath the legs is a servo connected straight to the joystick. Paralleled with the aileron channel to make the joystick move left and right.
Another view of the throttle lever servo
Ready for rock and roll!
Here is the video:
A tip for anyone out there that thinks about building their own cockpit; secure it with more than just magnets.
