I’m going to the Hobbyking UK fly-in, anyone else coming?


Update: Thank you all for a great event! And even bigger thank you to everyone that drove out just to meet me. Thank you.

I had a great time talking to you guys and flying your stuff. The UK is a fantastic country. People are very friendly. However the roads are terrifying in the countryside. Feels like your in a rally with all the tall hedges and only room for 1 car.

However I did survive and I got to ride in the YAK-52, which was absolutely amazing. Thanks to Nigel the pilot that took me up and let me pilot the plane for a couple of minutes before doing all the crazy aerobatics. Good thing I didn’t eat before.

Thanks to Hobbyking for a great event with good entertainment and free food! Hope to go again next year.


I’ll be going to the Hobbyking Fly-in on the 6th of September. I’ll be bringing the new Tricopter V3. Anyone that wants to try it is very welcome to fly it. Anyone here going?

festival_of_flight_banner

More info on the event can be found here

The Tricopter V3! Coming soon…

It’s finally here! Well almost. The Tricopter V3 is coming very soon.

Designed to be as light as possible without compromising strength or stiffness the Tricopter V3 only weighs 205 grams including arms, tilt mechanism, motor mounts, screws, landing gear and vibration dampened camera mount! Yet it’s stiffer and more precise than previous versions. The kit will be available for sale here on the site shortly. But as usual all plans and files will be available for free so you can make the parts yourself.

RCExplorer Tricopter V3.0

10x10mm carbon fiber arm

Tired of the how easily extruded carbon fiber booms crack and loose their torsion strength, I set out to find a better alternative. Many, many hours of searching I found a factory that could make 10x10mm carbon fiber square tubes to the specifications I was looking for. These woven carbon fiber square tube arms are incredible stiff, strong and lightweight. The torsion (twisting) strength is unparalleled which results in a crisp and precise flying experience, even with high power setups. Unlike extruded carbon fiber arms, these arm can take abuse without cracking. They are also 33-40% lighter, have more room inside to run wires and are stiffer in all aspects. The kit will include 3 arms with predrilled 3mm holes, so you don’t have to drill it yourself. 3D printed tricopter tail mechanism 2

The new design features 3D printed parts, as they are can be made lighter, have more complex shapes and are cheaper to make than injection moulded parts. They are also much easier to share. If you don’t want to buy it, simply download the STL and print it yourself.

RCExplorer tricopter V3.0

The Tricopter V3 is designed to be easy to build and repair. The landing gear and tilt mechanism is held on using zip-ties, just like in previous versions. These zip-ties acts as “mechanical fuses”, absorbing energy and protecting important pieces in a crash.RCExplorer Tricopter V3.0

Included in the kit is also a vibration dampening camera/battery tray. The tray is suspended underneath the main body using 4 1.5mm thick curved shaped pieces of piano wire.

tricopter wire dampeners

The wire comes pre-bent (which saves a ton of time and frustration). This vibration dampening system was created specifically for the large flight envelope of the tricopter. The vibrations created by the motors and props spinning only has one way of reaching the camera, and that is down through the thin curved shaped wires. Since the camera plate is stiff, the whole camera tray has to vibrate for the camera to vibrate. With the heavy battery and camera mounted on the tray, a lot of energy is needed to get it moving. The thin and stiff piano wire has a high resonance frequency and low frequency vibrations will have a hard time to travel down to the camera plate. The small  amount of high frequency vibrations that does make it down has so little energy that they are easily absorbed by the heavy battery and camera. Resulting in buttery smooth footage. The main benefit of this system compared to many soft vibration dampening solutions, is that it doesn’t move or wiggle during fast forward flight or quick change of direction. This system you can whip around like a maniac and still get perfect video.

Folding tricopter

Just like the previous tricopter versions, this design is also foldable. This makes transportation easier, but it also help prevent damage in a crash. The arms simply fold back and absorb some of the energy. The arms are held in place by friction, which means that you don’t have to use a tool to fold or unfold, simply grab the arm and push or pull it.

3D printed tricopter tilt mechanism

The new all 3D printed tilt mechanism for tricopters. Designed to be as simple, precise, light, durable and with as little air resistance as possible. It has over 130° of throw yet only weighs  8.7 grams. Printed in black ABS plastic for maximum durability. The tilt mechanism will be available in the tricopter kit, as well as sold separately. The STL file will be available to download for free so that you can print your own at home.

RCExplorer Tricopter V3.0

A build video with step by step instructions along with a detailed build log is also in the making and will be posted around the same time as the kit. STL and DXF files along with list of recommended electronics will aslo be posted at that time.

But what about the price?

The kit containing:

  • 3 pre-drilled woven carbon fiber arms
  • Tricopter frame
  • Vibration dampening Camera/battery tray
  • Tilt mechanism
  • Landing gear
  • FPV transmitter holder
  • Motor mounts
  • GoPro velcro strap
  • Battery strap
  • Fron spacer
  • Zip-ties
  • Screws

Will be:

$95!

So when will it be available?

Early to mid September, if everything goes to plan.

Thank you very much for your patience and support.

Tricopter Workshop

Hi!

Back when David returned from the USA, I built my first DW Tricopter. The result looked a bit like in the picture below.

IMG_3734


Of course the thing with the Ixus didn’t work at all due to the camera not coping well with vibration, but we know the possible enhancements.

http://www.youtube.com/watch?v=lYccXNaGWvk

Over the course of the next month, loads of friends of mine had their first experience flying this tricopter. It was a bit like casting a spell, people wanted their own, some never had flown anything RC related before, some others went to the basement and got out their old kit, in the end, five people took it totally serious and we set up a “workshop” to build five DW tricopters (tricopterouses? ;-)).

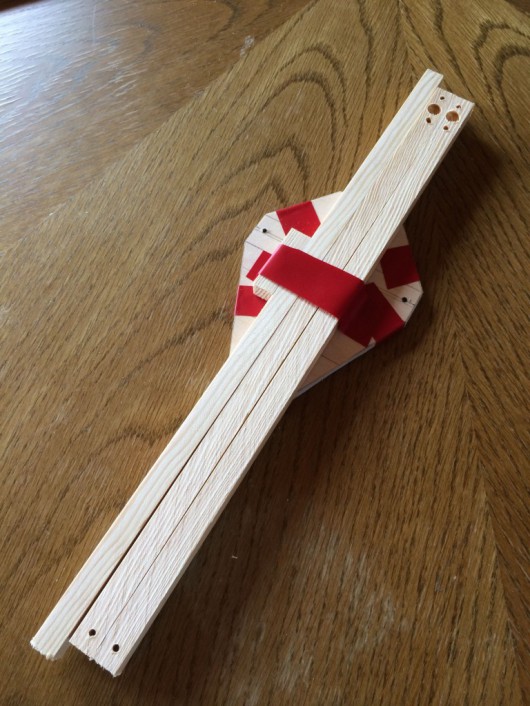
The happening will be in the last week of August and I will post some pictures of the results. Today was “prep day”, checking that everything is available in required quantities and preparing the wood.

IMG_4095 IMG_4102

Some of the tricopters will have special paint jobs, this one was inspired by “Tigerente”. The rest will be painted on the day before the workshop.

IMG_4103

You get a lot of bang for the buck with these copters, a full set with everything that stays in the air including the lipo costs around 145 EUR. (Add charger, add transmitter) Loads cheaper than a Phantom, fully self-made, easy to repair, and much more fun in the long run 🙂

Thank you David! Your design still rocks!

Spec/parts list for this incarnation of the DW tricopter:

3x EMax MT2213 motor with prop
3x Simon K 20A ESC
1x Plywood 4mm and 2mm, screws 16mm and 25mm, booms 12mm, 4mm carbon rod
1x Tilt mechanism
1x Digital metal gear servo
1x Receiver Lemon
1x Flip-Board 1.x Multiwii (funny thing, if you turn the receiver around, you can solder it directly to the flip board, nice and tidy)
Cable, many zipties, servotape
1x Lipo 3S 2200er


Kind regards, Blomdoft