
Ever since my friends Christian, Susan and Peder took me to my very first air show I have been in love jet airplanes. They sound so amazing. I clearly remember the first time I saw a JAS-39 Gripen taking off with full afterburner. It sounded like the rumble of thunder, so loud that I could feel it in my lungs. The tongue of fire licking the runway is a sight I will never forget.
Ever since I’ve wanted to have a rc plane like that. But the price, safety issues and space needed to operate a turbine engine is not something that appealed to me.
So I tried Electric Ducted Fan models, which can have a pretty cool sound if setup properly, but they don’t make that noise nor can they shoot flames… Or can they?
This is my journey to discover if I could add an afterburner to an EDF model.

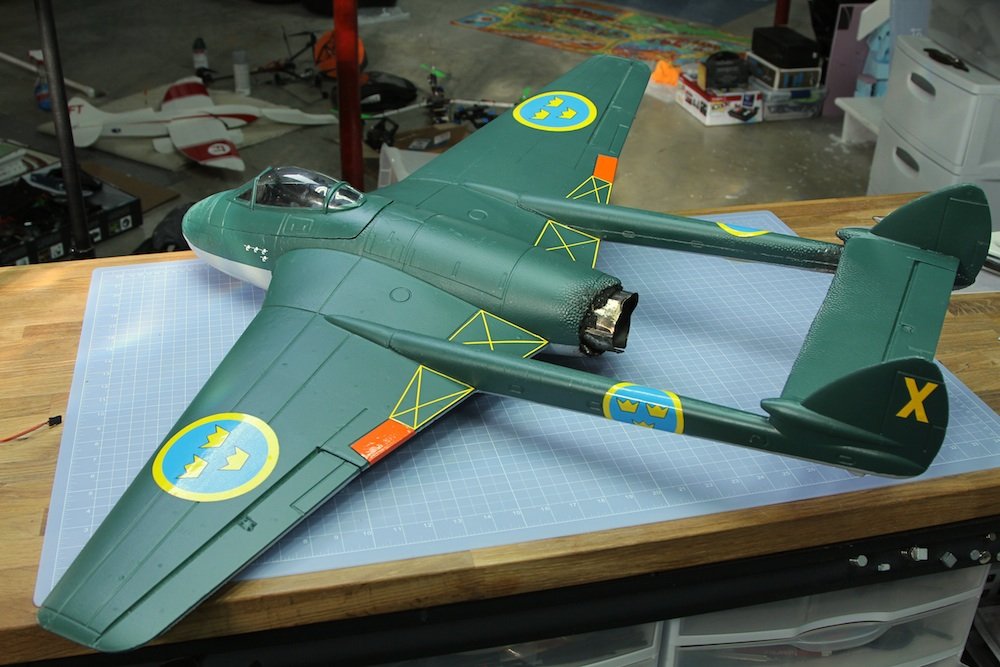
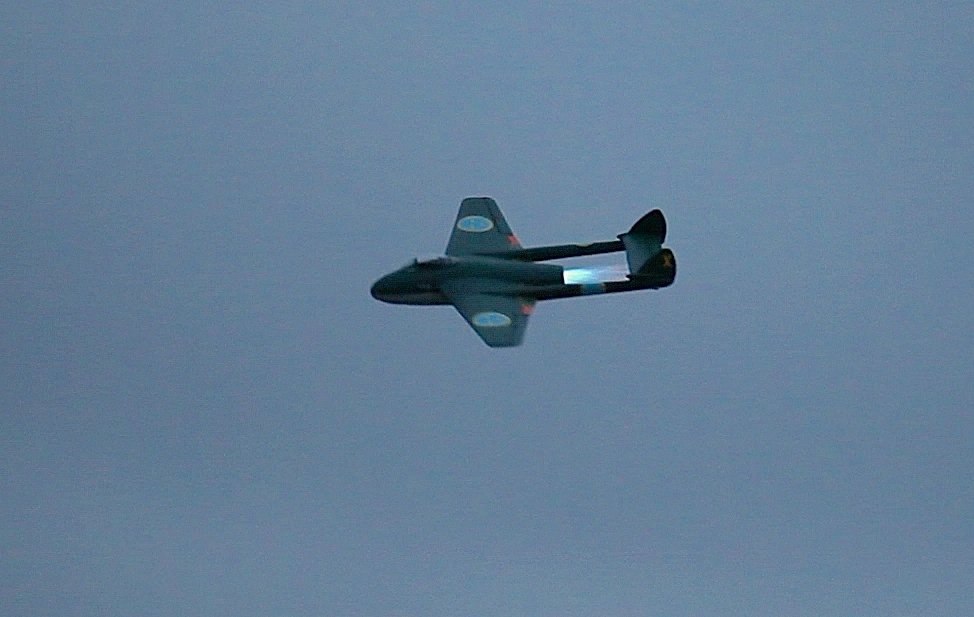
This is the plane I chose. A Durafly De Havilland DH.100 Vampire. Maybe not the most obvious choice for an afterburner. But, there was an experiment to add an afterburner/reheat to a vampire back in the late 40’s.

Unfortunately it never go to take off as the resonance created by firing the afterburner made the booms and fuselage shake so bad that it was deemed too dangerous to fly. I love the vampire and I couldn’t think of a plane more worthy of having a working afterburner.
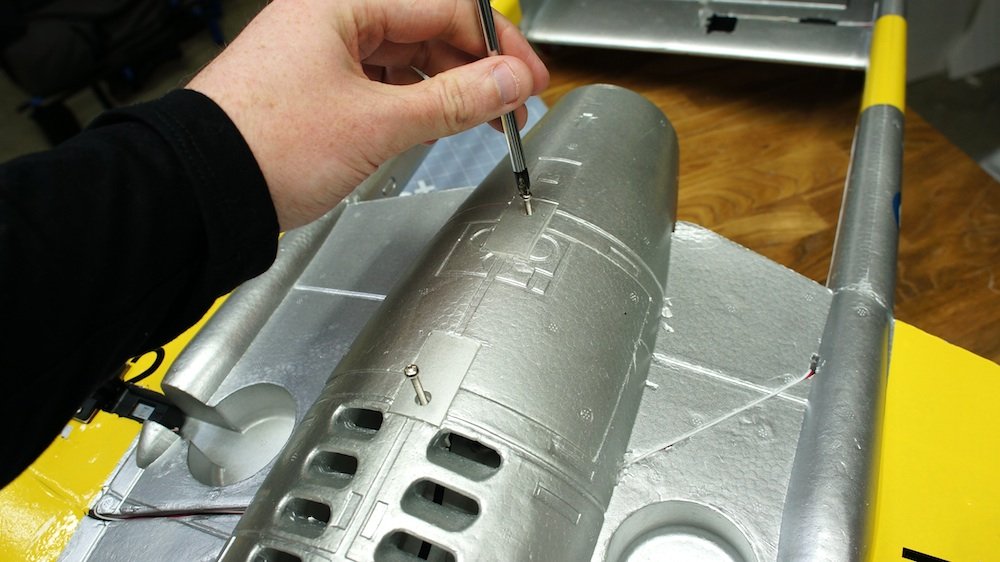
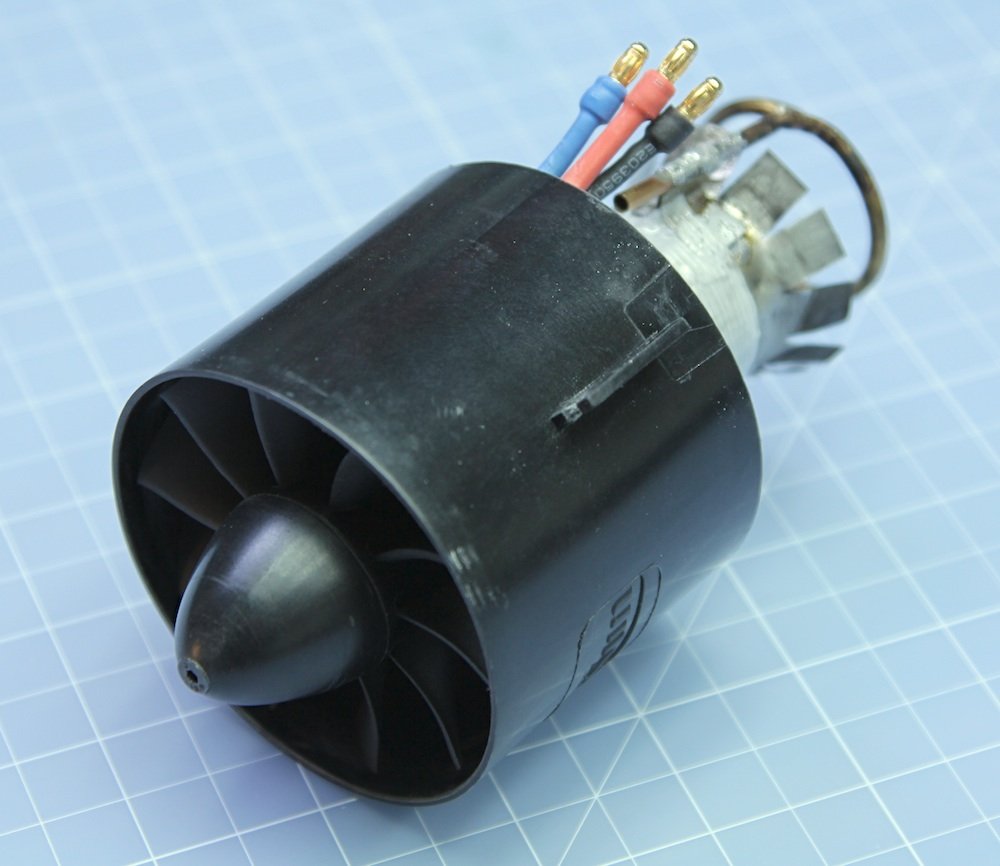
Time to remove and inspect the EDF unit.

The stock EDF unit out in the wild. Nothing wrong with it and it seemed quite straight forward to add the flame holder and e-flux ring to the back of it.

To make the flame holder I used 30 gauge (0.3mm) thick galvanized steel I got from Lows.

Wrapped in a circle.

Fit’s perfectly on the back of the motor mount.
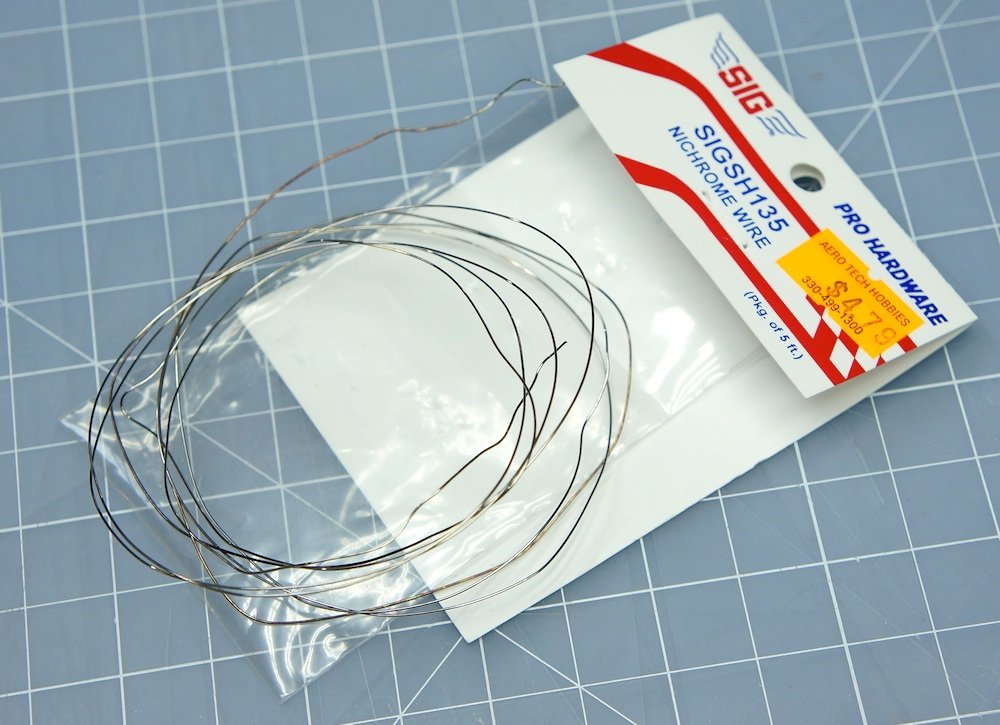
I chose to use butane for fuel as it’s easy to get, has a great burn but yet is relatively safe. Igniting it is the though bit though. I chose to try a hotwire coil first.

Nicrome wire is almost impossible to solder. So in order to get a good solid connection between the nicrome wire and the the power wires I did this little trick.
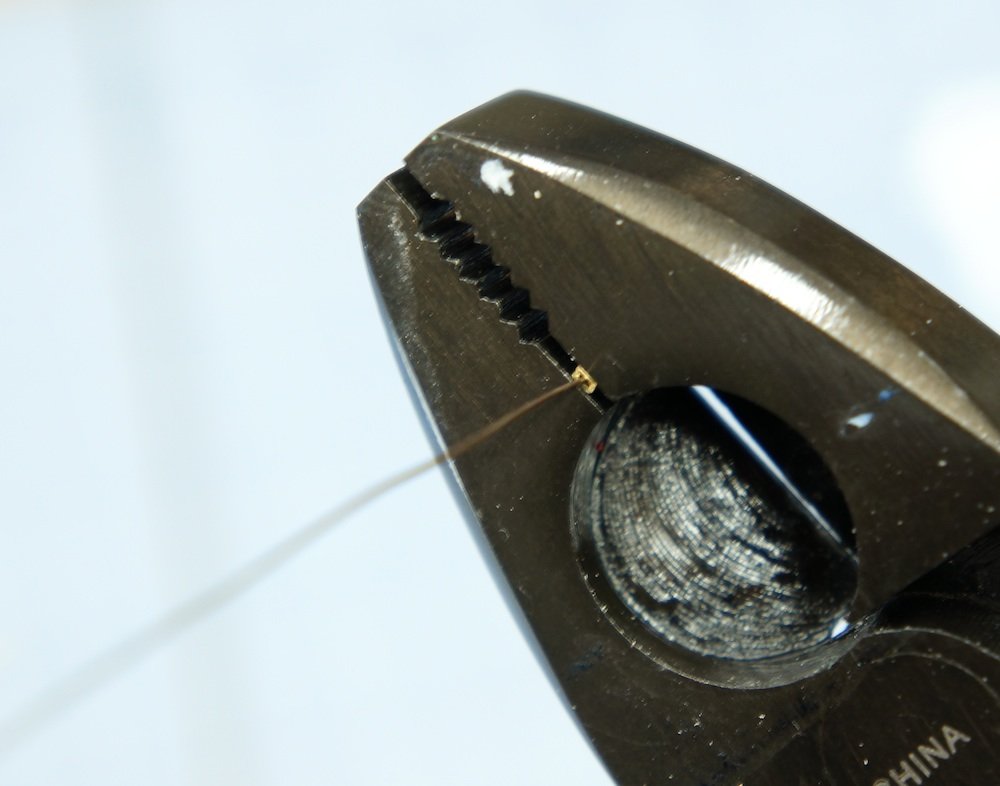
A small piece of brass tubing and a big pair of pliers and you can crimp on a end that is easy to solder to.
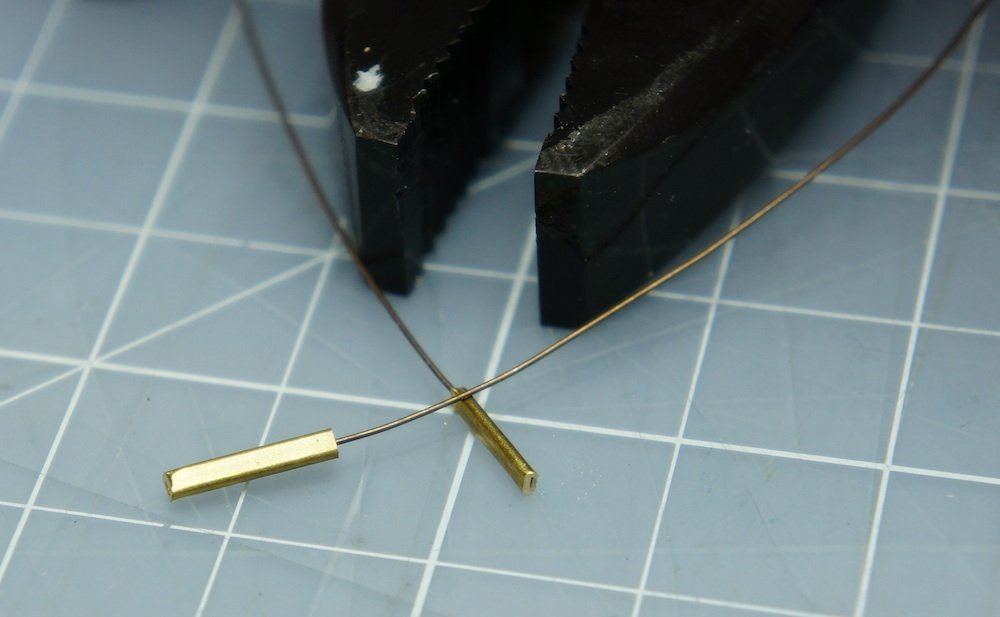
Works great.
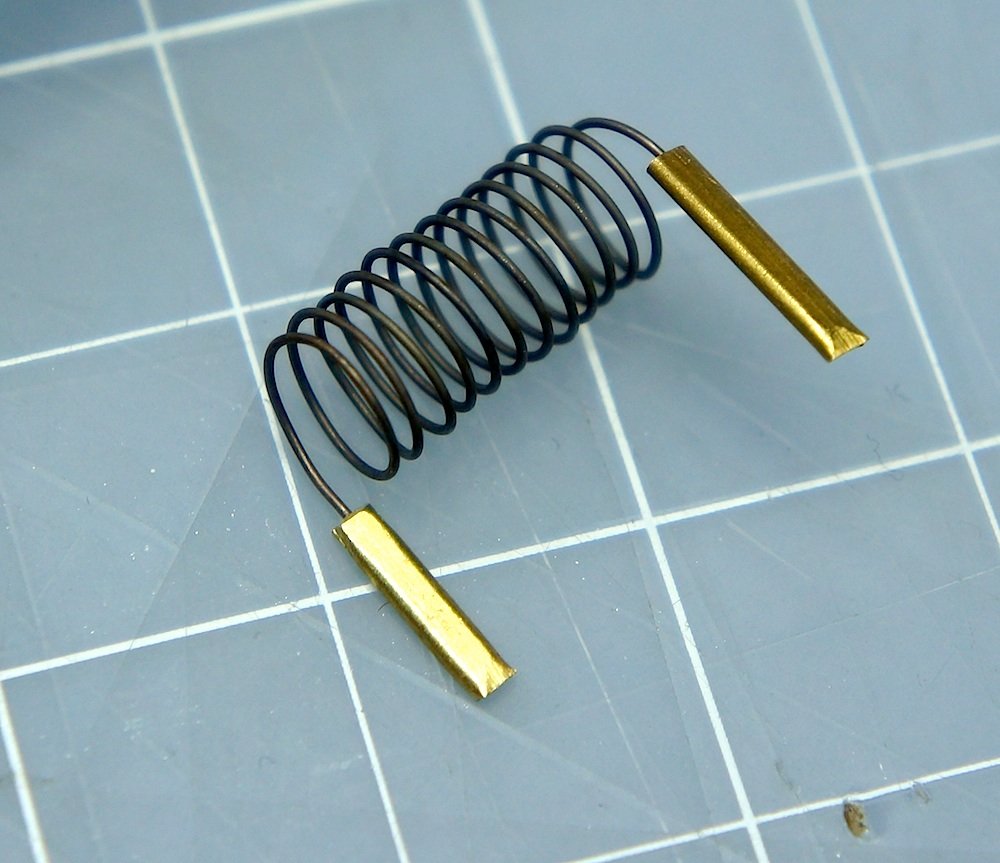
Coiled the hotwire around a round tube.

Installed in the flame holder tube.

Heated up. It’s controlled by a RC swtich hooked straight to the main 4S lipo.

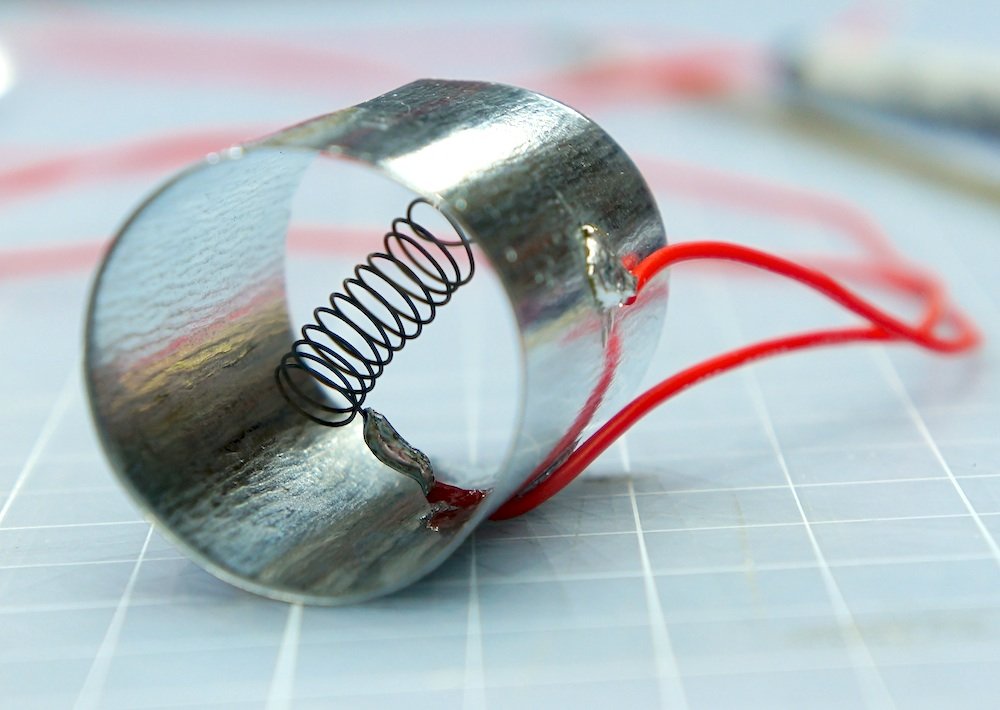
Time to make the e-flux ring.

Making some holes in the e-flux ring.

10 holes in total. 5 on the front and 5 on the back.
IT WORKS! Kind of… I had some real trouble getting the hotwire to work properly. When the EDF is running it cools the hotwire down so much that it’s not hot enough to ignite the butane. But if the hotwire is shortened, which means it gets hotter, it can ignite the fuel but immediately burns up after ignition due to the massive temperature difference inside of the flame holder tube. I’ve seen others use the hotwire method on smaller EDF units with success but I came to the conclusion after a lot of experimentation that it simply doesn’t work on a 70mm fan. So I tried another method…
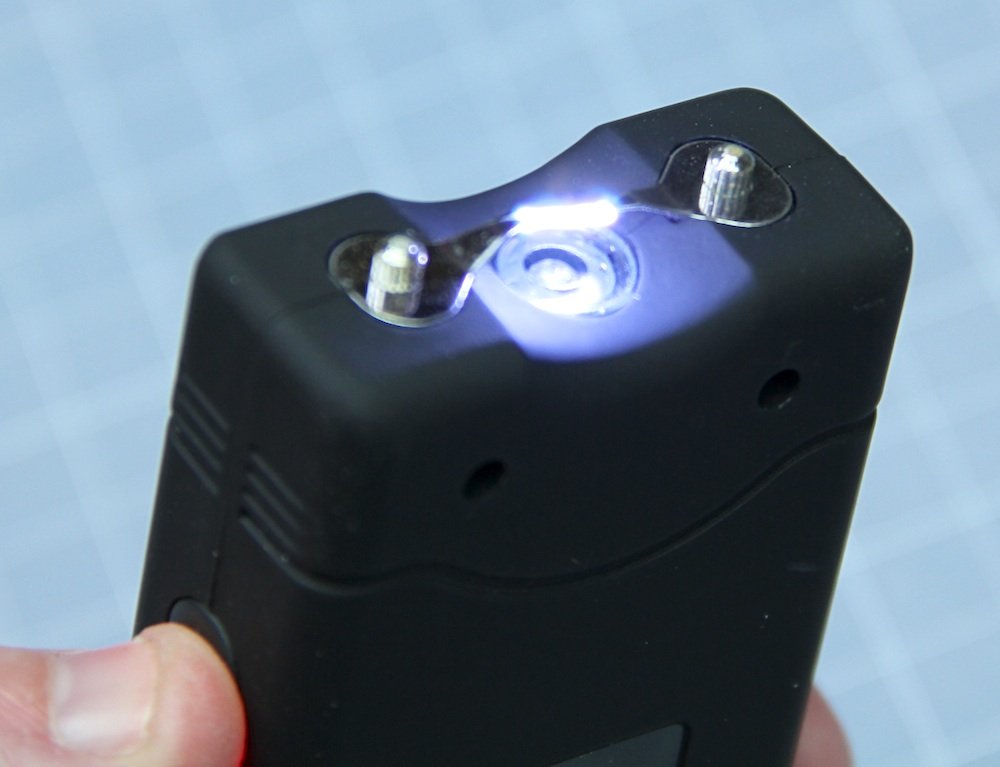
A Stungun!
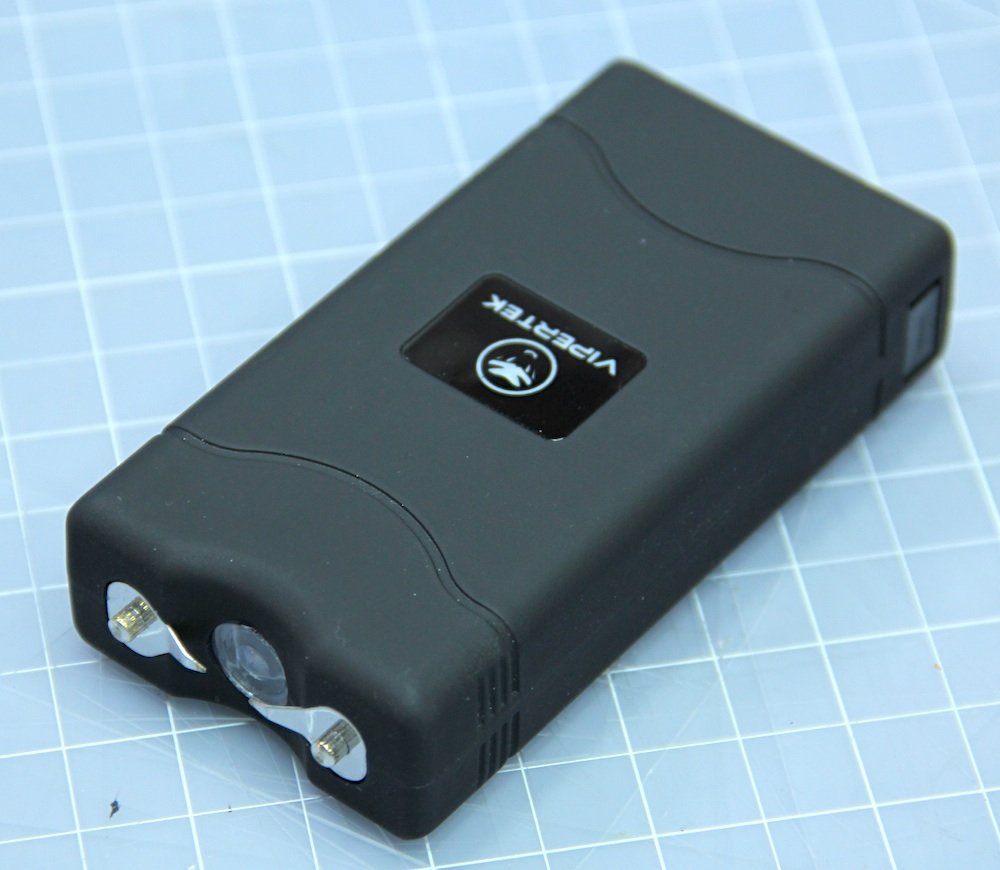
I got three of these of ebay for 25 bucks!

The inside of the stungun.

It works by simply stepping up the voltage from a 4s NiCd battery, which happens to be 5V. As soon as the flyback generator gets the 5V it starts outputting the ~30,000V
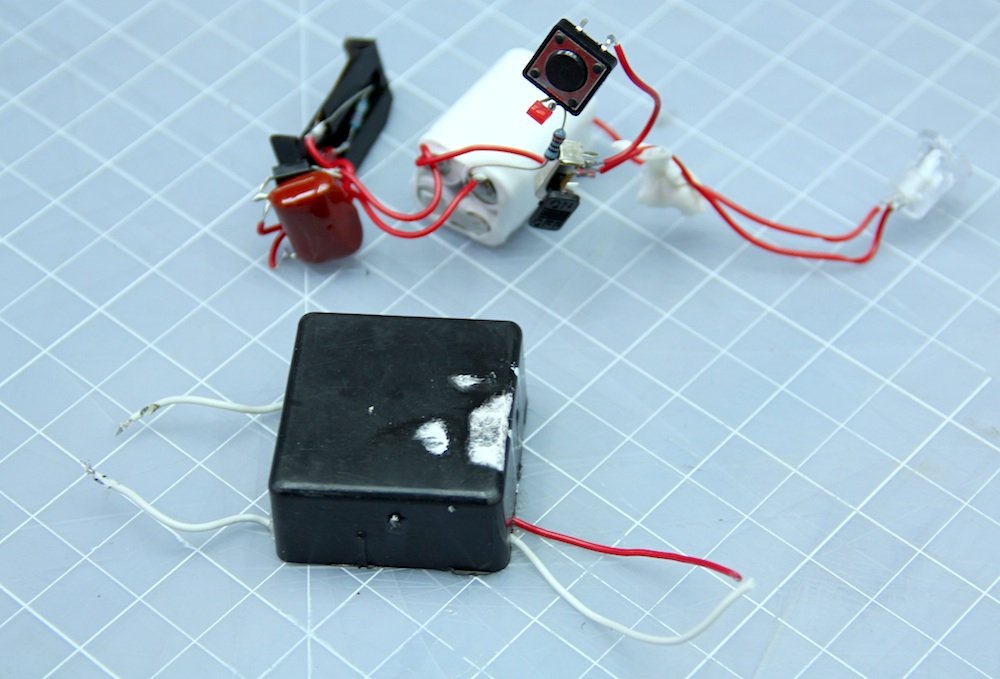
The only I needed. The flyback generator.
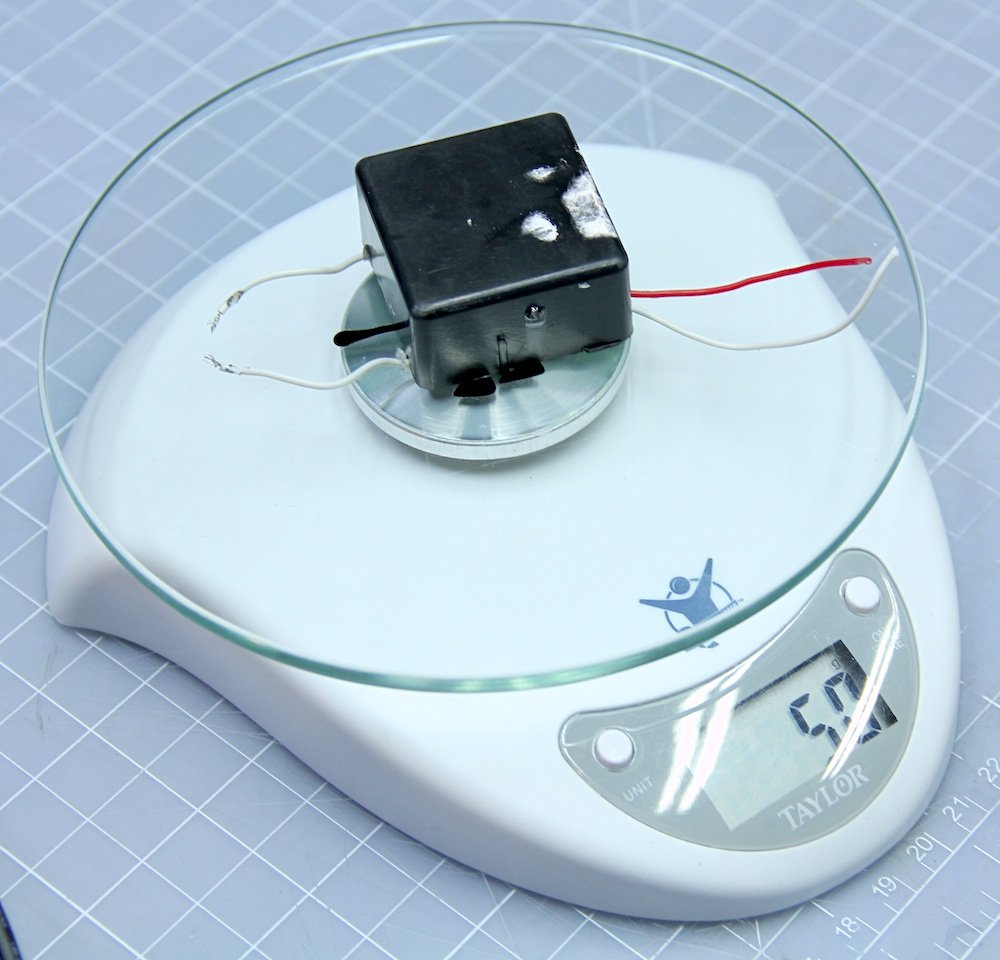
It weighs in at 50 grams, but it’s going to be worth it.
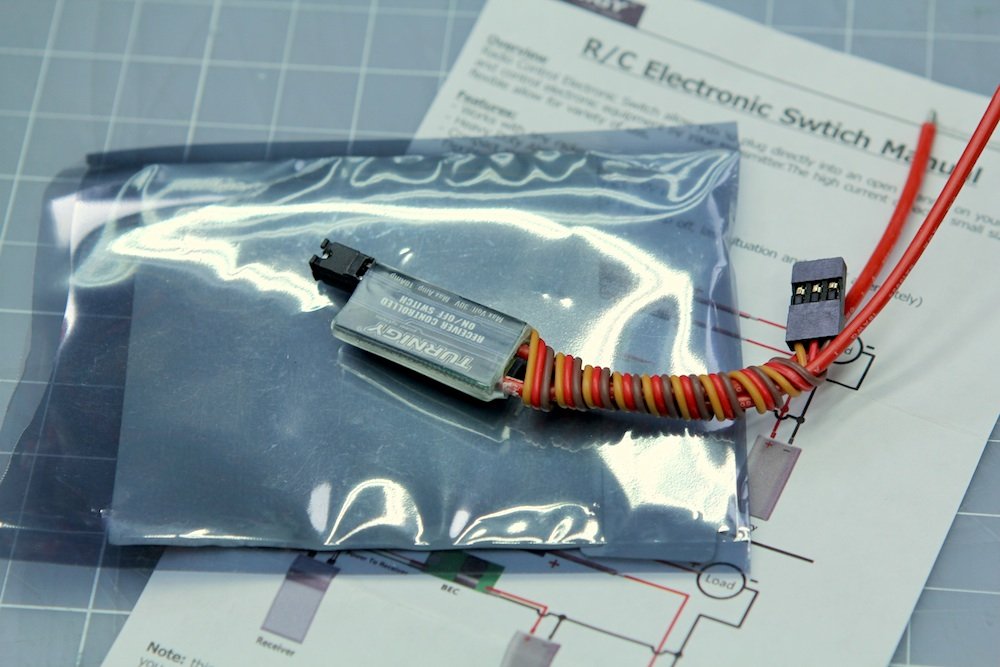
I controlled it using a simple RC switch.

As soon as the RC channel the switch is hooked up to goes from low to high it opens up the output. In this case it just lets 5V through to the flyback generator from the stungun.

Test fitted in the plane.
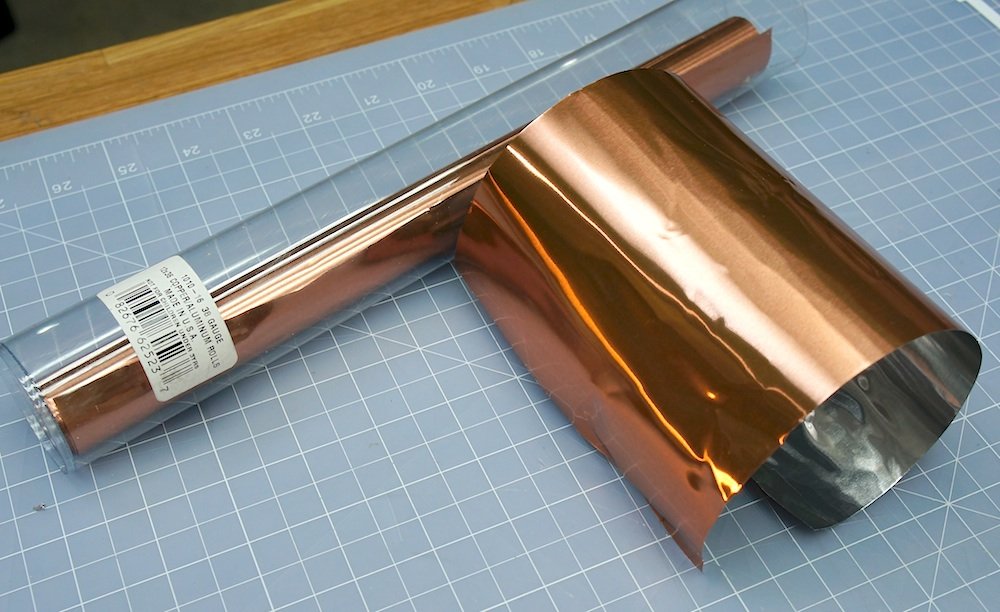
Since there is going to be flames shooting out the tail pipe I though it would be a good idea to add a layer of protection in form of a aluminium foil. This particular one is copper colored on one side, which I think look pretty cool.

Marking where it need to be cut.

Installed in the exhaust tube.

The aluminium foil also doubles as a conductor for the stungun.
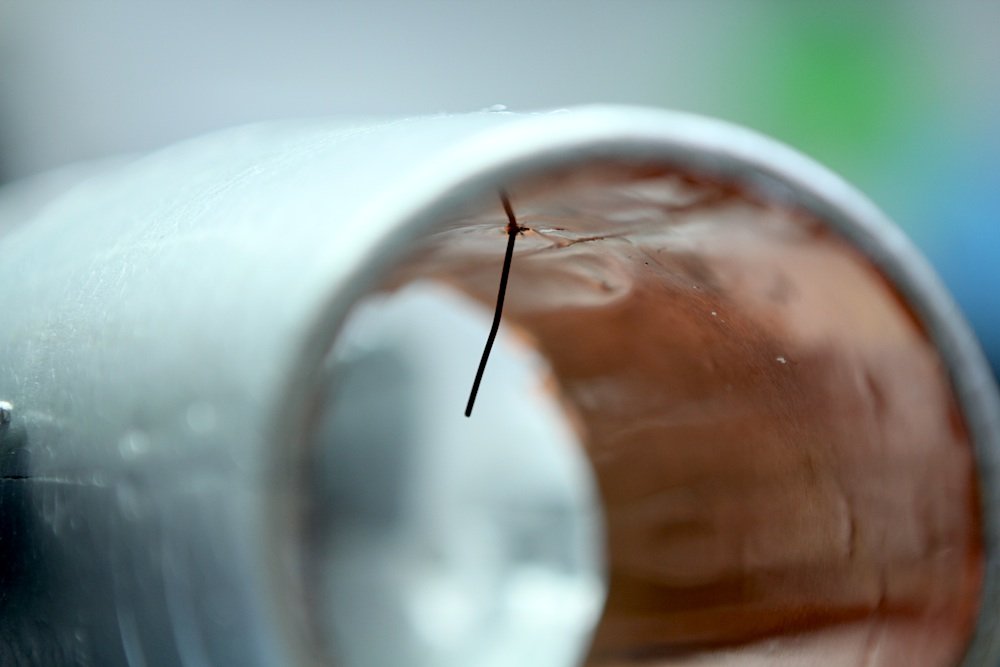
I used a 0.8mm MIG soldering wire to get the spark to jump in the low pressure zone of the flame holder.

Stungun glued in place using hotglue.

The improved flame holder. The blades help create the low pressure zone needed. Also added a metal “lid” to protect the motor from heat and sot.

Flame holder installed on the motor. The flame holder and e-flux ring are connected to the other output lead of the stungun.

Complete EDF unit installed in the fuselage.

ERMAHGERD! SPERKS!

The tail pile is connected to one output of the stungun and the e-flux ring to the other.

To be able to dispense the butane in a easy and reliable manner, I made this little rig from some scrap wood.

The servo simply pushes the whole butane tube forward.

To save some weight and make space for the extra stuff I need to fit in there, I removed the landing gear.

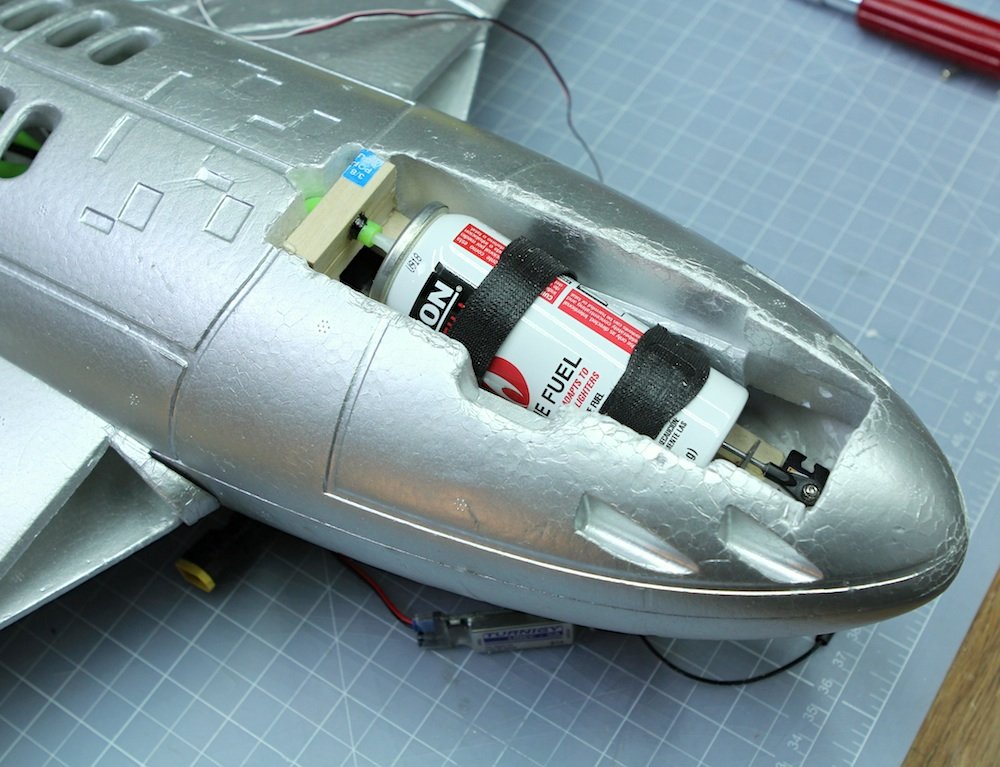
Butane dispenser installed. Note the angle it’s at. It need to be downwards to dispense the fuel fast enough.

Main landing gear removed.

163 grams removed.

Filled the landing gear holes with foam.
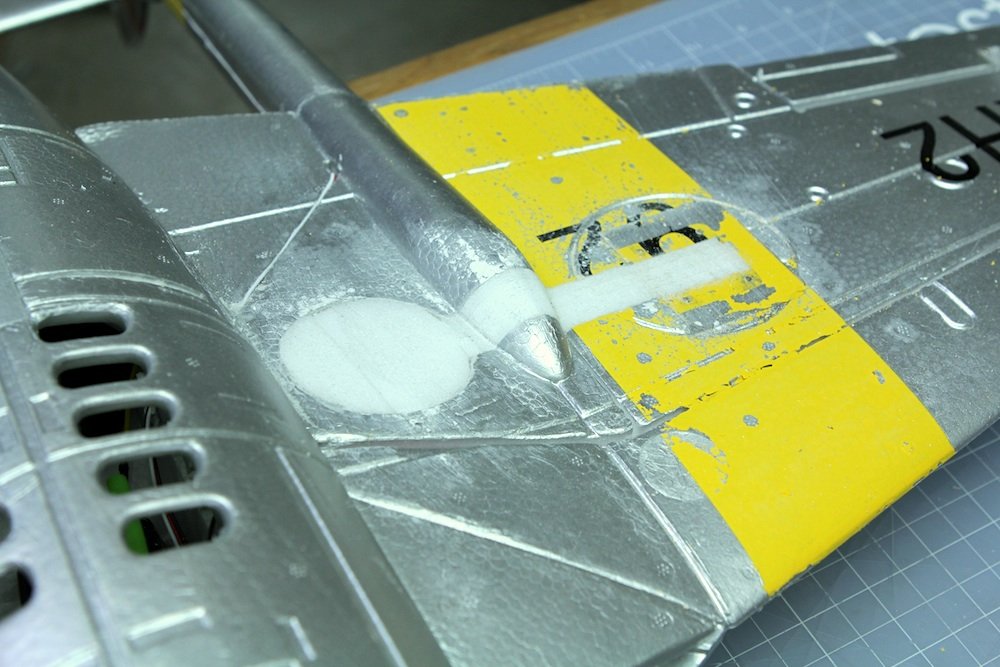
Sanded down.

To regulate the the flow of butane I added a limiter in the form of a small tube. I simply squished it in the middle until I got the optimum flow of butane.

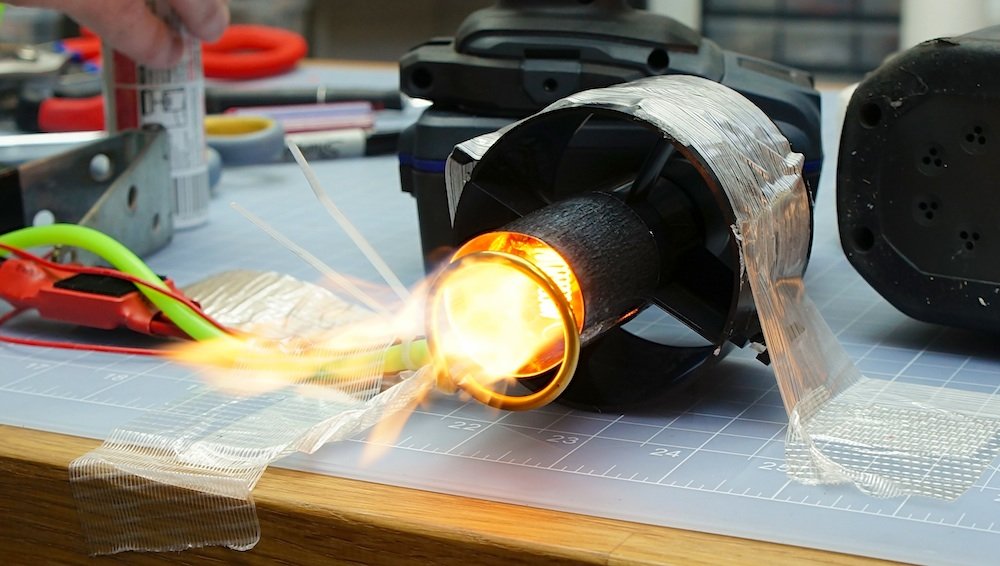
Test firing. The exact frame of ignition.

Wohoo it works! Nice blue flame.

Time for some paint.

The Swedish air force had 70 Vampires in service up to 1952 when it was replaced by the J 29 flying barrel. Naturally I just had to repaint this vampire in the Swedish colors to honor my comrades.


Added the last trim.


It works!

Fire!

Wrong kind of fire!

DEFENITLY THE WRONG KIND OF FIRE!

Not good…
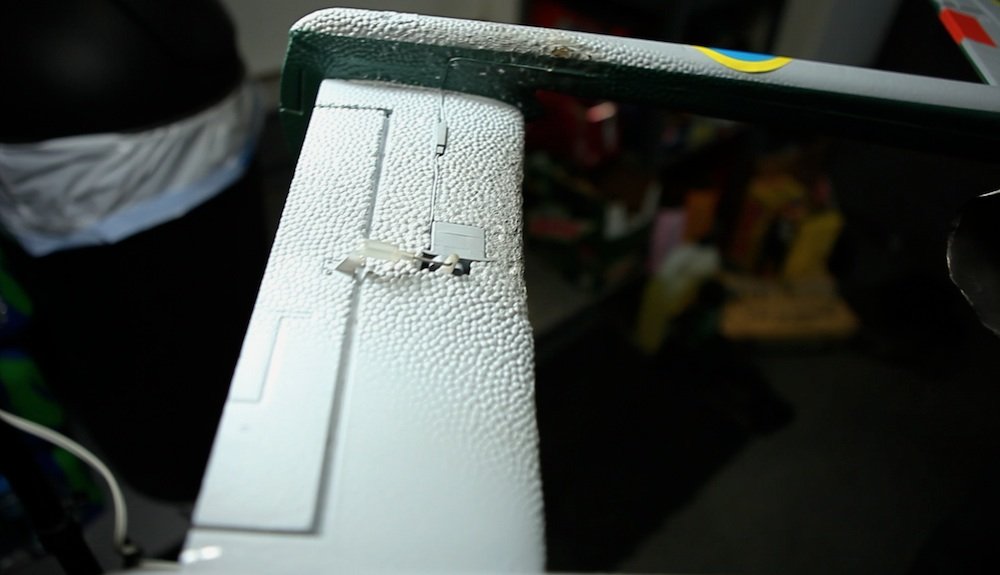
One of the servo wires had moved to close to the stungun wire and it arced over to the negative wire, passing through the receiver, which made it freeze up. I panicked and pulled the battery, thinking that the servo would stop pushing on the butane flask. But the servo had moved to far forward and locked on in the on position.


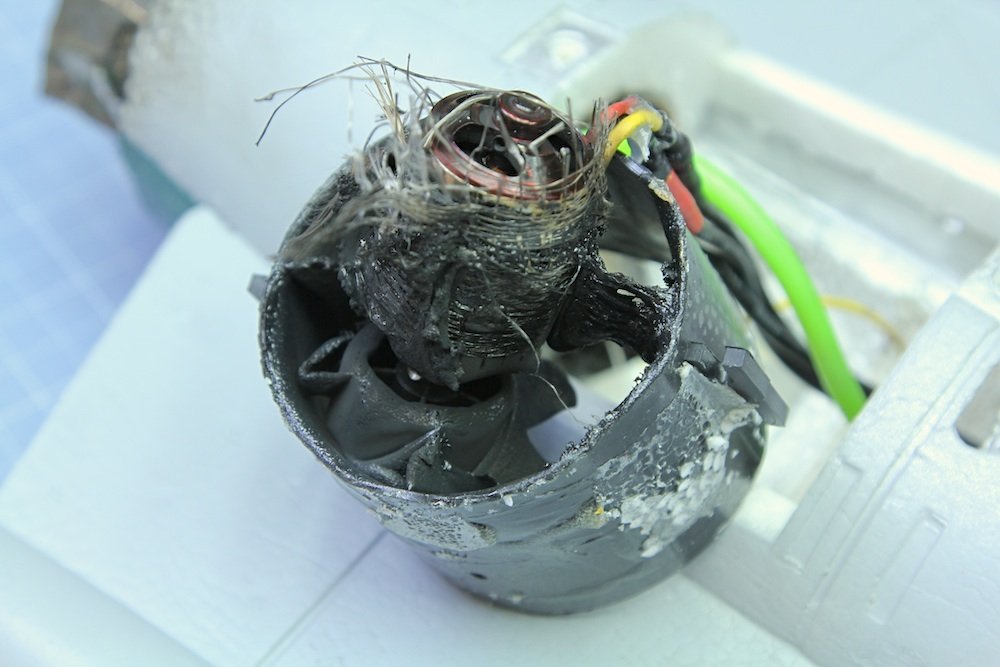
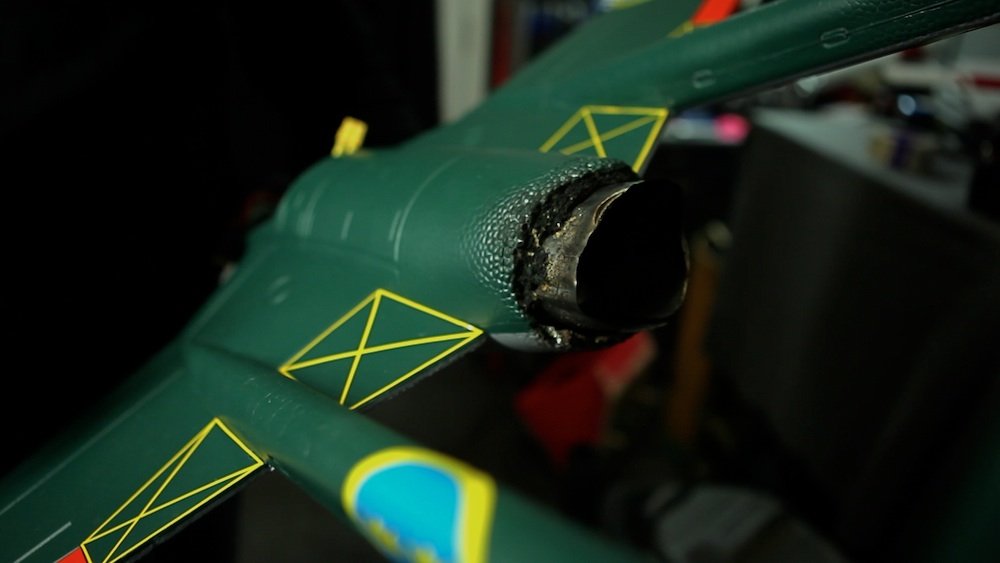
Plastic EDF units apparently don’t like flames.


Melted tail pipe.

But shame to those who give up. Here is the new EDF unit. A Change Sun 10 bladed 70mm fan.

The Flame holder and e-flux ring survived. It just needed to be cleaned off and re soldered.
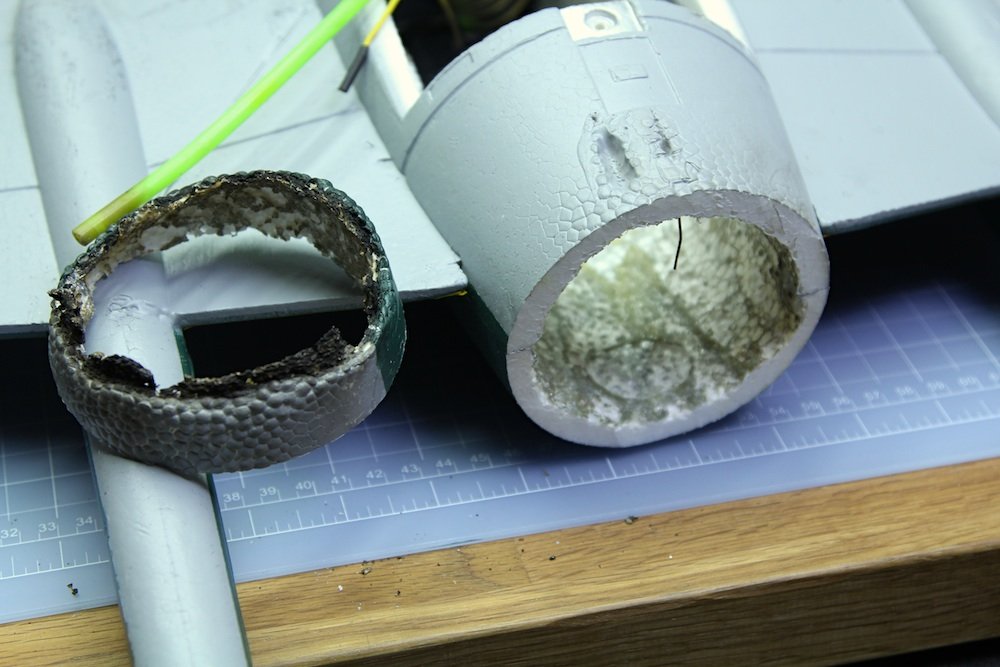
Time to fix the tail pipe.

I used a hotwire cutter and some blue foam to cut a new cone.

Inside cut as well.

Fits nicely

Spackaled and sanded.

Added two coats of water based paint, so the spray paint doesn’t eat up the foam.

As good as new.


Tada! Ready for flight.

Went out to test fly it, but I ran into some trouble. The cold weather made the butane stay liquid for too long and made the combustion unstable at higher RPMs.

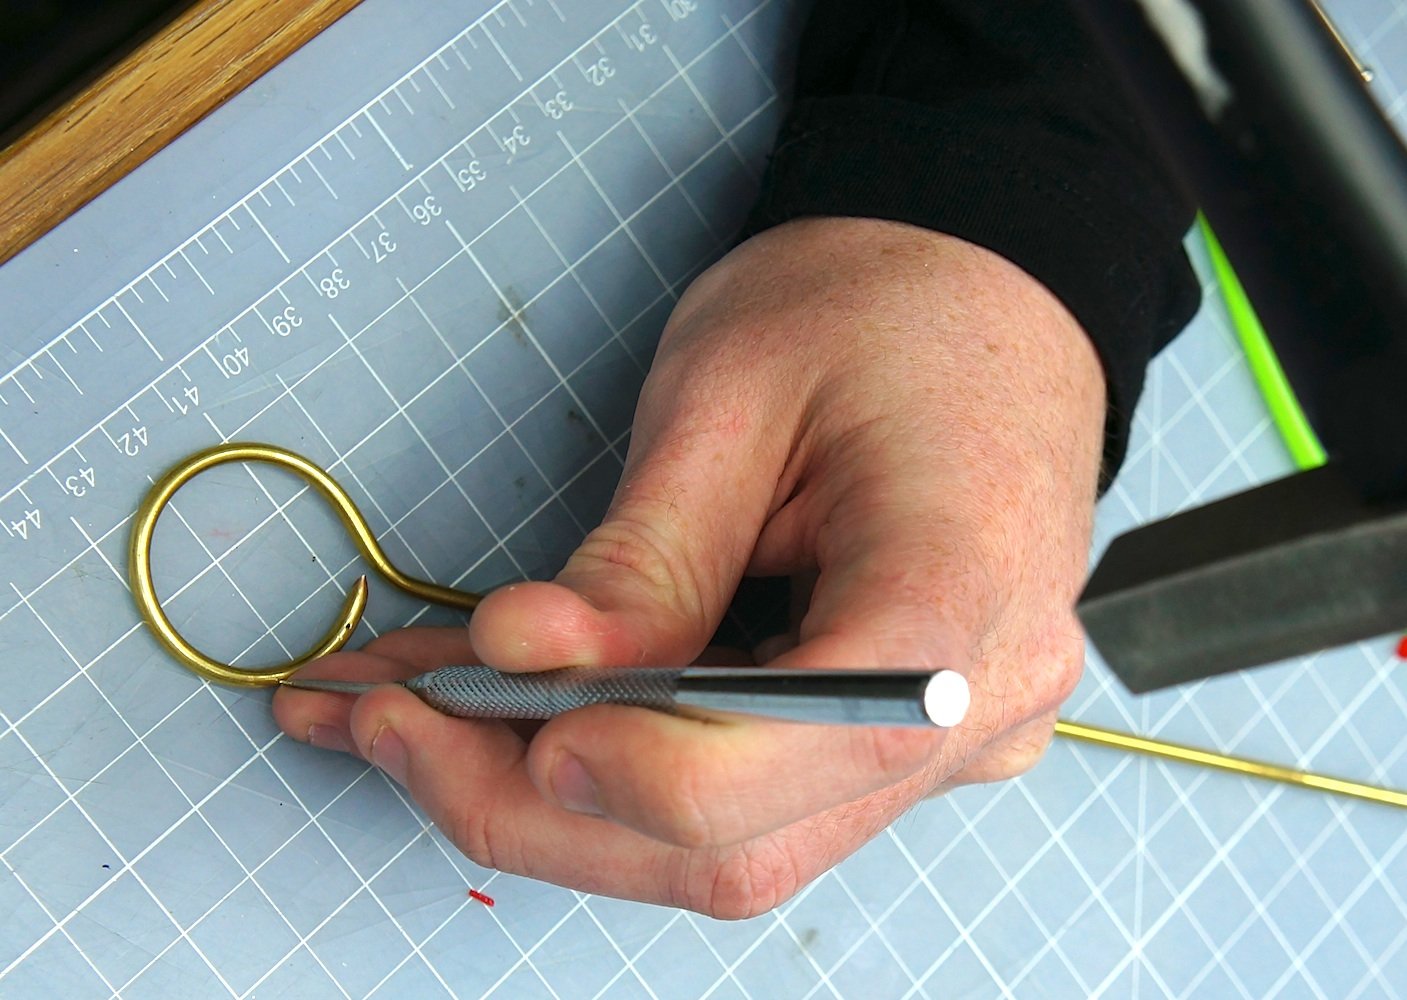
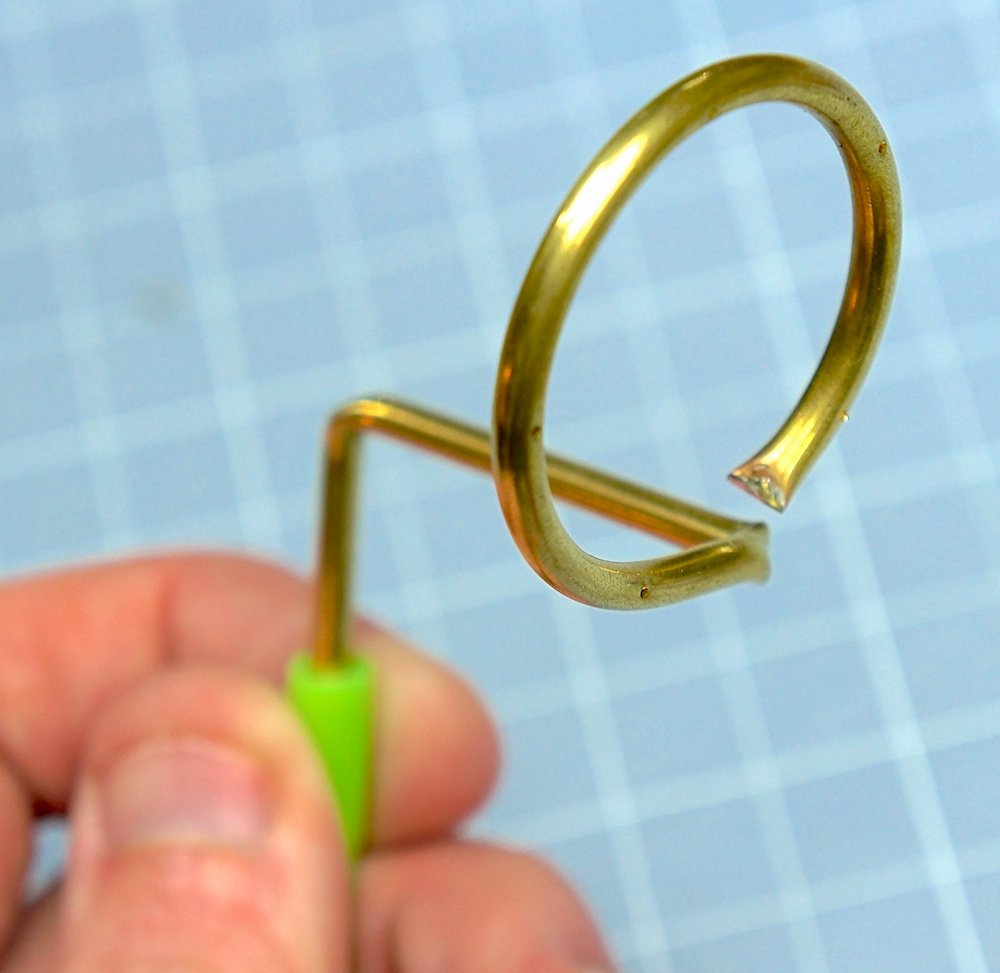
This is the solution I came up with. A simple spiral of brass tubing.

The butane now has to travel a much longer distance before getting to the e-flux ring. That gives it time to heat up and make the transition from liquid to gas form.

To make it work in really cold weather I stole a nicrome wire from a RC car tire heater system and wrapped it around the coil.

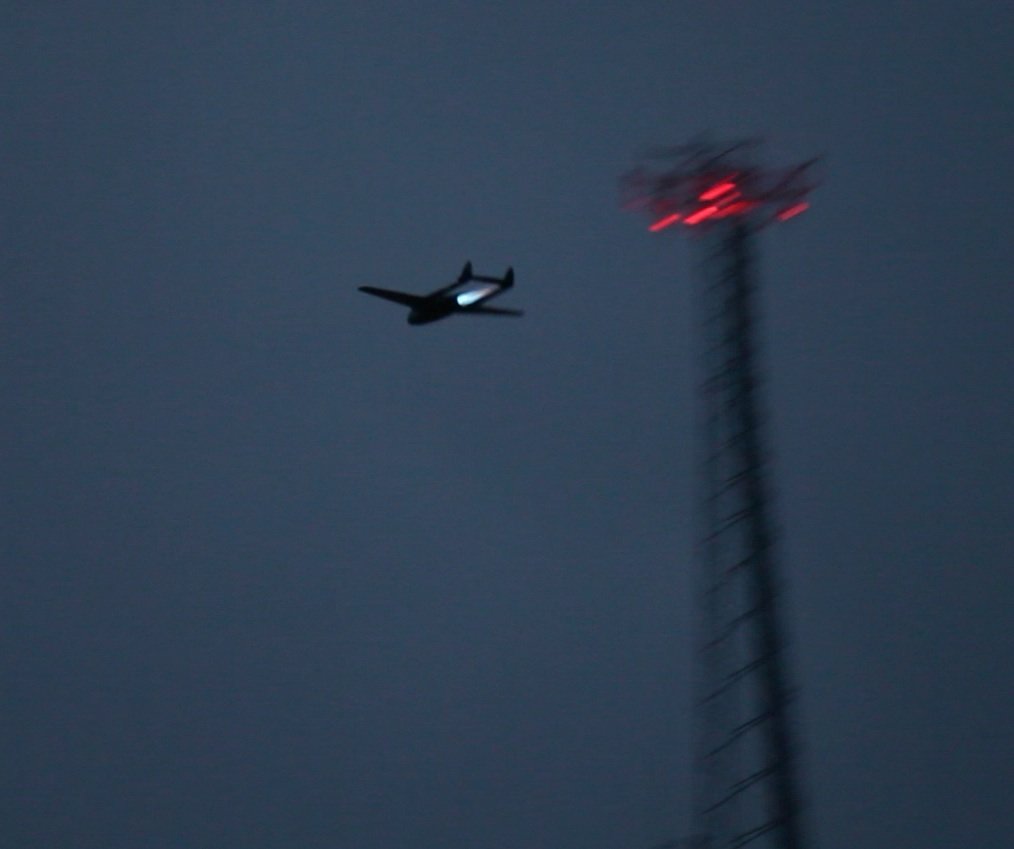
Then I insulated the whole thing with foam. Plugged in to the main 4S lipo it gives about 16W of heating power, which is plenty for this application. Now time to fly!

It’s working!


Watch the episode and hear that awesome sound
http://www.youtube.com/watch?feature=player_embedded&v=NjVvjlP29jQ
Extended episode
David, this was definitely one of your best projects. It looked like a lot of hard work but the results were really impressive! 🙂
One of the most epic engineering feats achieved by David….hey even this should have featured in the most outrageous acts of science ……this is so awesome…. its like I need to put a strait jacket on my imagination so that I don’t end up building one like this….Go David!!
SUPER AWESOME, DAVID.
This looks dangerous, but extremely awesomely coolly awesome.
Are you gonna make this for more planes in the future?
Now I wonder if your going to try it on a bell 222 copter? now that would be fantastic to see 🙂
Speaking of the Bell 222 David you should check out the air museum in Tennessee. And I think you know what I am talking about.
Jaw dropping. So cool. So dangerous. Amazing.
I was thinking why not cover the rear horizontal with foil and then paint over that to protect the foam from the AB?
Well if the arfterburner worked as it should the tail didn’t get warm at all. It was only when the afterburner stopped in “burn everything” mode that it got a bit bumpy 🙂
I am surprised it doesn’t melt it completely. I guess the constant airflow keeps it cool enough. It looks like the flame is pretty close to it in flight.
I’ve been thinking about a Vampire edf for a long time love that model. I have an ME-262 edf that is really cool. What could be better than an afterburner? Dual edf afterburners!!! lol
I’m aware of the risks…. however I am extremely interested and I would like to do this myself. I’ve got a couple questions tho.
1. Are there better sources of butane than that giant flask? For example, could you use a lighter for a source of butane?
2. I would like do try it on the FT Viggen, do you have any suggestions or tips from when you did this?