
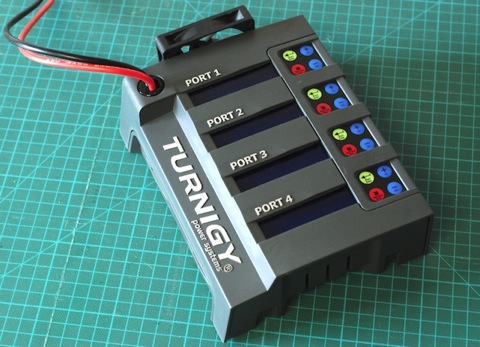
I bought this charger a while back and I’ve been using it quite often. It’s really good for charging all my 3s 2200 packs after a long day of flying, but there are a couple of things I don’t like about this charger. Now finally I took the time to fix them.

The protective plastic on the LCD displays are nearly impossible to remove as they are underneath the case.

They are however really easily removed with the case off.

The charger is comprised of two identical boards stacked on top of each other.

Top side of one of the boards. One of the displays didn’t always work as it should and I found the culprit, a bad solder job on one of the pin-headers. Just reheated it with the soldering iron.

Bottom side of one of the boards. As you can see, the heatsink on this charger is just a flat piece of aluminum.

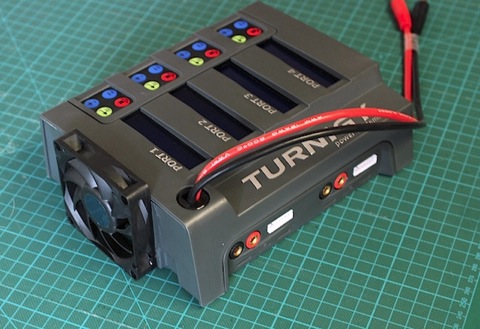
This is the main reason why I disassembled the charger. A very annoying little fan. It was driving me nuts as the rest of my charging station is completely quiet.
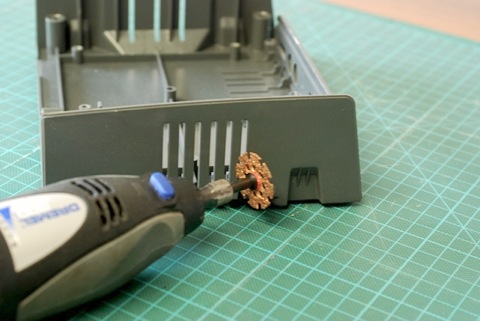
Mr. Dremel to the rescue!

The new fan. If a small fan is good a bigger fan is even better (or isn’t that the American saying?)
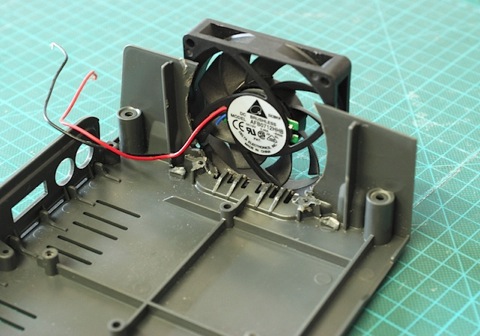
The new fan is 70*70mm temperature controlled. I had it laying around since back when used to build computers.
I simply glued it on.
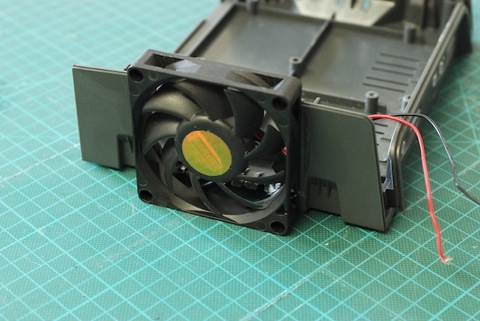
It’s a little to big but as long as it works I’m happy.
Done!

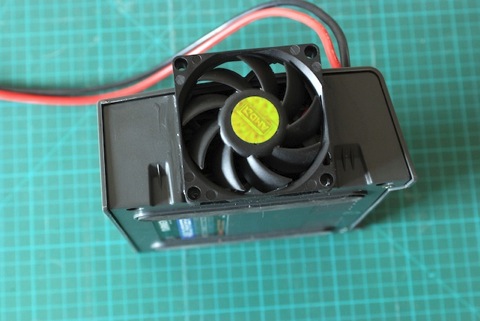
It works really well. It’s no where as loud as the old one.
Now I can charge in peace.
Link to the charger on Hobbyking
Nice! Once I figured out the larger fans were quieter I never use anything smaller than 130mm on my computers cases and cpu heat exchangers also!
I’m trying to identify the processor in this charger as mine has had the markings removed. Can you remember or do you have higher res pictures so it can be read ?
Thanks.
Liprod.