A while back I built a EDF Afterburner for a FliteTest episode. I though I’d post the build log for you guys to enjoy


Click here to read the very extensive and picture intensive build log

A while back I built a EDF Afterburner for a FliteTest episode. I though I’d post the build log for you guys to enjoy
Click here to read the very extensive and picture intensive build log

Ever since my friends Christian, Susan and Peder took me to my very first air show I have been in love jet airplanes. They sound so amazing. I clearly remember the first time I saw a JAS-39 Gripen taking off with full afterburner. It sounded like the rumble of thunder, so loud that I could feel it in my lungs. The tongue of fire licking the runway is a sight I will never forget.
Ever since I’ve wanted to have a rc plane like that. But the price, safety issues and space needed to operate a turbine engine is not something that appealed to me.
So I tried Electric Ducted Fan models, which can have a pretty cool sound if setup properly, but they don’t make that noise nor can they shoot flames… Or can they?
This is my journey to discover if I could add an afterburner to an EDF model.

This is the plane I chose. A Durafly De Havilland DH.100 Vampire. Maybe not the most obvious choice for an afterburner. But, there was an experiment to add an afterburner/reheat to a vampire back in the late 40’s.

Unfortunately it never go to take off as the resonance created by firing the afterburner made the booms and fuselage shake so bad that it was deemed too dangerous to fly. I love the vampire and I couldn’t think of a plane more worthy of having a working afterburner.
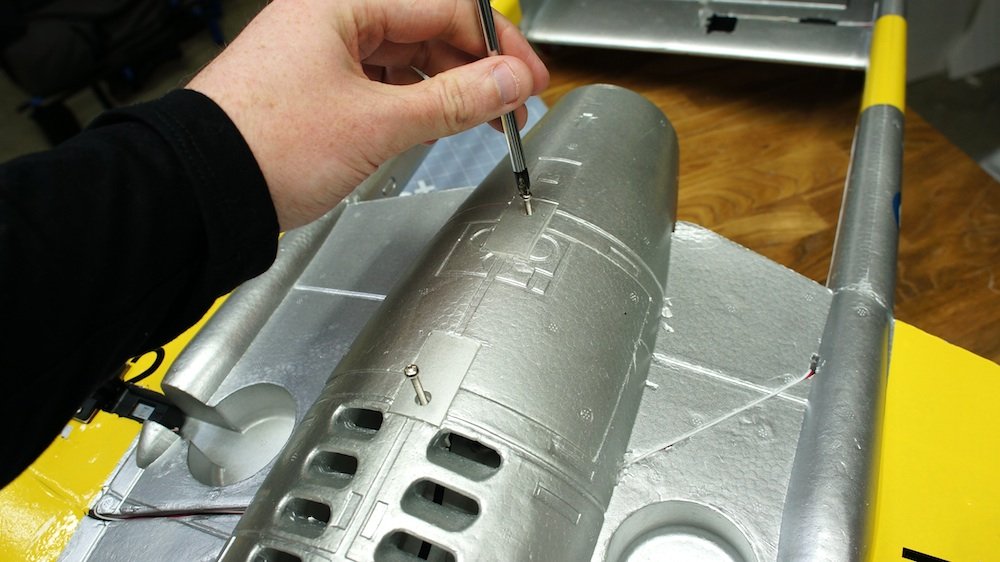
Time to remove and inspect the EDF unit.

The stock EDF unit out in the wild. Nothing wrong with it and it seemed quite straight forward to add the flame holder and e-flux ring to the back of it.

To make the flame holder I used 30 gauge (0.3mm) thick galvanized steel I got from Lows.

Wrapped in a circle.

Fit’s perfectly on the back of the motor mount.
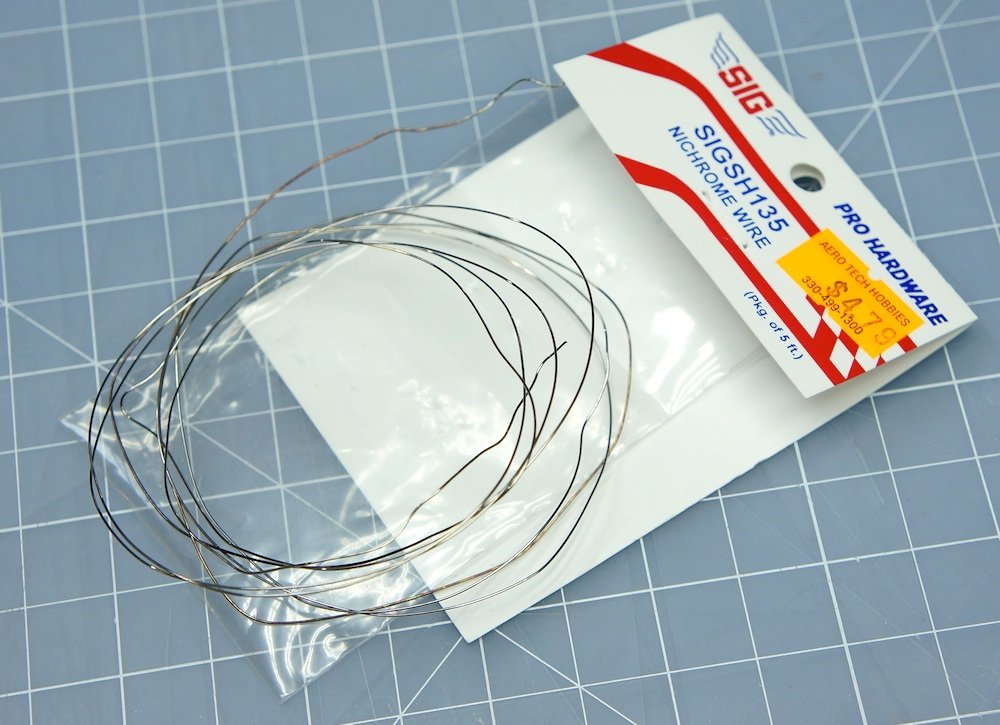
I chose to use butane for fuel as it’s easy to get, has a great burn but yet is relatively safe. Igniting it is the though bit though. I chose to try a hotwire coil first.

Nicrome wire is almost impossible to solder. So in order to get a good solid connection between the nicrome wire and the the power wires I did this little trick.
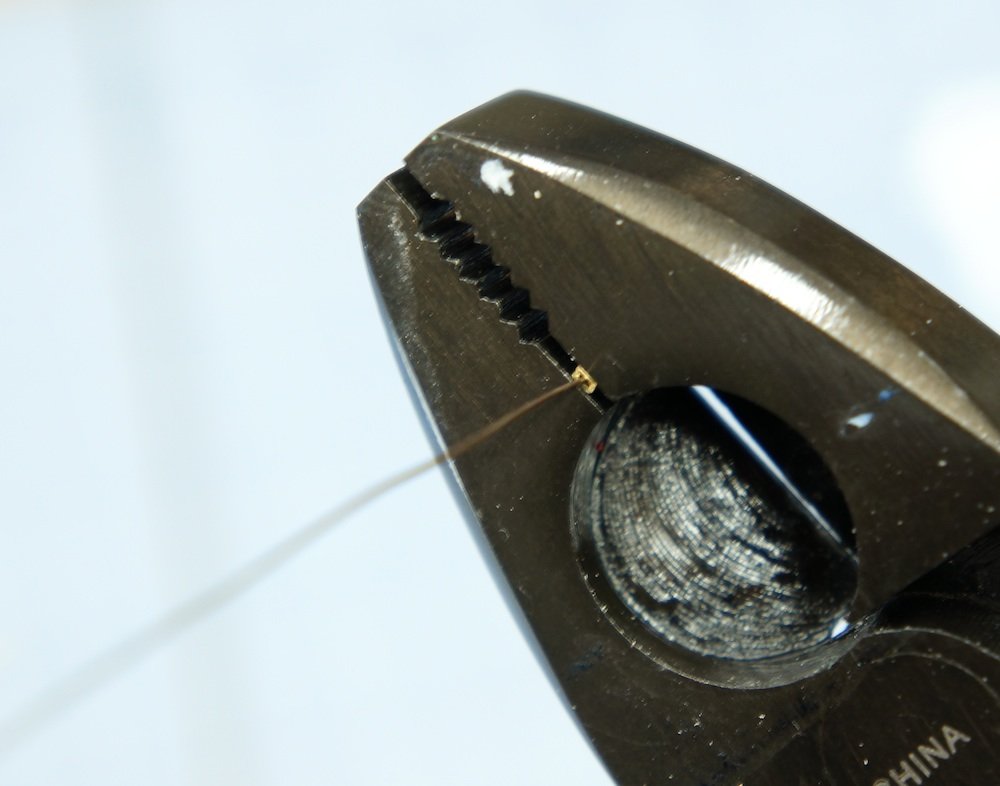
A small piece of brass tubing and a big pair of pliers and you can crimp on a end that is easy to solder to.
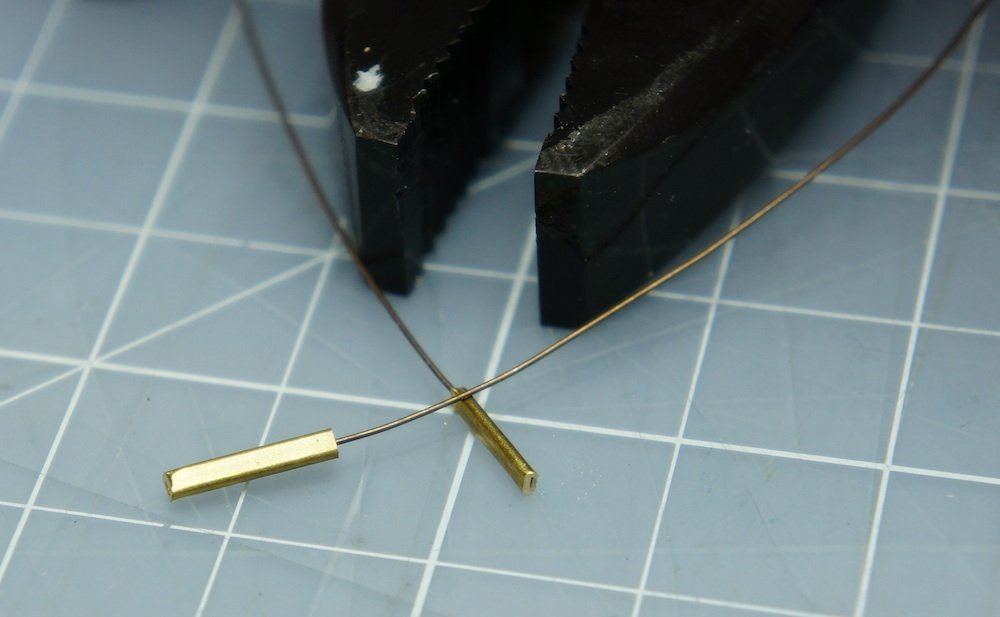
Works great.
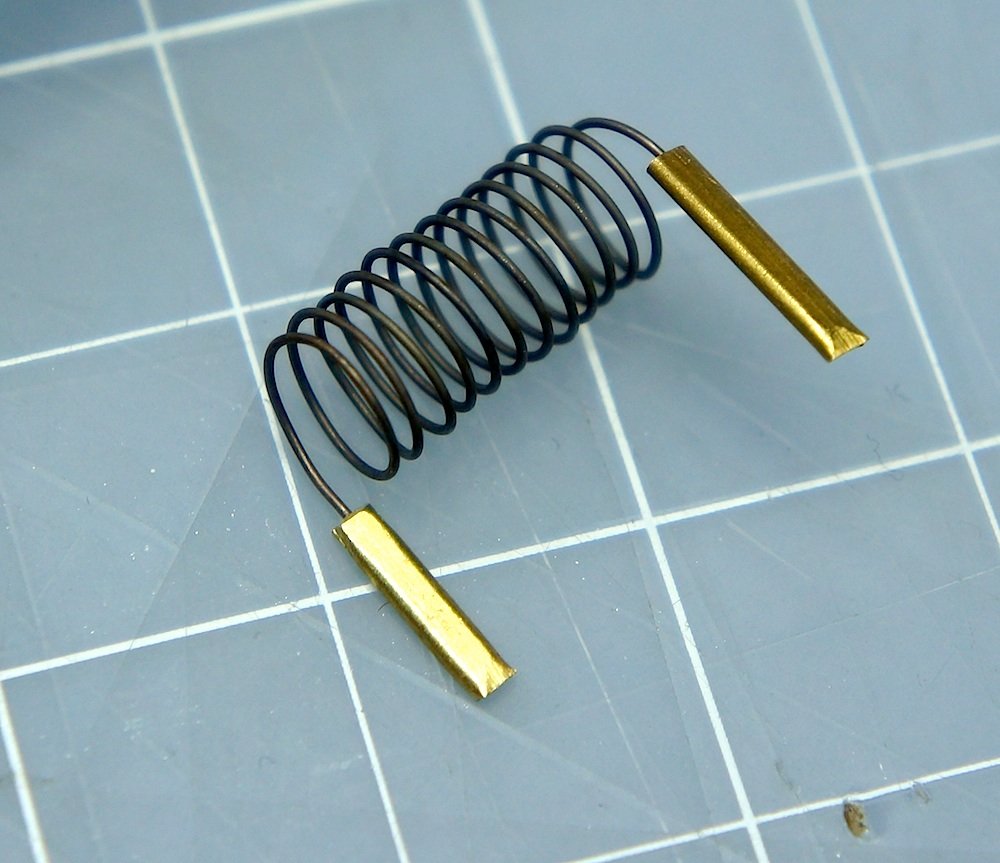
Coiled the hotwire around a round tube.

Installed in the flame holder tube.
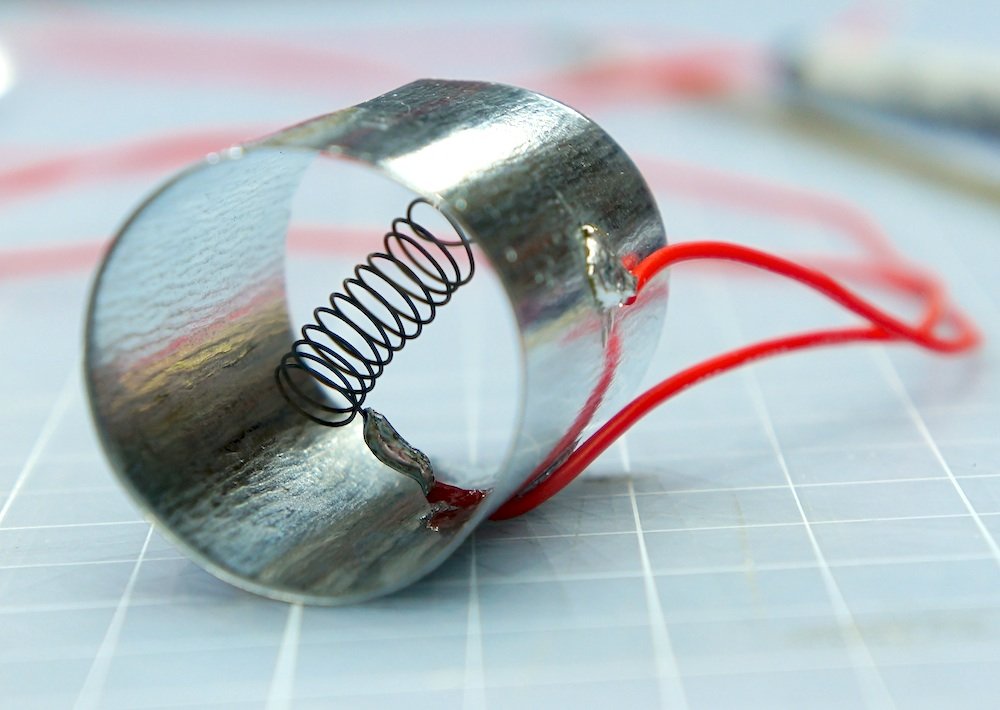

Heated up. It’s controlled by a RC swtich hooked straight to the main 4S lipo.

Time to make the e-flux ring.

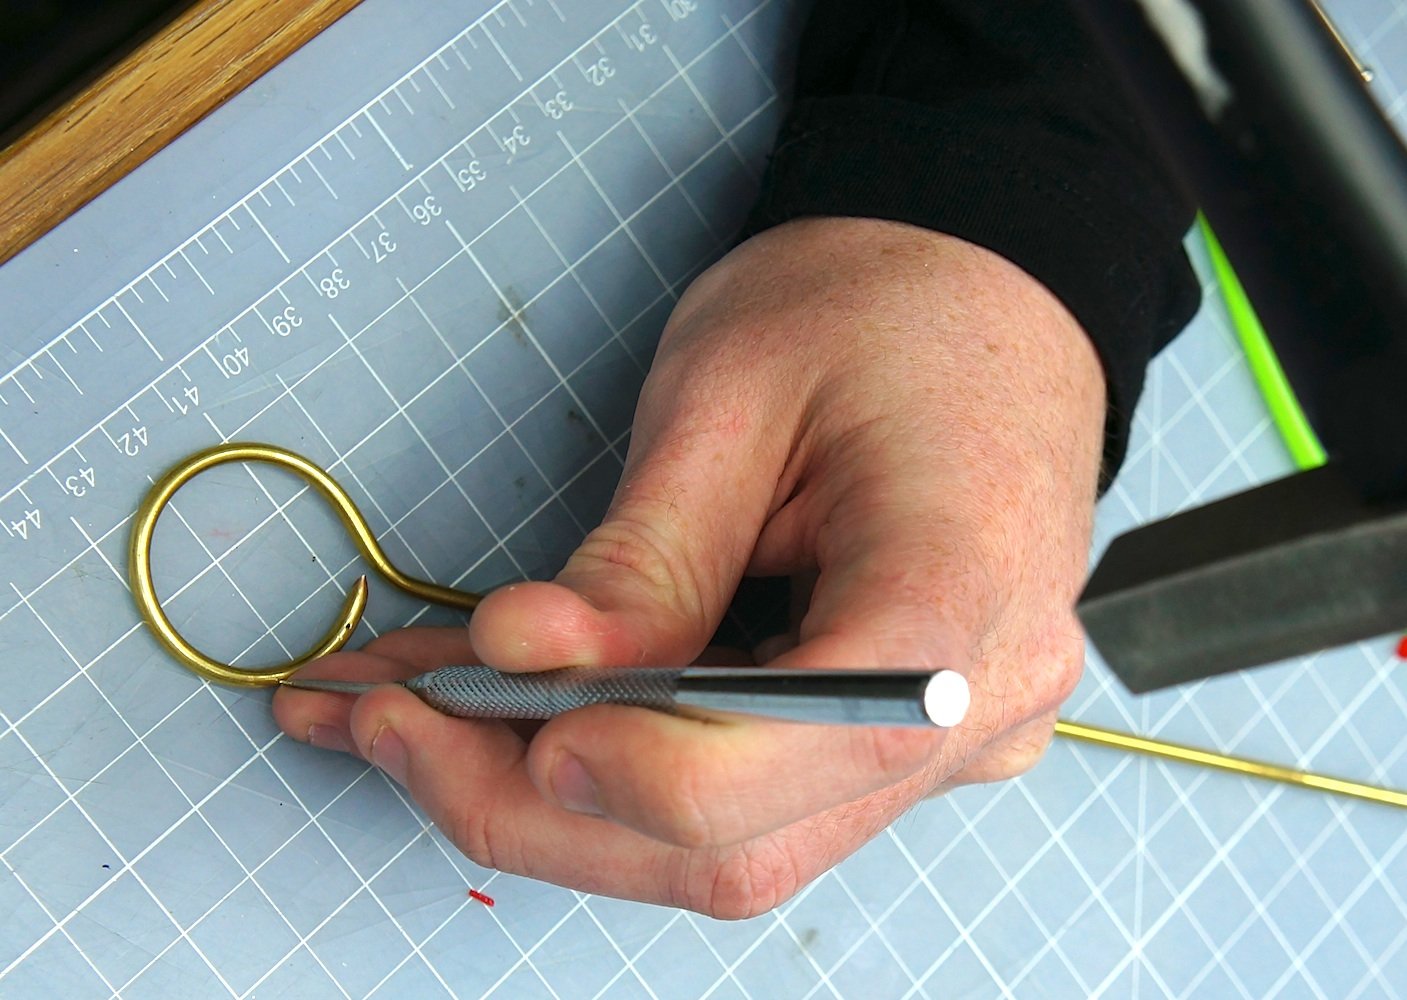
Making some holes in the e-flux ring.

10 holes in total. 5 on the front and 5 on the back.
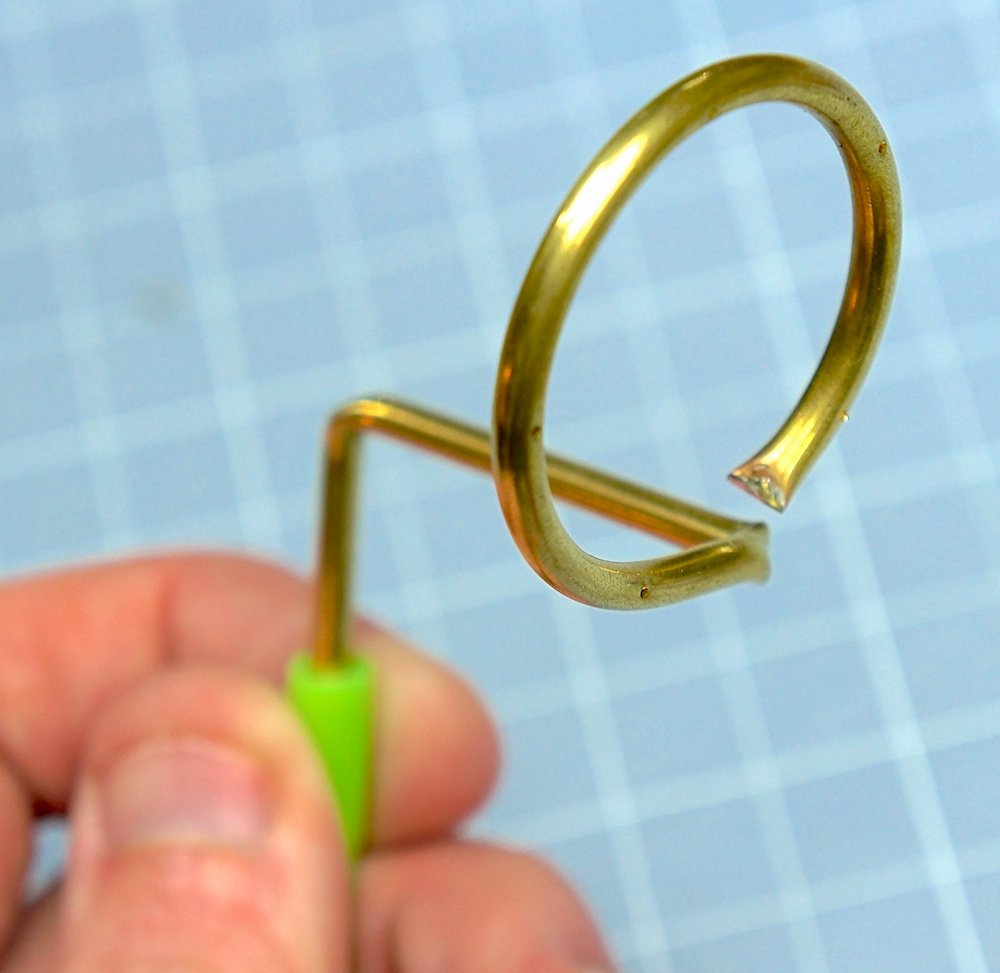
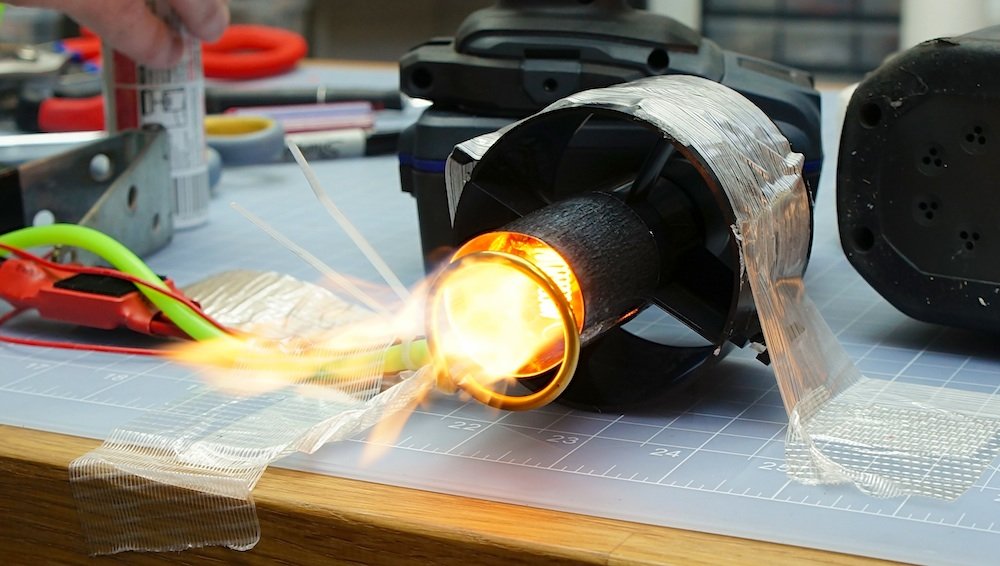
IT WORKS! Kind of… I had some real trouble getting the hotwire to work properly. When the EDF is running it cools the hotwire down so much that it’s not hot enough to ignite the butane. But if the hotwire is shortened, which means it gets hotter, it can ignite the fuel but immediately burns up after ignition due to the massive temperature difference inside of the flame holder tube. I’ve seen others use the hotwire method on smaller EDF units with success but I came to the conclusion after a lot of experimentation that it simply doesn’t work on a 70mm fan. So I tried another method…
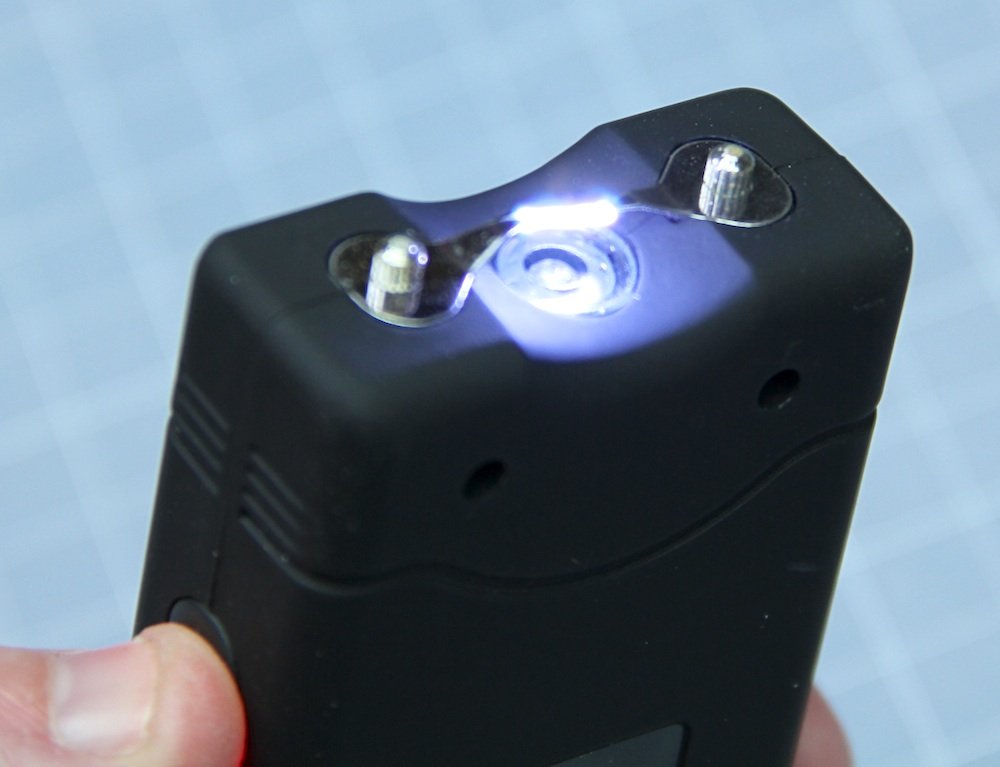
A Stungun!
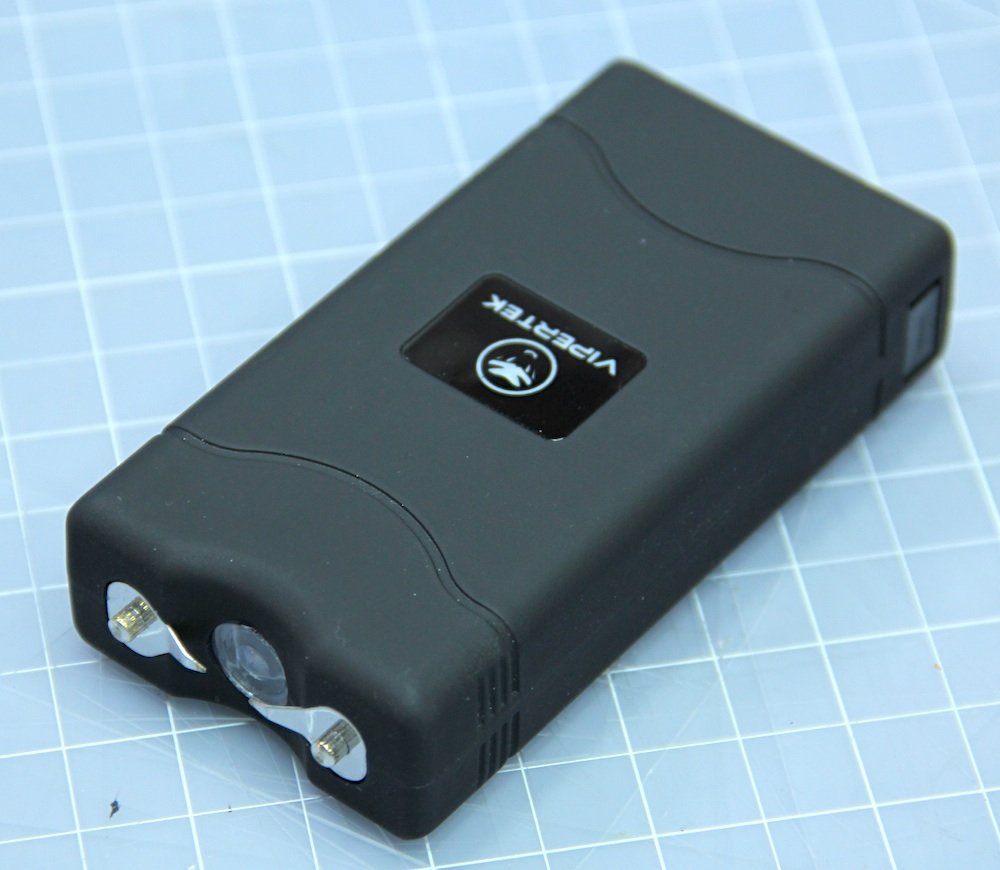
I got three of these of ebay for 25 bucks!

The inside of the stungun.

It works by simply stepping up the voltage from a 4s NiCd battery, which happens to be 5V. As soon as the flyback generator gets the 5V it starts outputting the ~30,000V
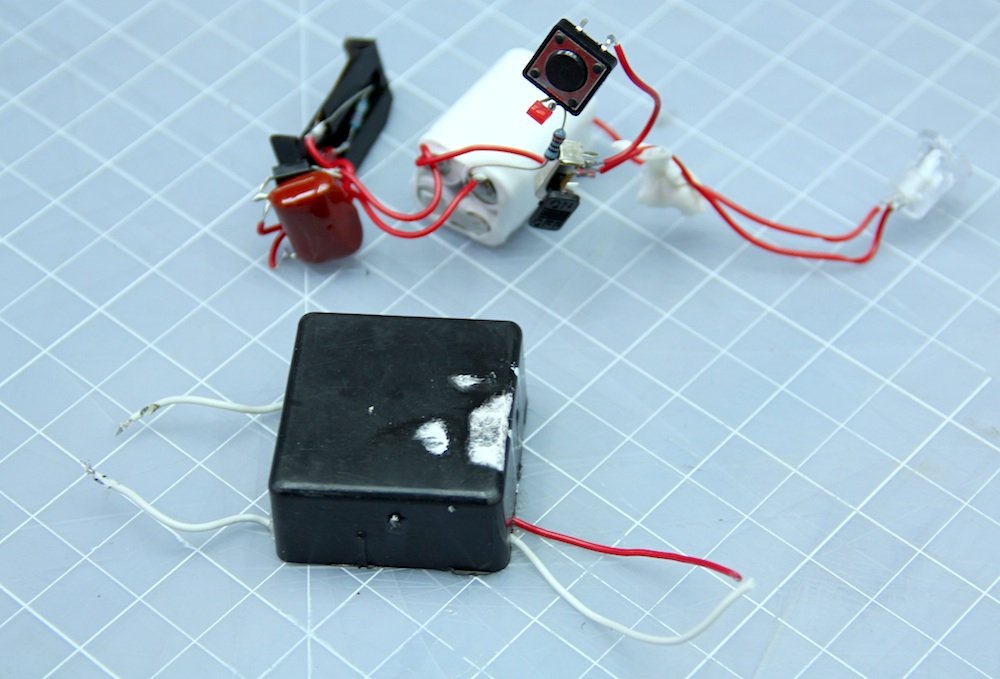
The only I needed. The flyback generator.
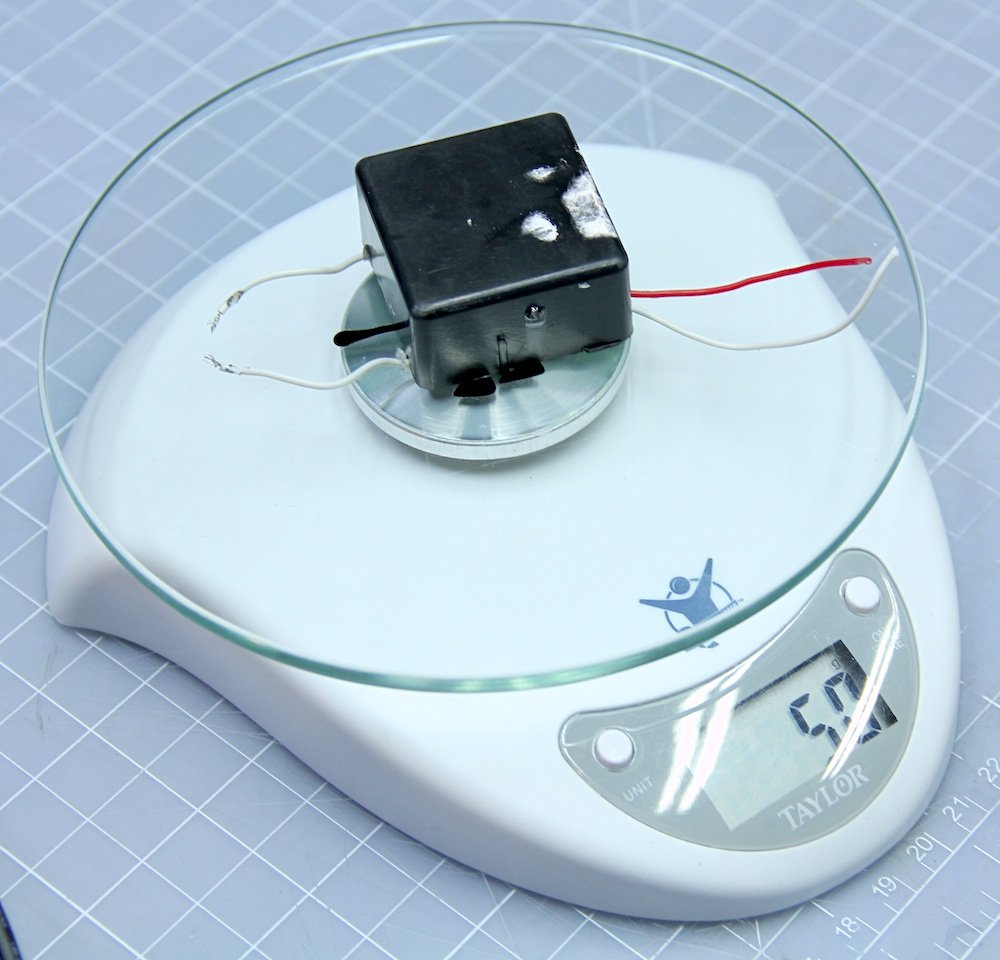
It weighs in at 50 grams, but it’s going to be worth it.
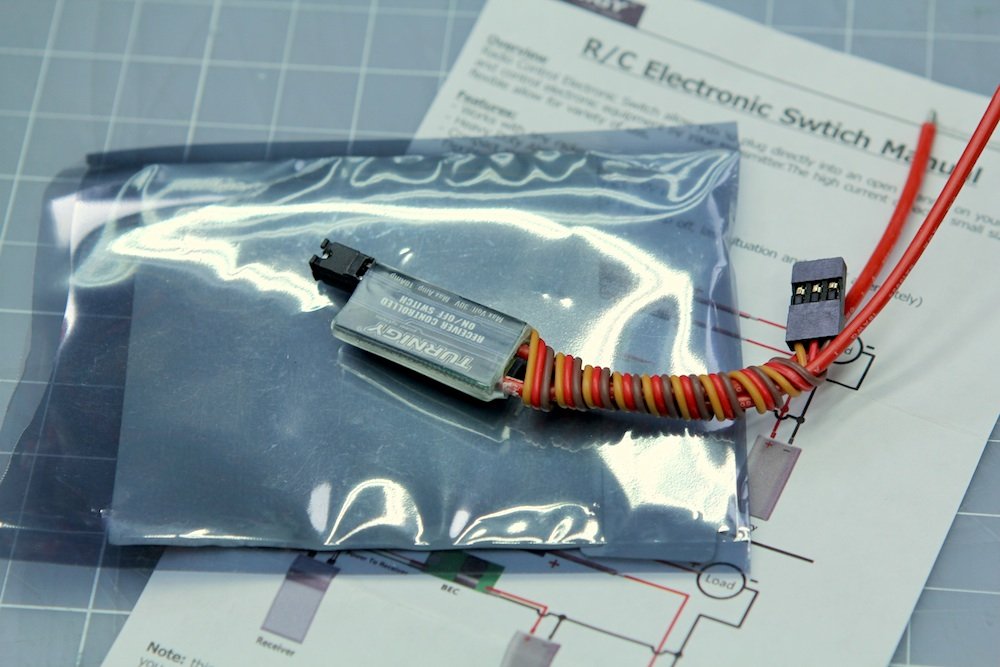
I controlled it using a simple RC switch.

As soon as the RC channel the switch is hooked up to goes from low to high it opens up the output. In this case it just lets 5V through to the flyback generator from the stungun.

Test fitted in the plane.
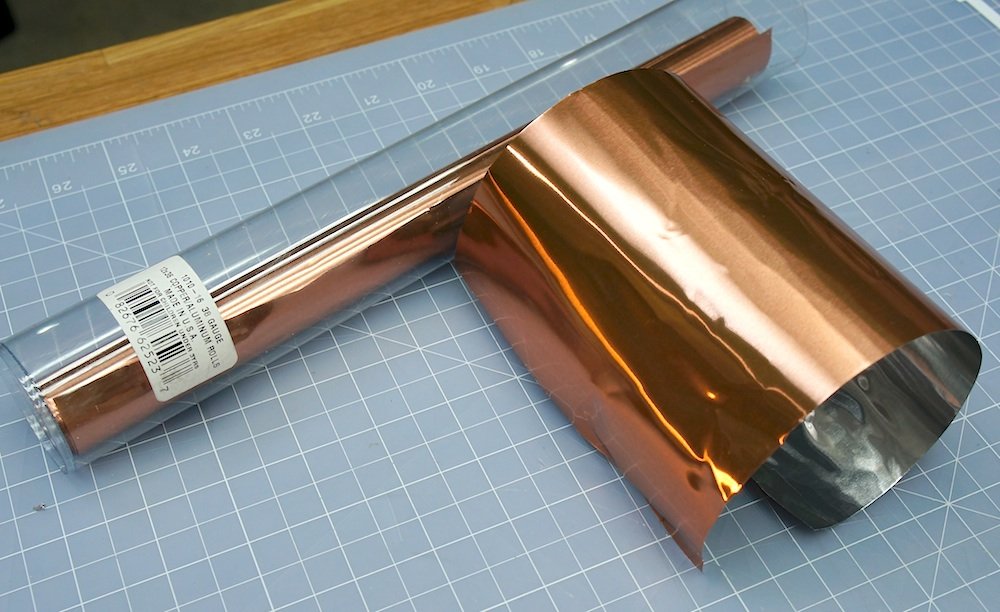
Since there is going to be flames shooting out the tail pipe I though it would be a good idea to add a layer of protection in form of a aluminium foil. This particular one is copper colored on one side, which I think look pretty cool.

Marking where it need to be cut.

Installed in the exhaust tube.

The aluminium foil also doubles as a conductor for the stungun.
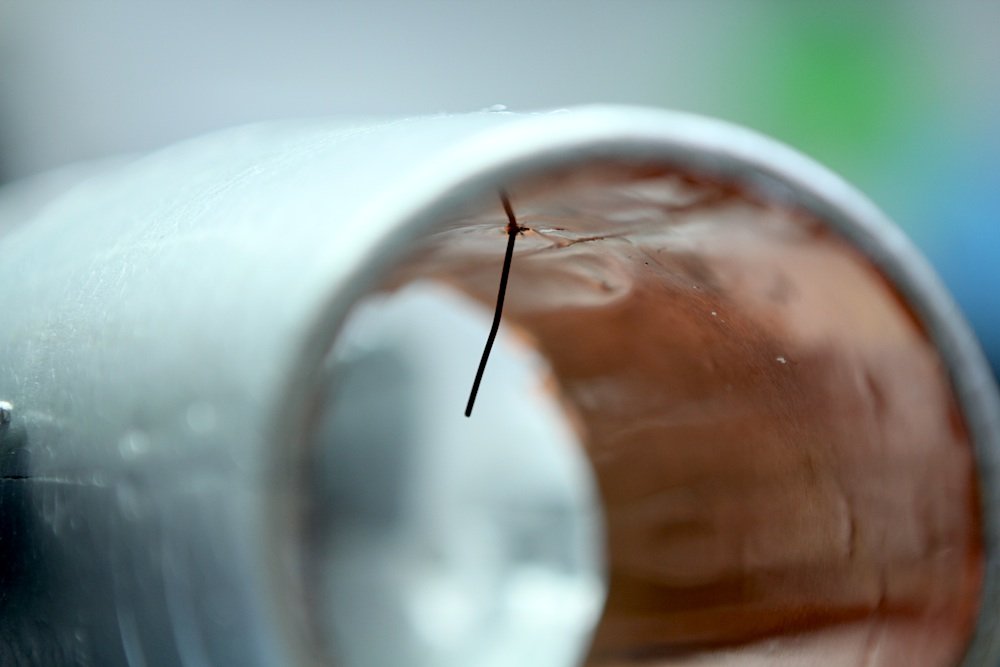
I used a 0.8mm MIG soldering wire to get the spark to jump in the low pressure zone of the flame holder.

Stungun glued in place using hotglue.

The improved flame holder. The blades help create the low pressure zone needed. Also added a metal “lid” to protect the motor from heat and sot.

Flame holder installed on the motor. The flame holder and e-flux ring are connected to the other output lead of the stungun.

Complete EDF unit installed in the fuselage.

ERMAHGERD! SPERKS!
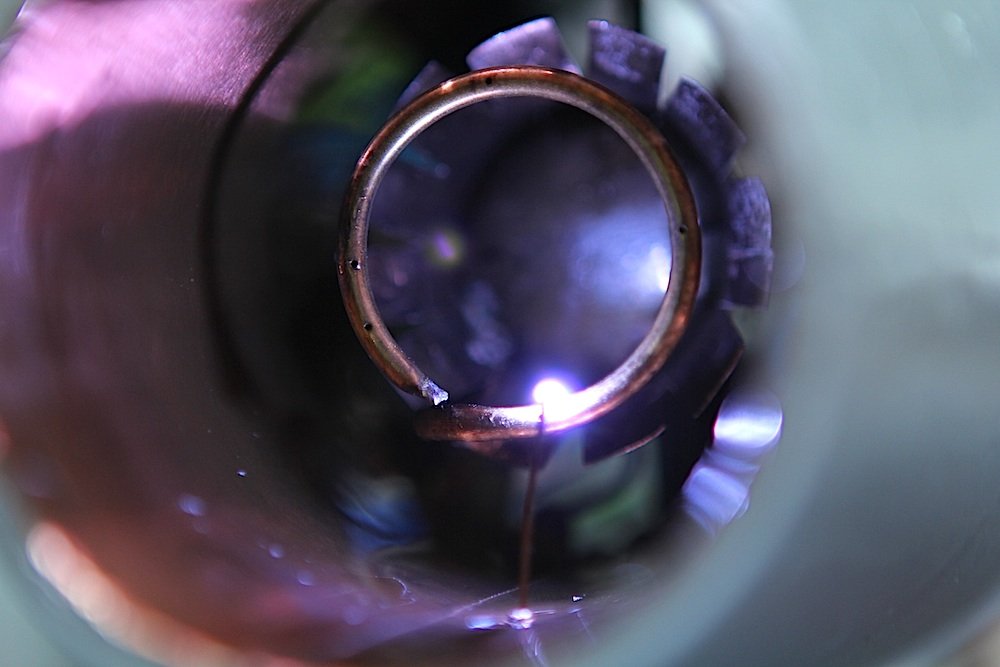
The tail pile is connected to one output of the stungun and the e-flux ring to the other.

To be able to dispense the butane in a easy and reliable manner, I made this little rig from some scrap wood.

The servo simply pushes the whole butane tube forward.

To save some weight and make space for the extra stuff I need to fit in there, I removed the landing gear.

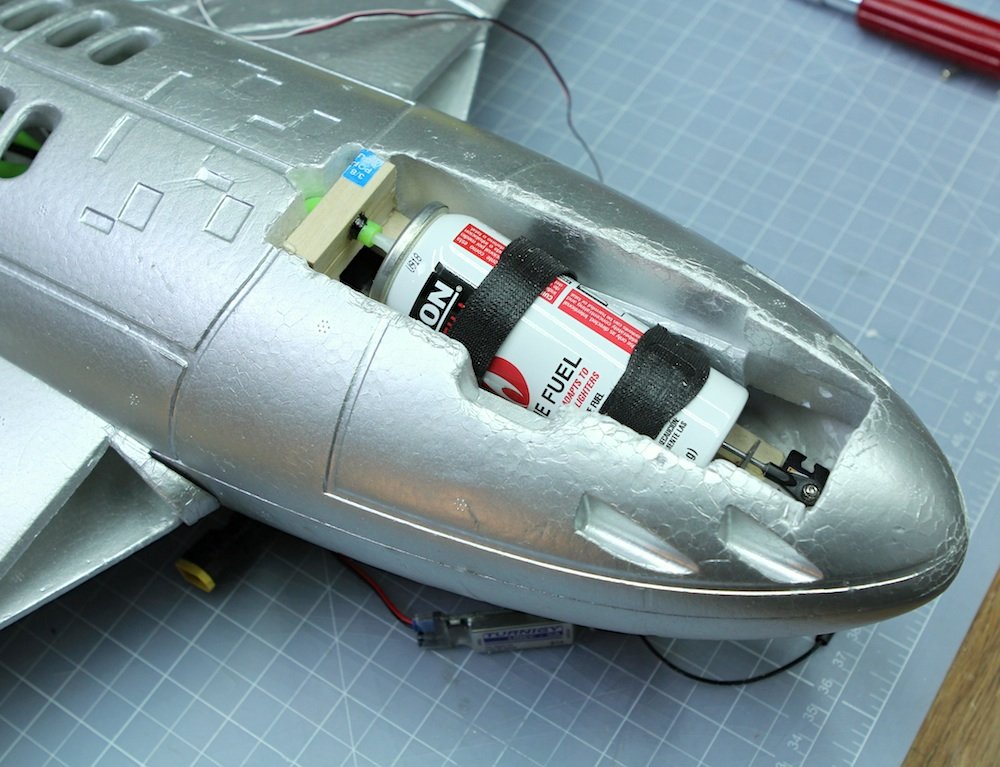
Butane dispenser installed. Note the angle it’s at. It need to be downwards to dispense the fuel fast enough.

Main landing gear removed.

163 grams removed.

Filled the landing gear holes with foam.
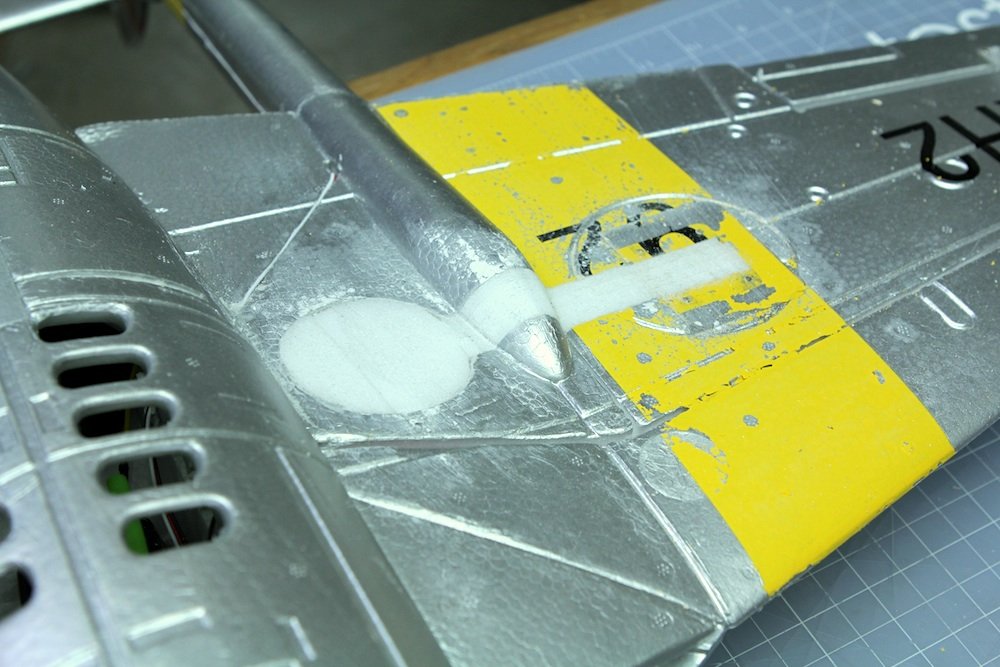
Sanded down.

To regulate the the flow of butane I added a limiter in the form of a small tube. I simply squished it in the middle until I got the optimum flow of butane.

Test firing. The exact frame of ignition.

Wohoo it works! Nice blue flame.

Time for some paint.

The Swedish air force had 70 Vampires in service up to 1952 when it was replaced by the J 29 flying barrel. Naturally I just had to repaint this vampire in the Swedish colors to honor my comrades.


Added the last trim.


It works!

Fire!

Wrong kind of fire!

DEFENITLY THE WRONG KIND OF FIRE!

Not good…
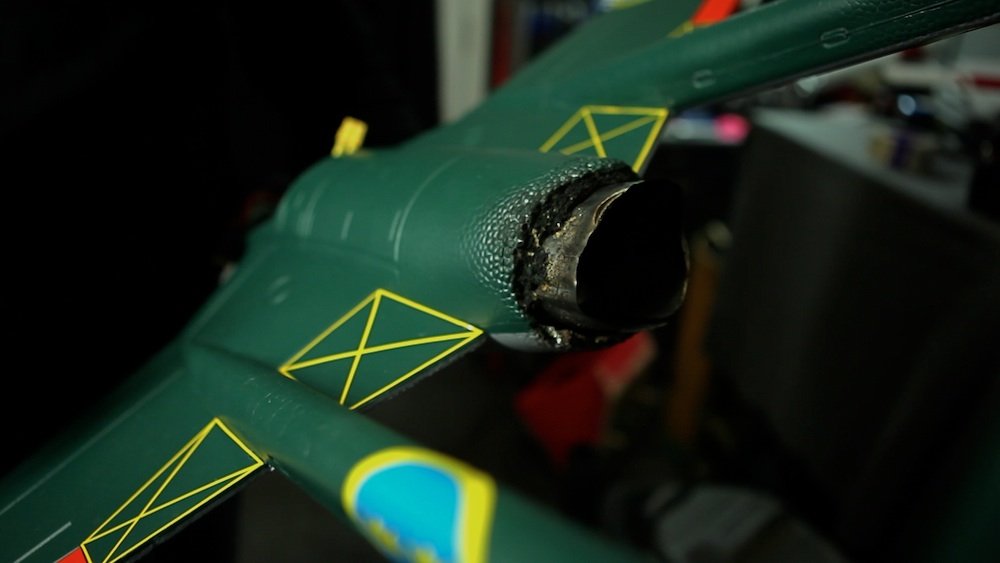
One of the servo wires had moved to close to the stungun wire and it arced over to the negative wire, passing through the receiver, which made it freeze up. I panicked and pulled the battery, thinking that the servo would stop pushing on the butane flask. But the servo had moved to far forward and locked on in the on position.
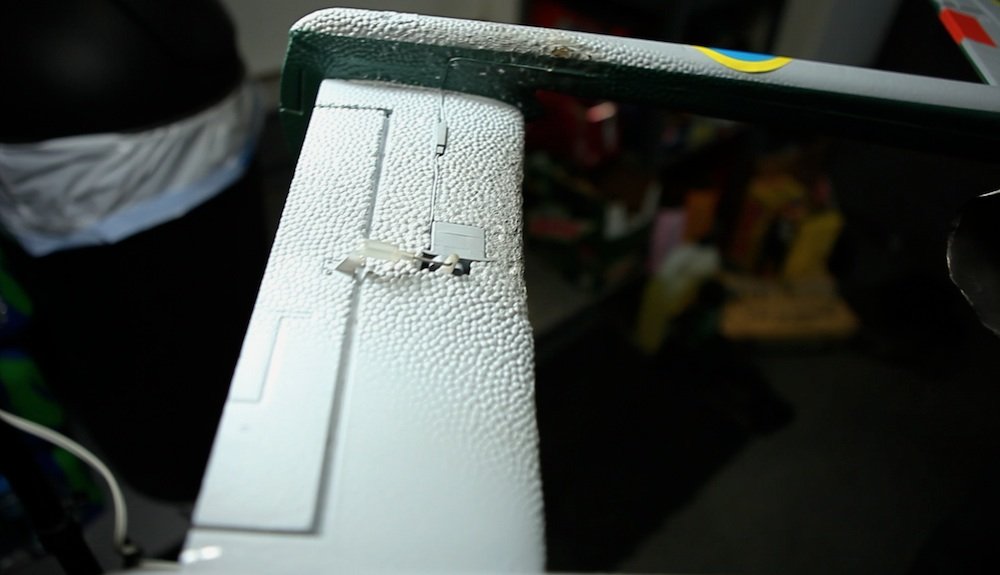
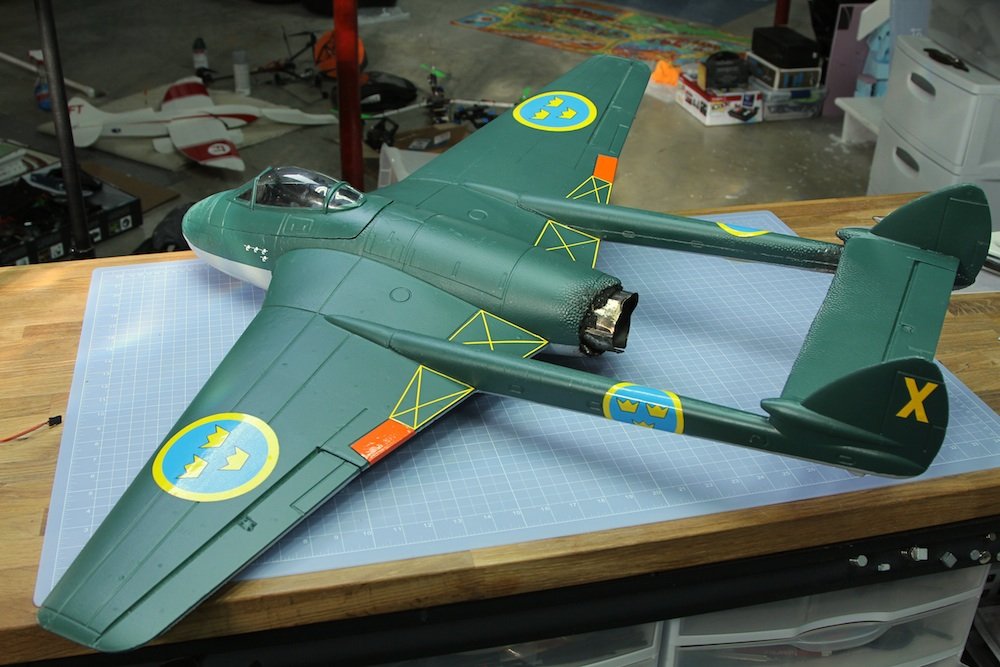


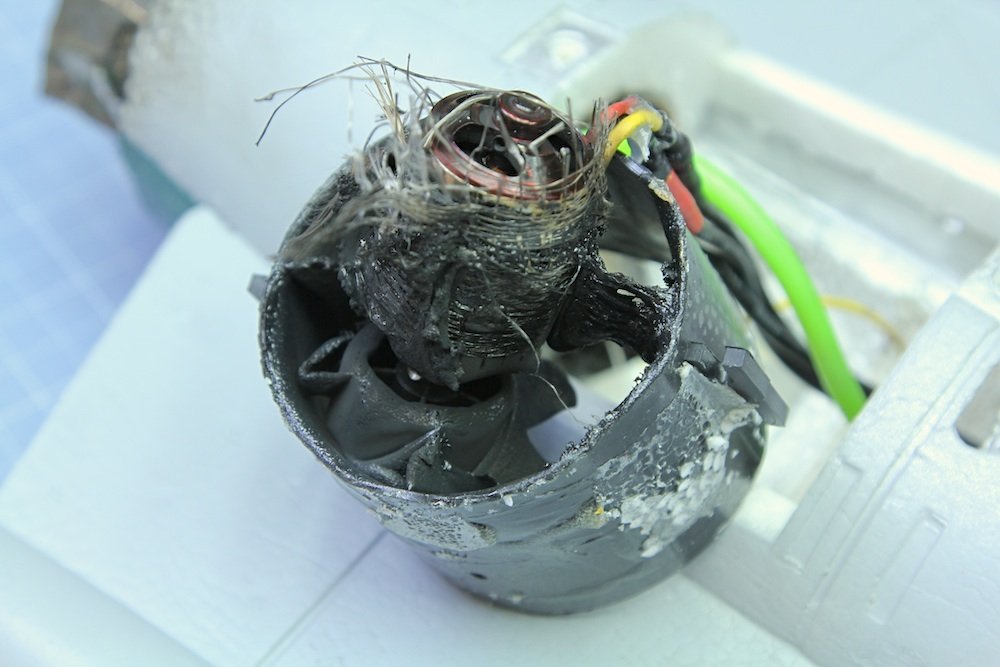
Plastic EDF units apparently don’t like flames.


Melted tail pipe.

But shame to those who give up. Here is the new EDF unit. A Change Sun 10 bladed 70mm fan.

The Flame holder and e-flux ring survived. It just needed to be cleaned off and re soldered.
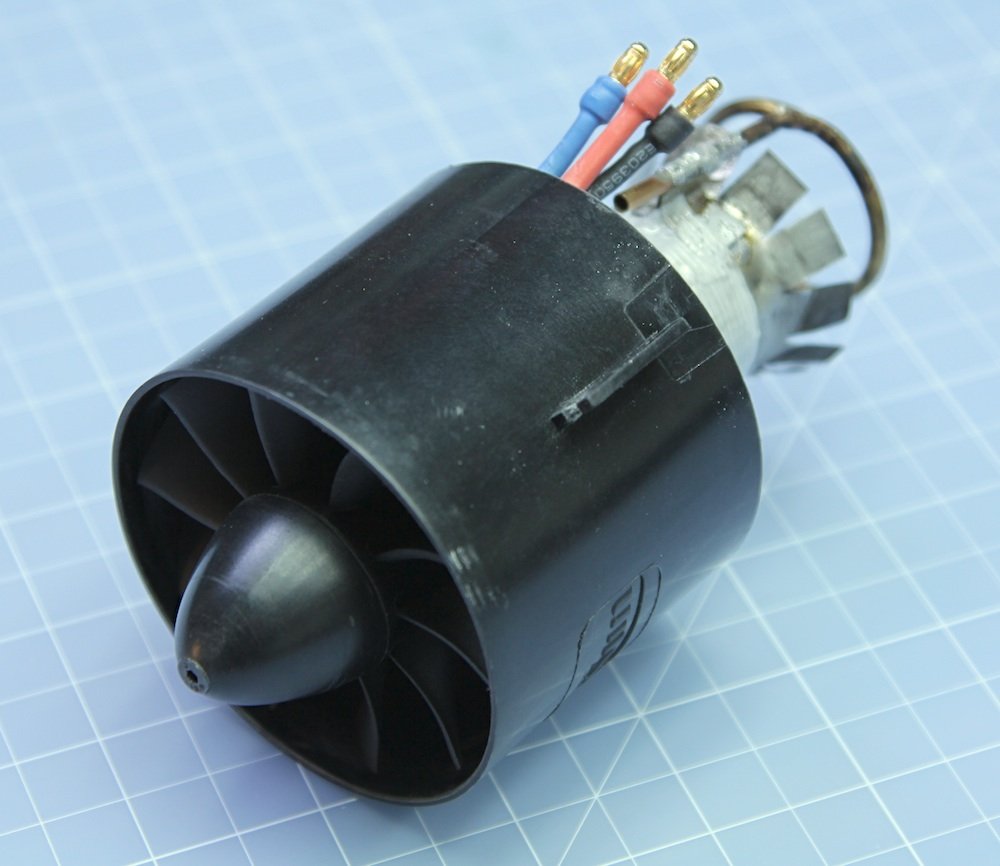
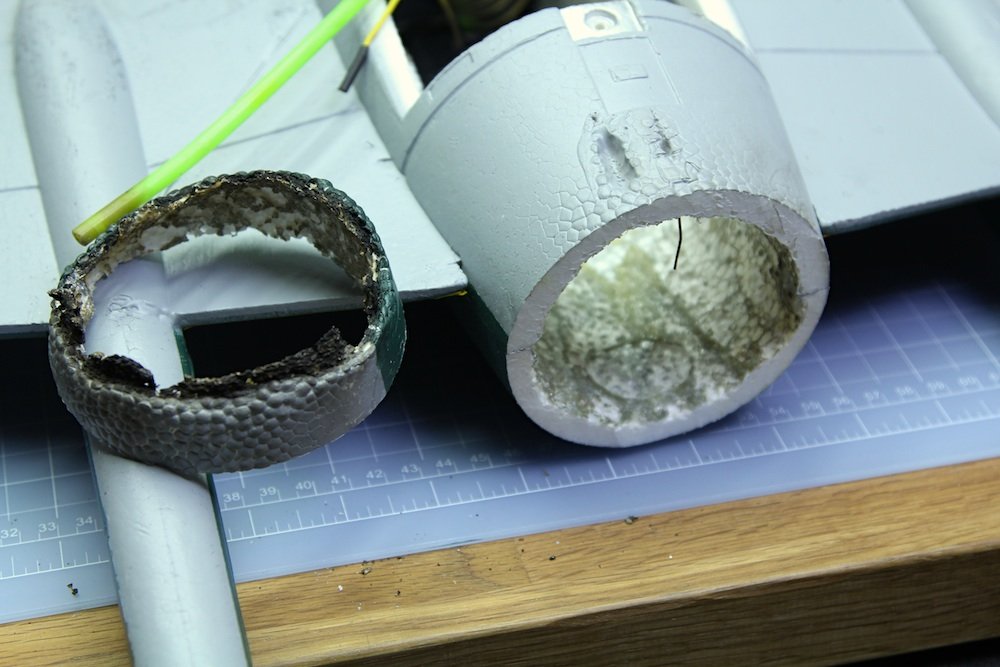
Time to fix the tail pipe.

I used a hotwire cutter and some blue foam to cut a new cone.

Inside cut as well.

Fits nicely

Spackaled and sanded.

Added two coats of water based paint, so the spray paint doesn’t eat up the foam.

As good as new.


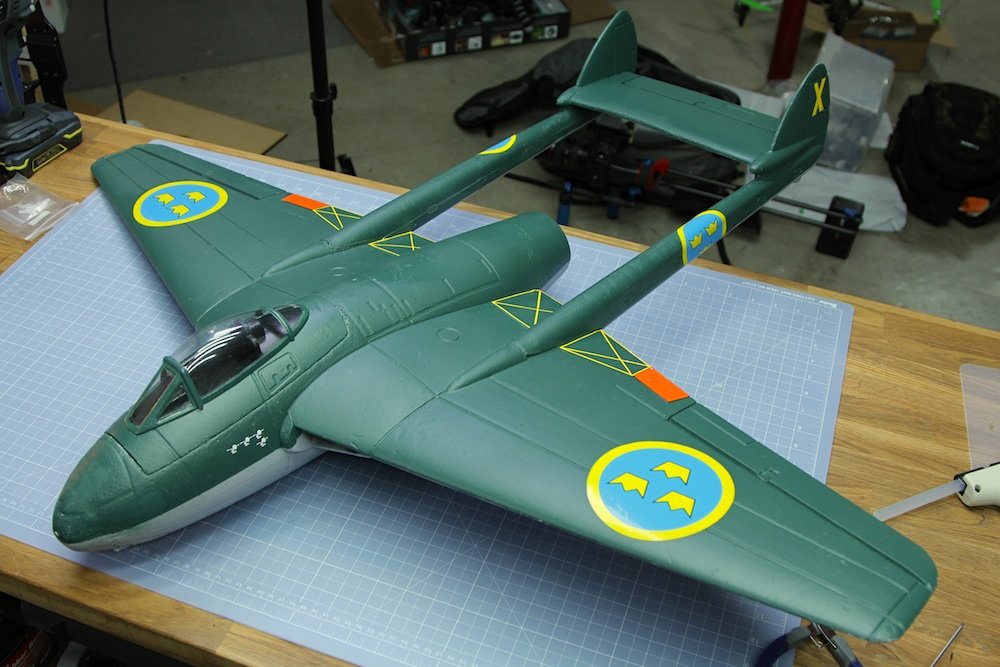
Tada! Ready for flight.

Went out to test fly it, but I ran into some trouble. The cold weather made the butane stay liquid for too long and made the combustion unstable at higher RPMs.

This is the solution I came up with. A simple spiral of brass tubing.

The butane now has to travel a much longer distance before getting to the e-flux ring. That gives it time to heat up and make the transition from liquid to gas form.

To make it work in really cold weather I stole a nicrome wire from a RC car tire heater system and wrapped it around the coil.

Then I insulated the whole thing with foam. Plugged in to the main 4S lipo it gives about 16W of heating power, which is plenty for this application. Now time to fly!

It’s working!
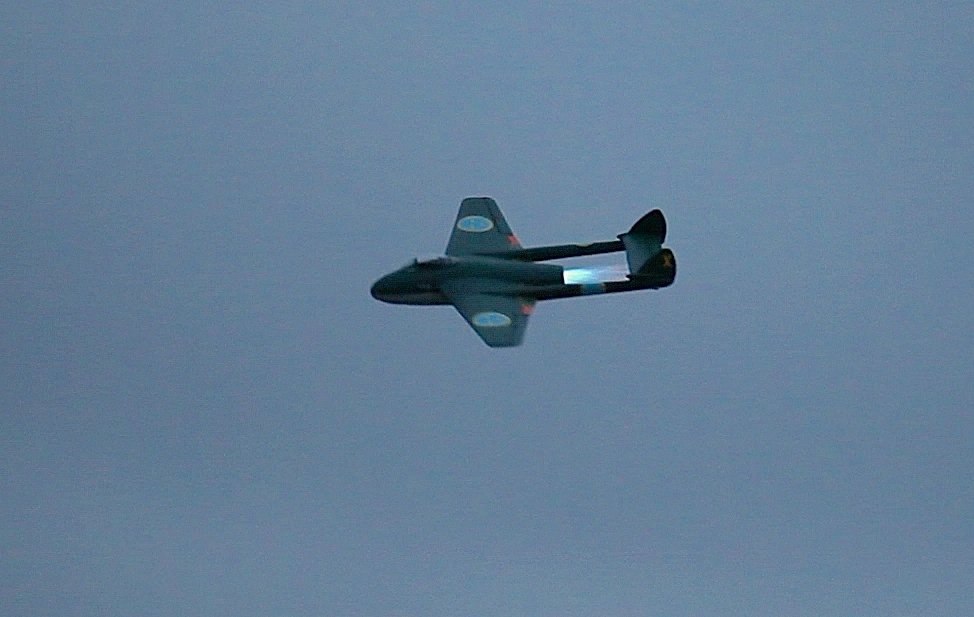
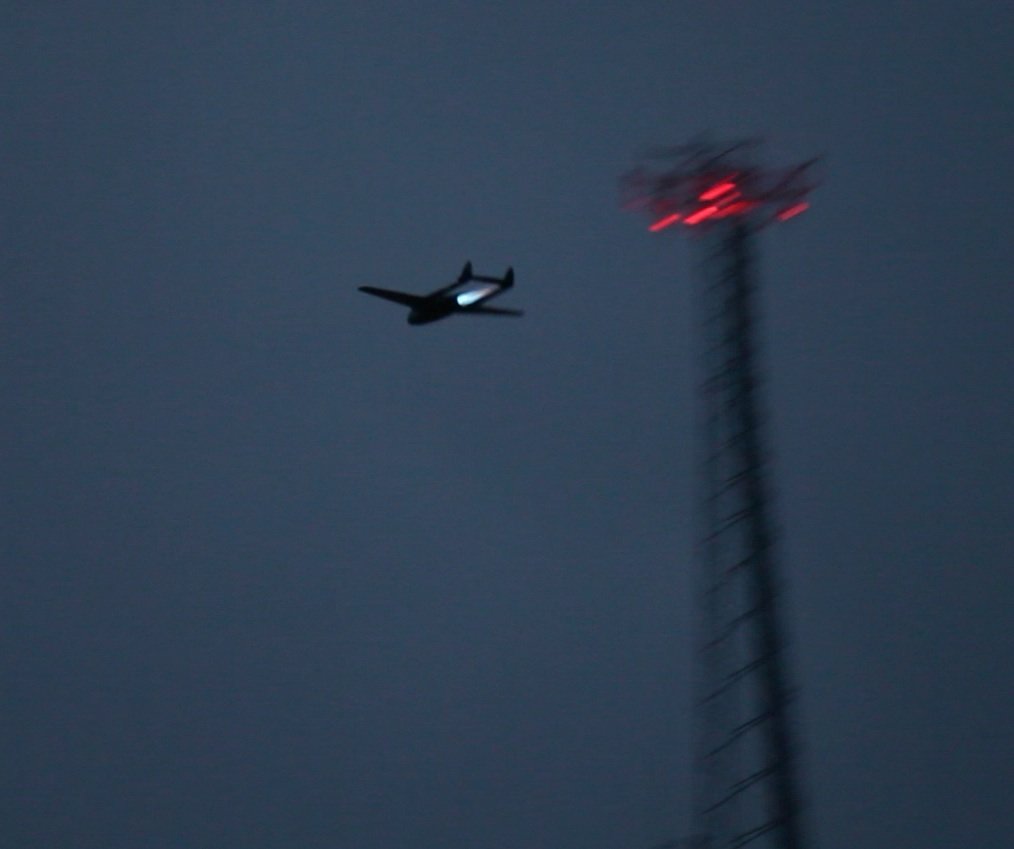


Watch the episode and hear that awesome sound
http://www.youtube.com/watch?feature=player_embedded&v=NjVvjlP29jQ
Extended episode

A while back I built this 70mm EDF SAAB JA37 Viggen for an episode of FliteTest. I finally go around to posting the complete build log here

To anyone who can help,
I was inspired by David’s Tricopter builds, but finally decided to go with Jason Peterson’s http://www.instructables.com/id/Inexpensive-Wooden-Tri-copter/
My list of parts is exactly as his, i.e. RCTimer’s 2830/8 1300KV Outrunner Brushless Motors and
Hobbyking SS Series 18-20A ESCs, etc., except for the battery.
The ZIPPY Flightmax 3000mAh 3S1P 20C was not in stock, so I bought this one instead: Turnigy 3300mAh 3S 20C Lipo Pack.
I also went for the: Hobbyking X900 Tricopter Glass Fiber Multi-Rotor Frame, instead of his wooden frame.
As I am a newbie to all this I took things very slowly. I flashed the controller with the V1.6 firmware.
The receiver was already bound to the T9X. I chose the Helicopter 90 degree setting.
I checked that all the motors were rotating in the correct direction and the that the yaw mechanism was working via the T9X.
I then tried to get all the motors to start at the same time by trimming the controls on the T9X and managed to get them right but not always.
Finally I balanced the props and mounted them on the motors.
I tried to repeat the process by just giving the T9X just enough throttle to start the motors,
so I was not revving them enough to lift the tricopter, when I noticed the left front prop alternatively turning in both directions then the motor started to smoke!
I switched off and disconnected the battery immediately.
I let the motor and ESC cool down and tried to power up again, but instead of the usual chirping and silence, I got several chirpings from the ESCs.
When I disconnect the motor and powered up again I got the normal chirping from the ESCs, so I guess the motor is fried, the windings do look a bit darker in parts.
What do you think? Was I just unlucky with a duff motor, or did I do something wrong?
Perhaps the LIPO is too powerful for this configuration? (It is only a 3300 20C as opposed to Jason’s 3000 20C)
Perhaps the frame is too heavy although I did not try to get it off the ground.
Or can you think of something else?
I have ordered a new motor from RCTimer and a new ESC from HobbyKing, but I will wait to hear from this site before trying to connect it all up again,
in-case you have some good advice?
Regards,
Chris.
David,
My wonderful wife purchased a Storm Drone 6, from Helipal.com, for my birthday this summer. I have been flying it a lot and have even started my own YouTube channel. My only issue with it is that is has such limited flight time. About 5 min without camera payload. Is there some way that I can extend my flight times? I’ve put two batteries in parallel and try to keep my throttle input smooth and steady but I’m not sure what else I can do. Should I start to look at swapping out the stock escs and motors? Any input you have would be great. I have been following you and the rest of the flite test crew for a few weeks now and have watched almost all of your videos. Keep up the good work!
Thanks!
Tim

The J37 Viggen is my absolute favorite airplane of all time. I’ve been thinking of building one for a long time, but I didn’t just want to build a flat foamy. I wanted to do it’s awesome curves meaty fuselage justice. So I decided to cut one out of 4 inch thick Bluecor using a hotwire.
Here is the plans to the formers used in this build: EDF Viggen Plans

Since Chad didn’t have a hotwire in the basement, I had to build one from scratch. (How can people live without one?)

To do this build I didn’t really need a big hotwire bow. I rather have a small, light one that gives me great control over the fine movements and doesn’t make my arms tired.

Very basic shape. I didn’t feel the need to glue 1/2″ PVC pipe pieces together. The friction seems plenty strong.

The wire I use is 0.4mm thick Nikrothal 80. A nice thickness for this kind of work. It also doesn’t expand as much as other hotwires when it heats up which is nice. Regardless of what wire you get you will most probably not going to be able to solder it. To get around this problem I cut a small piece of brass tubing.

I then slip the tube over the wire and clamp it down hard using a pair of pliers.

The brass is soft and makes a great electrical bond to the wire and it’s super easy to solder to.
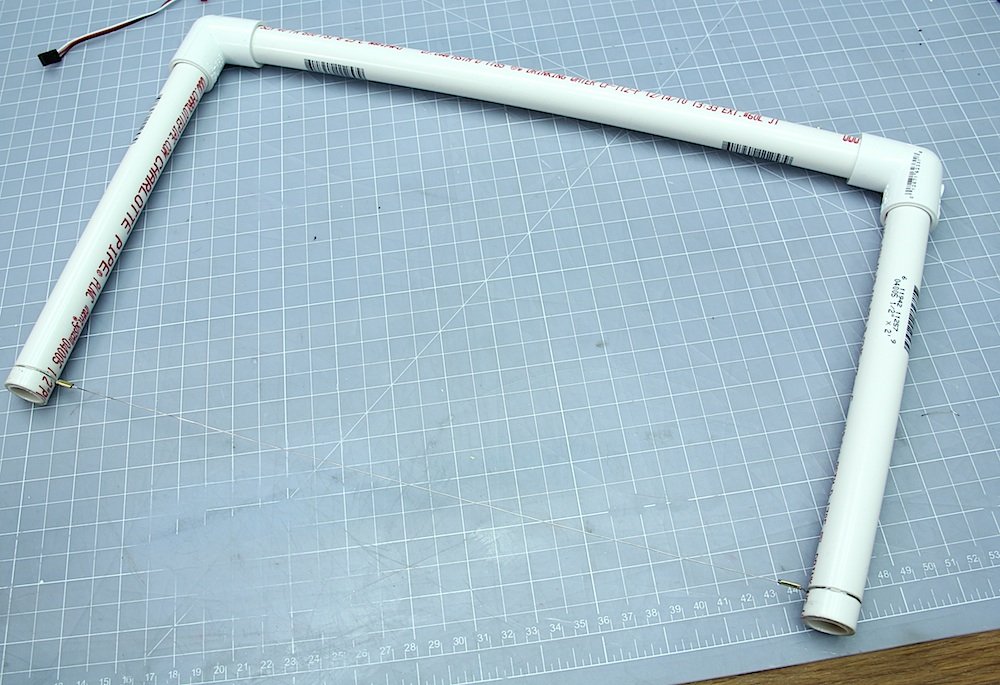
One thing you don’t want on your hotwire bow is a slack wire. To achieve this I simply pushed the two arms inwards when I attached the wire. This creates an outward tension in the bow that keeps the wire taught even when it get’s hot.

I wanted both wires to come out the same end so they don’t end up in the way when I’m working. I simply fed a piece of wire through the inside of the bow.

Soldered toghether. Nice and clean.

Close up of the solder joint.

To control the temperature of the wire I used a BRUSHED spedcontroller and a servo tester. That way I can easily control the voltage aplied to the wire and thus control the current flow, which is what is turned into heat. I^2 * R = Heat dissapated in the wire

I started out by cutting two blocks of 4″ foam
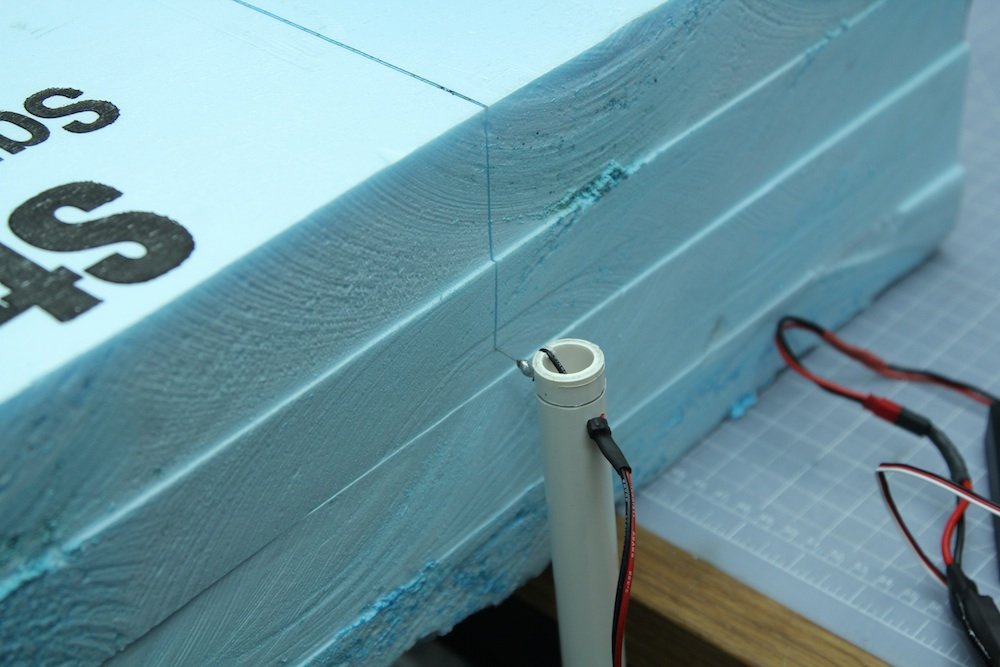
A tip is that the hotwire bow cuts perfectly straight down with the help of gravity if no external force is acting upon it. Just let it hang and make sure the power wire doesn’t affect it.

Used building needles to pin the formers down.

Started by cutting the air duct for the entire F-H and C-F first

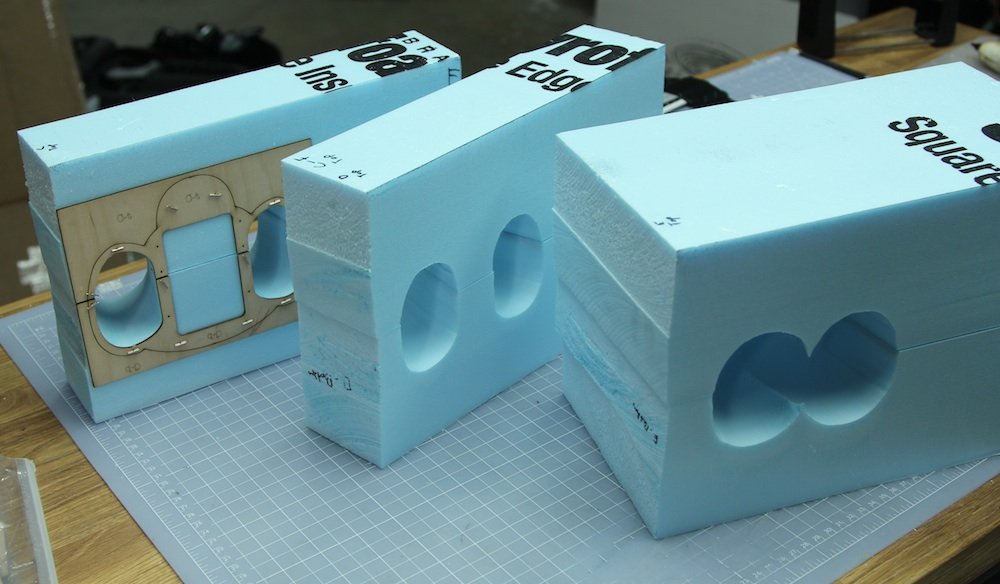
Then I cut the big pieces into the individual sections.

And cut the contours of each piece.

Video about the hot wire cutting process:


The F-H piece was a bit short so I had to add a piece of foam to the end.

Nose cone before shaping.

I used a power drill and some sand paper to shape it into a cone shape.

Done.

All pieces glued together.
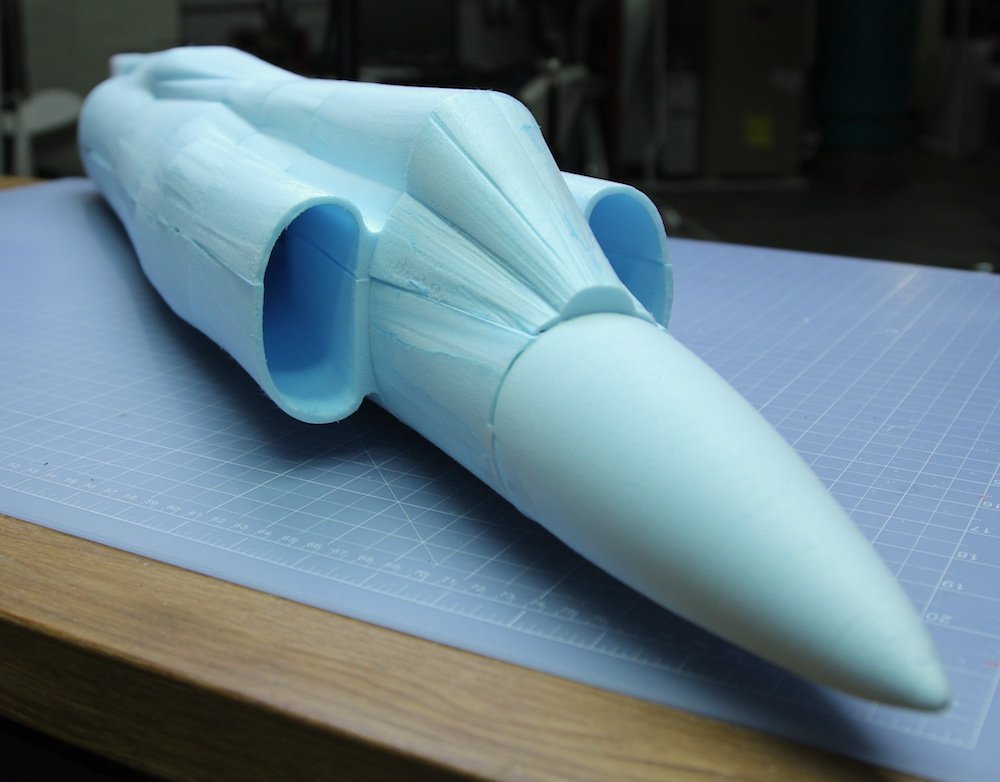
Nosecone fits pretty well

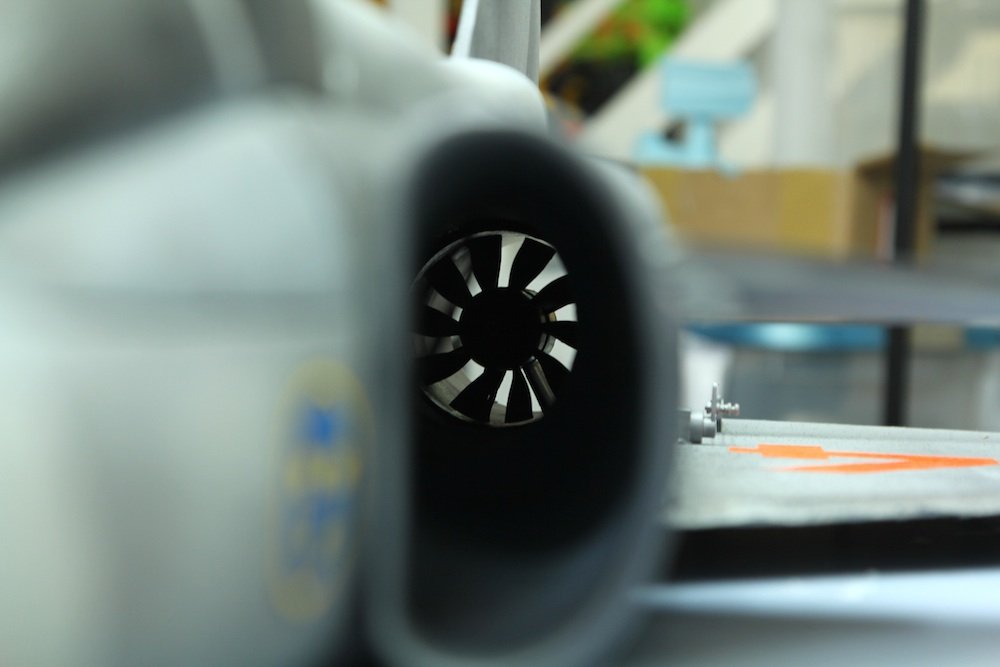
ChangeSun 10 Blade 70mm EDF unit
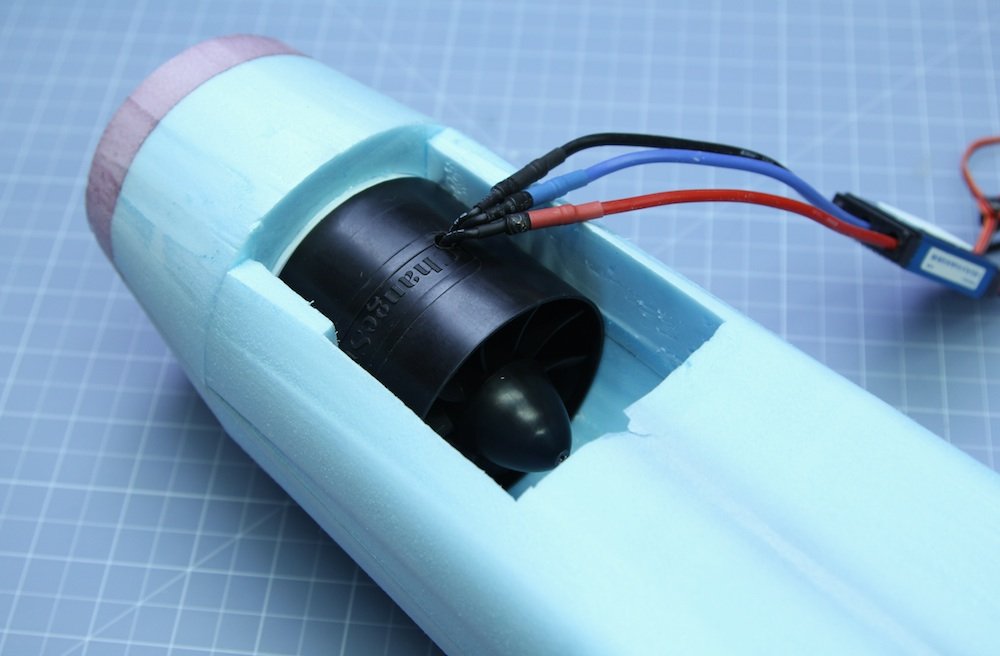
To get the CG correct I mounted the fan as far back as possible.
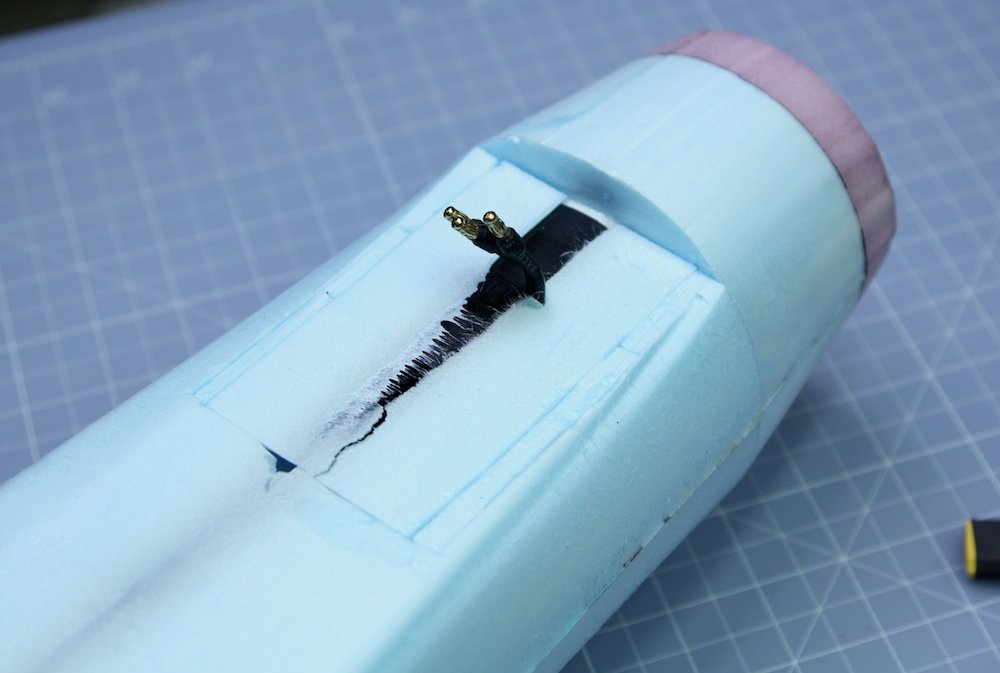


Time to fix the intakes.

Removed around 5mm.

Sanded away the material between the air intake and the fuselage as well as smoothed the intake edges.
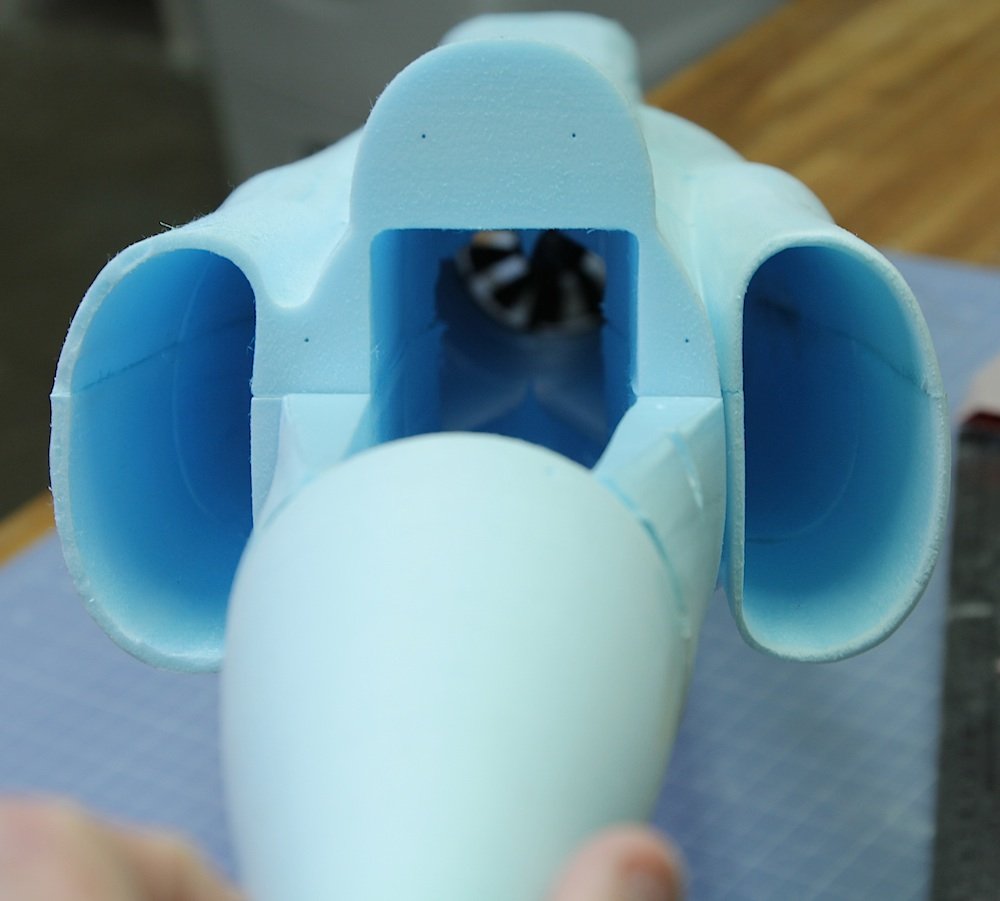
Before and after.

The intake was way to fragile being that thin so I glassed the edges.

Now there nice and strong.

Sanded the whole fuselage.
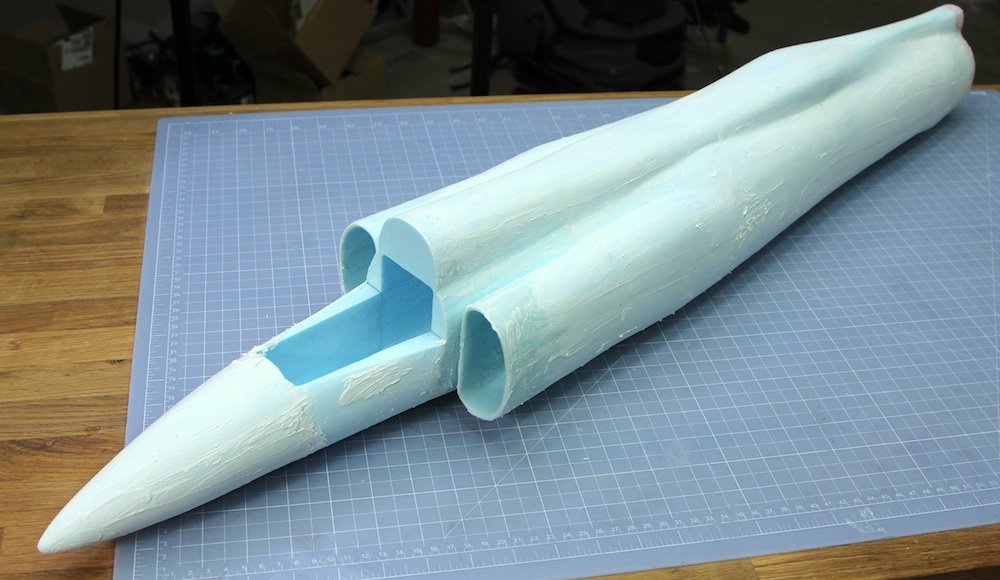
Added a layer of light spackle.

Sanded it again.

Nice and smooth.

Cut the wing.

I strengthened the radar detectors on the wings with a 2mm carbon rod.
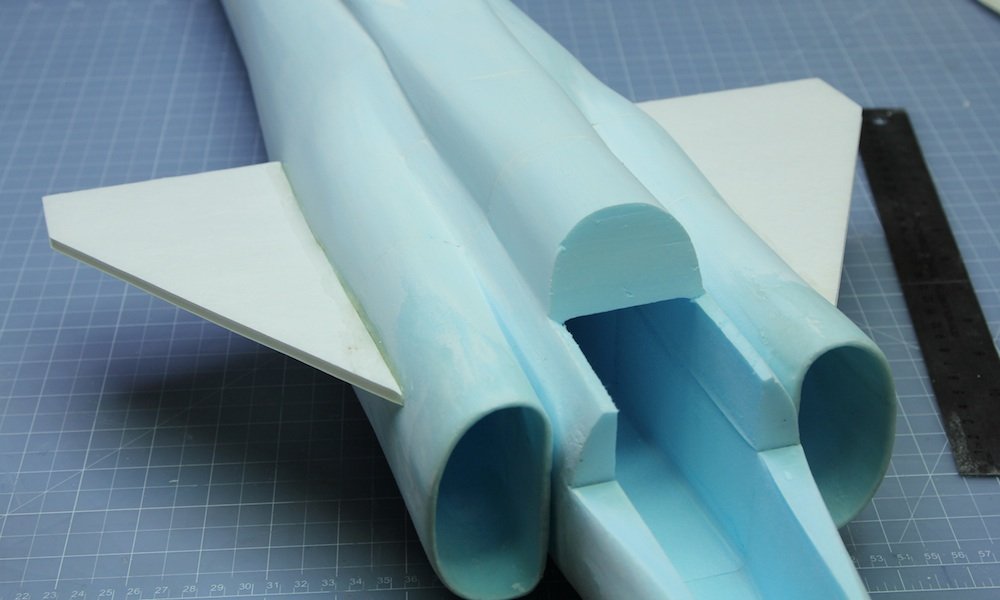
Installed the canards.
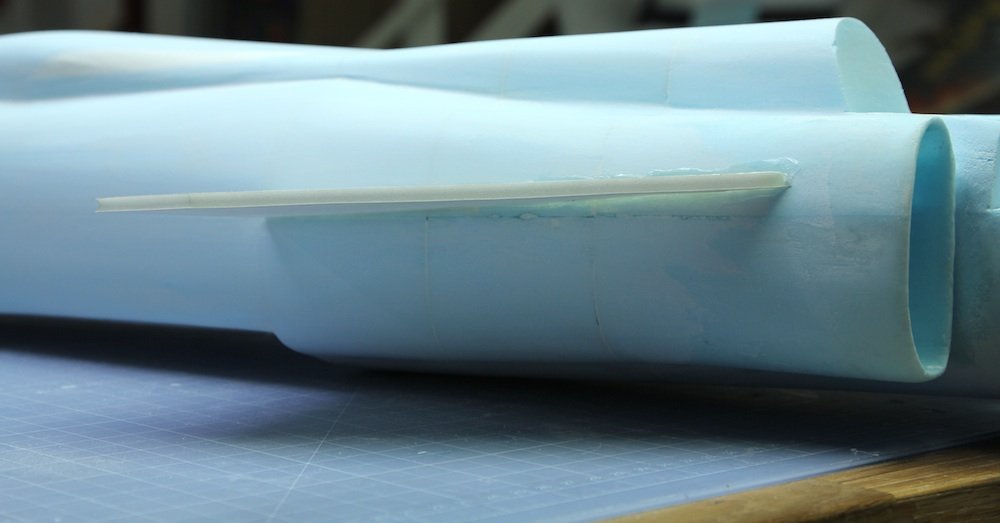
Notice the positive angle of attack.

Installed the wing.

Time for the servos. Glued using hotglue to the wing.

A detail that really transforms the plane is the wing fillers. Looks great and hides the servo wires.
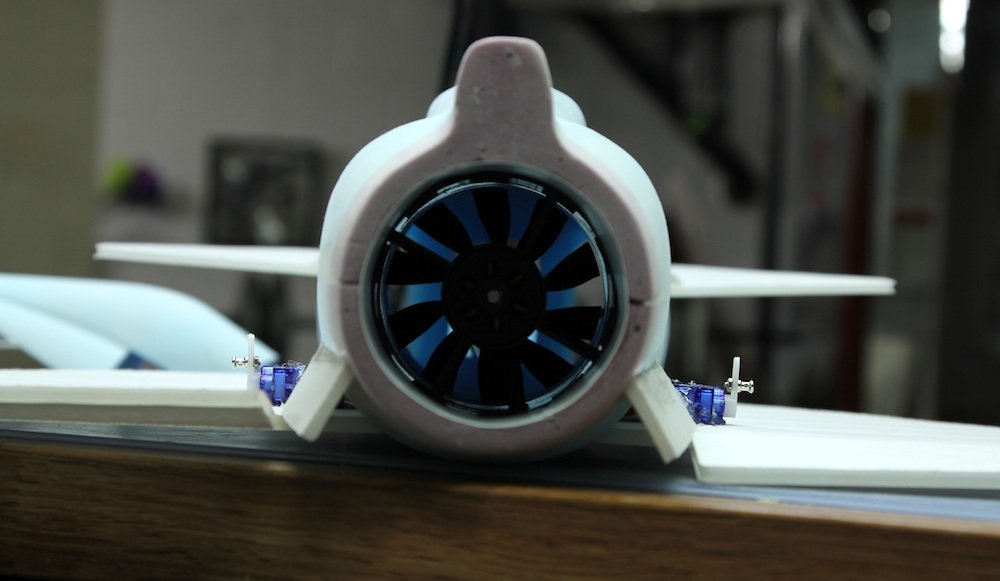

Servo wires going into the fuselage.

Added the bottom details to the exhaust.

I added a plastic tube on the inside of the exhaust to minimize the drag an add strength.
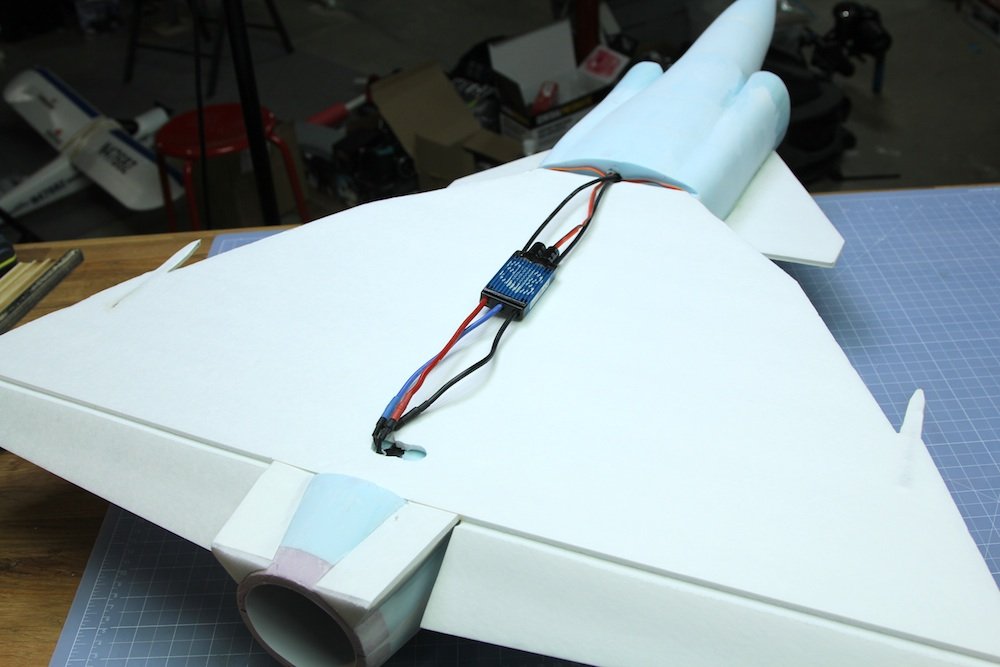
Speed controller installed.

The bottom plate covers the wires nicely.

To add some scale detail I added weapon hard-points made out of balsa spars.
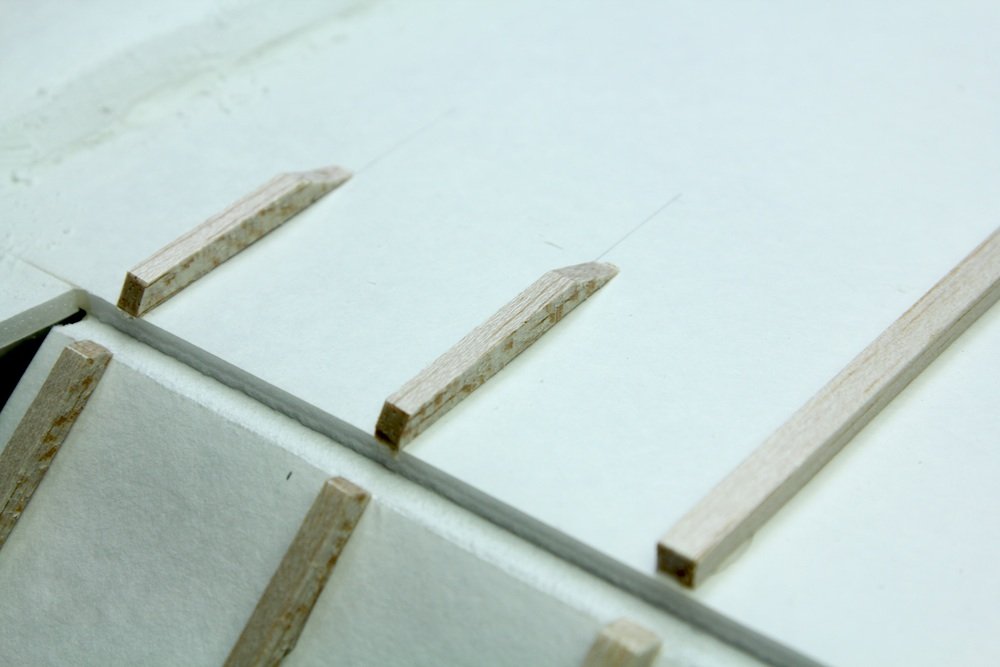

Installed the rudder

Control linkages in place and ready for the first flight.


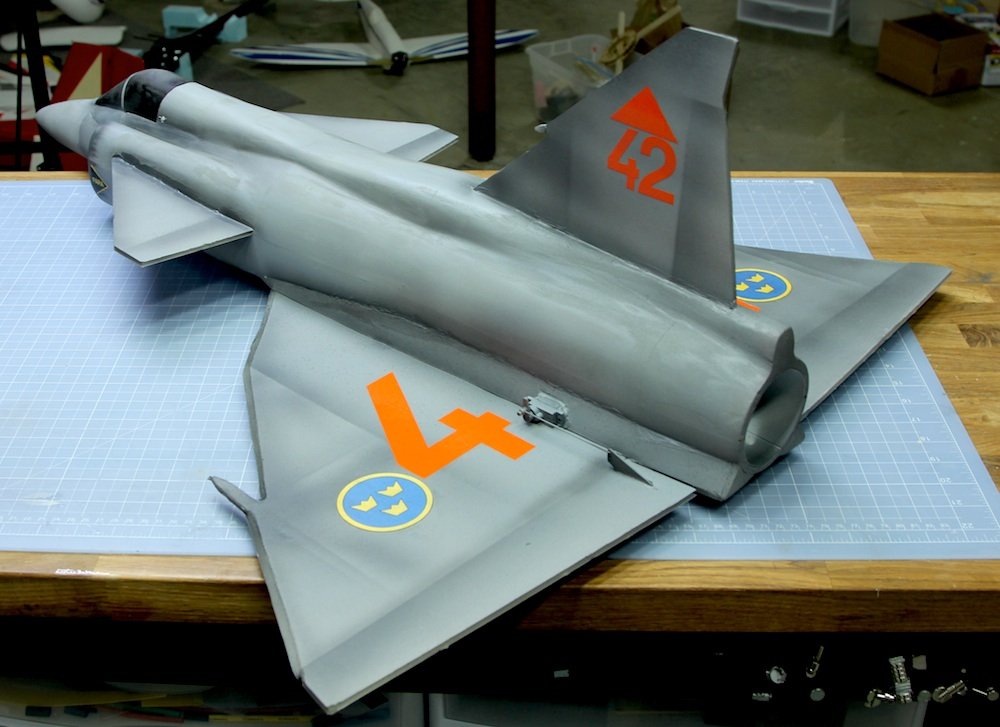
It flew awesome! Time to hand it over to Chad and have it painted.


Just need some decals!
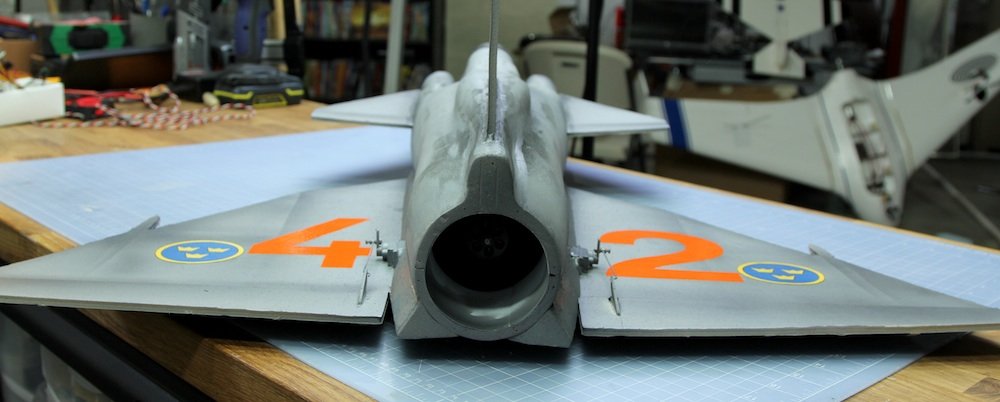
The numbers are cut from orange vinyl. All other decals were printed on normal sticky back paper used for shipping labels on a laser printer and then spray painted with a layer of clear coat.




Canopy held down with magnets.
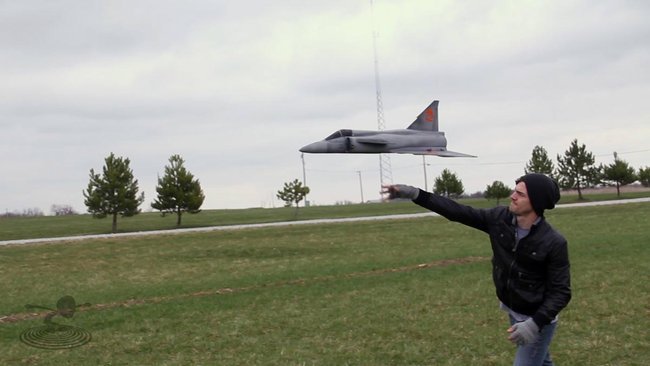
Up, up and away


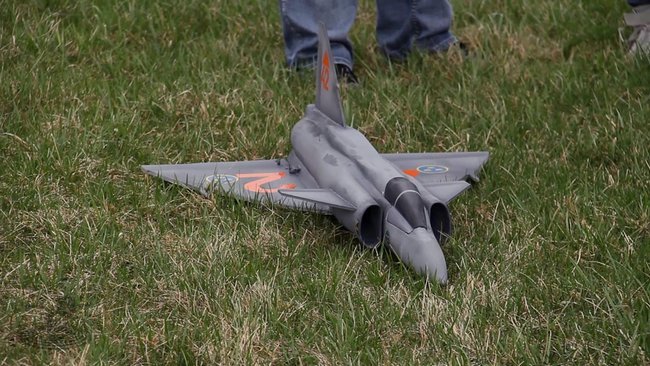
Video:
An ultralight flying spheroid is similar to an insect bumping into things.
Enjoy watching,
Jesper
Hi! David I’ve been following your builds for sometime now..:)_your truly talented! I’m one of your biggest fan:). Love every project you come up with Great job! Ok I was wondering how heavy is your tri copter with full fpv gear http://rcexplorer.se/projects/2013/01/the-tricopter-v2-6hv-delux/ including GoPro ? As mine weighs at 2.75 pounds with out GoPro do you think that is to heavy? I’m using same setup as yours, just different frame. thank you