
My friend ”Kajakmannen” built a carbon fiber tricopter a while inspired by my tricopter. It was quite a bit beefier than mine, using carbon 600 size helicopter booms for arms. Trouble was that this design was not very crash resistant and after a while it ended up in the back of his workshop. During a visit I spotted it sitting there and asked what he wanted for it.
-Help me build a Tricopter V2.5 and it’s yours.
All said and done. 24 hours later he had a flying tricopter and I had had my carbon fiber main plates and plastic boom holders. I’ve wanted to build a bigger Y6 and now I got a free frame that was perfect for it.

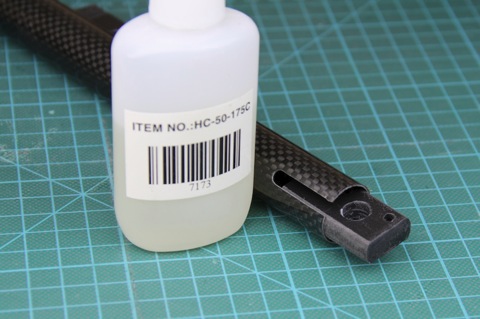
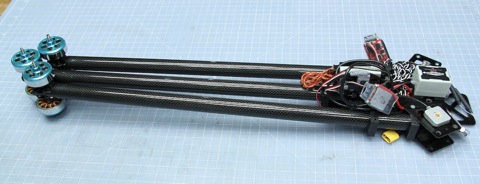
The frame, made out of 1mm carbon fiber, along with the boom holders made out of plastic.

I ordered some carbon fiber tubes with an out diameter of 21.5mm from Hobbyking. I then took 3 plastic blocks I had laying around and rounded the corners to fit them inside of the tubes to act as motor mounts.

Drilled some holes to be able to attach the motors.
I then added CA glue to the edges of the plastic and shoved the motor mounts into the boom.

Ones the glue dried I grabbed my favorite tool, the dremel and got to work.

Done. Time to test mount the motors.
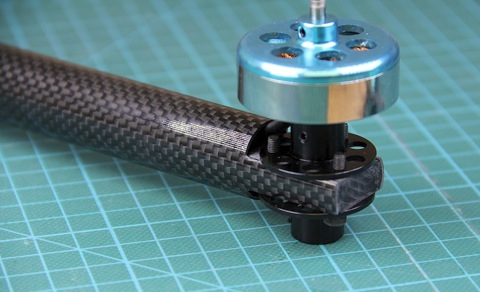
Fits and looks pretty nice.
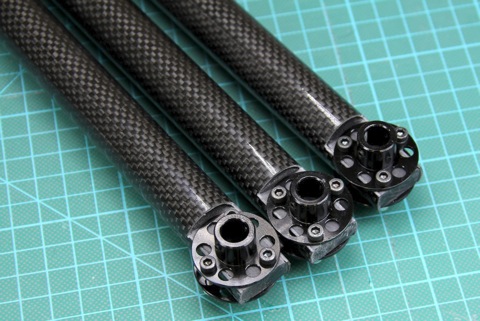
All three arms done.
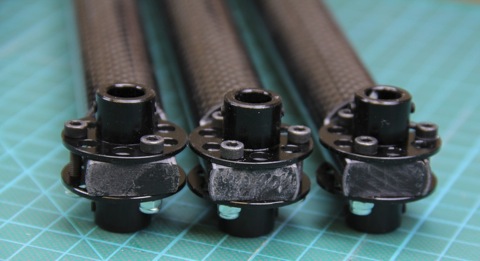
Note that one screw is on the outside of the tube. Works well and isn’t too esthetic displeasing.
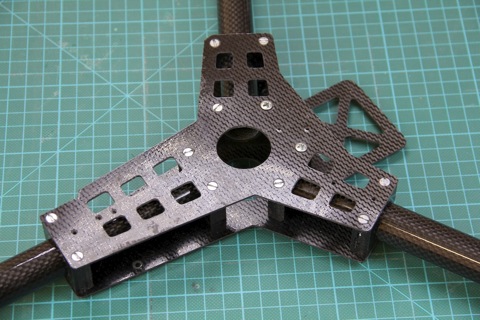
Frame put together along with the arms.
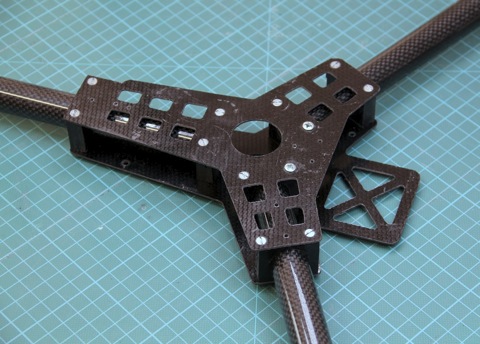
This frame is really stiff and light weight.


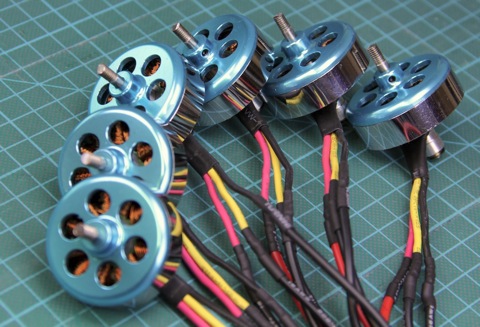
Electronics. DT700’s and 18A Plush’s.

Extended motor wires using 16AWG cables.
Shortened the motor axels to the appropriate length.

Motors in place. Looks pretty neat in my opinion.

Motor wires hid inside of the tube for a clean installation.


ESC’s prep time.
ESC’s soldered to the motor wires.
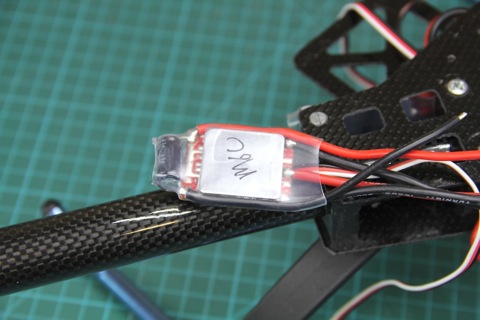
Soldered the battery wires pointing back and covered the ECS’s in transparent heat shrink

Extremely advanced power distribution board. (A triangle of double sided DIY PCB board)
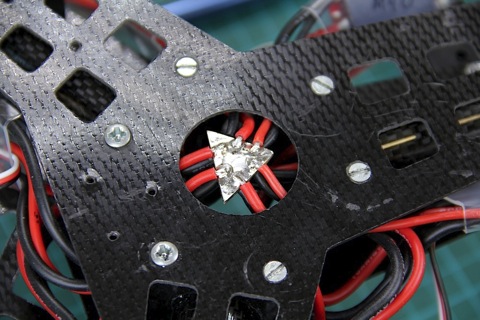
Soldered all the wires and checked for shorts. Couldn’t find any which is a plus (Pun intended)

ESC’s fits nicely inside of the frame.
Flight controller time

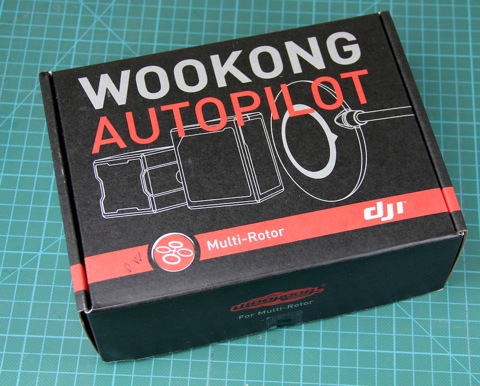
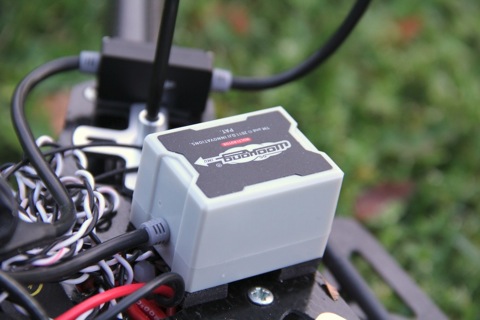
The DJI Wookong-M. Priced at 1K USD at the time I bought it, it’s by far the craziest thing I’ve bought.
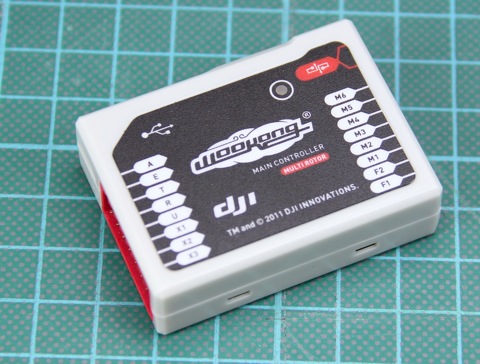
The main controller. Only contains the processors, no sensors inside of this case.

The IMU unit. Contains 3 gyros, 3 accelerometers and a barometer of industry standard.

RGB LED indicator in a aluminium case.

GPS/Compass unit. The box on the middle of the cable is just a parallel connector to connect the indicator LED.

Power module. Supplies the DJI system with 12V and the receiver with 5V. It’s also a voltage sensor that interfaces with the DJI system.

Other stuff in the box. Servo cables, micro USB cable and a mount to elevate the GPS/Compass unit to reduce interference.

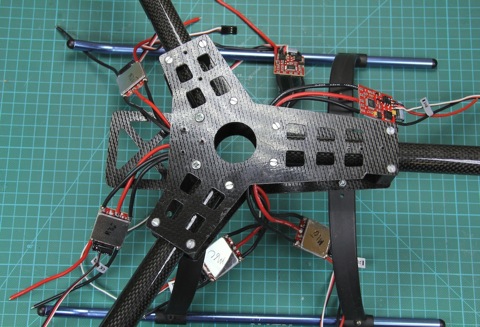
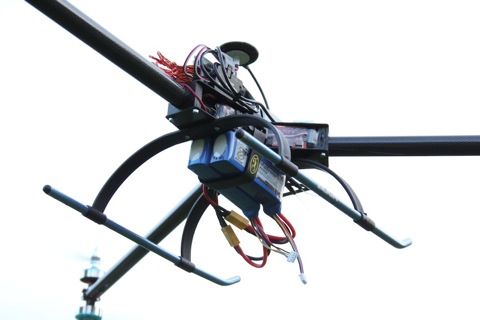
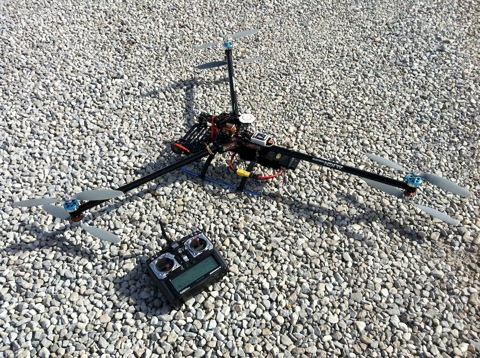
Temporarily fitted on the Y6


Wiring will be cleaned up later on.

2x 3s2200mAh batteries to test with. Gives about 15 minutes of hovering time.

12*3.8 APC props mounted on the DT700’s
IMU unit.

Time for the first flight.

All I can say is… WOW! It’s creepy stable. After 2 minutes of tuning the gain I was able to put down the transmitter on the ground and walk around the Y6 taking pictures.
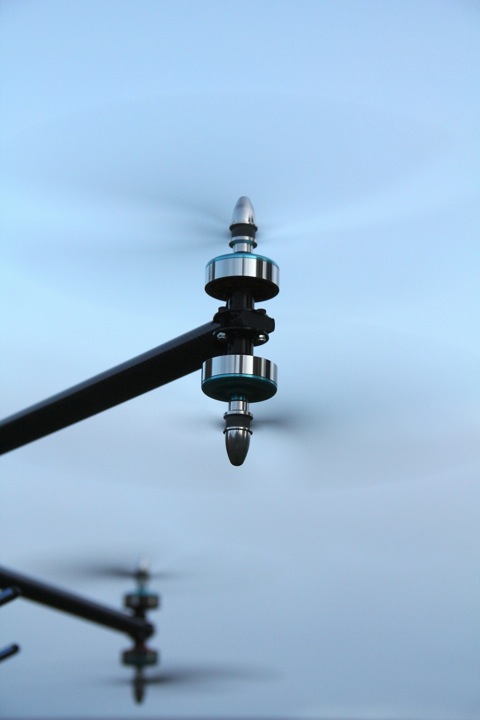
Closeup of the motors.
Will make a battery tray later on.
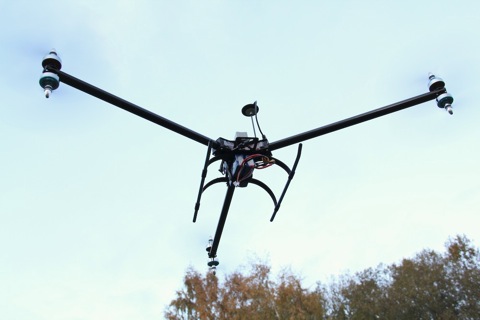
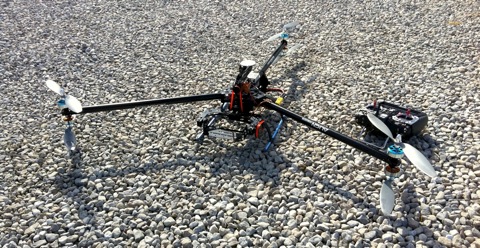
Looks nice in the air.

Not too demanding to fly. It flew the entire flight on its own while I was taking pictures. It didn’t move more than a decimeter in any direction. Amazing.
Folded up and ready for an adventure in the USA.

It’s possible to fold it but you have to unscrew 12 screws in order to do it. Not very practical.
Unfortunately the video footage I had of the Y6 flying in the US is lost. Neither me, nor Chad that shot the footage can find it. So here is the next best thing, a video I shot of the Y6 hovering in GPS mode with my Iphone just before I left for the US:
When I got the the US I added a 2 axis gimbal to the Y6.
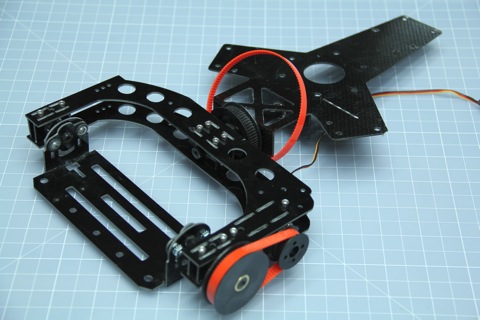
I added the gimbal to the front of the frame rather then underneath it. It looked really nice but due to the placement it was a nightmare to get rid of even the tiniest vibrations.

It looks really nice and it flies as well as it looks. However it’s not perfect.
The placement of the gimbal made even the tiniest vibration amplify and show in the video. This is especially bad as it’s impossible to get rid of all vibrations on a coaxial propeller setup. The air from the top propeller hitting the bottom propeller will always create some vibrations, no matter how well balanced the props and motors are. Also the big size and lack of foldability made the copter difficult to travel with. I could have made a new mount underneath the body for the gimbal, but I decided to move on with other projects and leave the Y6 with Chad in the US. I replaced the DJI system with a KK board before though. I think I’ll try the DJI system on a quad next…
On the evening before I flew back to Sweden I got a crazy idea to try and lift a huge P-47. This was just after we shot a couple of episodes and the light was fading fast, so we rushed out and just went for it. It didn’t go too well as I didn’t actually weight the plane before hand. Do not try at home if you value your limbs or your friends!
http://www.youtube.com/watch?v=3IwVM9FQkIc
This is great job…im always thanks to you for you release amazing things here.
Thank you.
How did you fit the Props on the DT700 ? I’m having trouble finding something like you used on the Y6 Copter.
Just a 4mm prop adapter.
WOW ! Very nice looking Y6! Can you please tell me the lenght of the 3 booms from motor shaft to the side of the main frame ?
I think I wasted my time subscribing to this and you people don’t response to comments or quaestion.I think I will UNSUBSCRIBE !!!
Is it yaw control on this tricopter?
tricopter? I mean Y6 😛
I am wondering what your all up weight was with or without the camera gimbals. I recently tried a y6 with the Naza m V2 on a 650 frame with DT750s, 2 x 2650mah 3s, running 11×4.7 props. My all up weight I think is crazy, about 2400 grams. That is with gimbals and camera system. I fly down to about 3.64v on the lowest cell and I get about 7 minutes of conservative flying with the double packs. My frame alone weighs i believe about 650 grams which I think is a lot but it’s my first y6 build. I am toying around with trying 6 x mt2212-16 750kv tiger motors on your the new tricopter frame that’s coming with 12×4.5 props. Any thoughts would be appreciated. I was also thinking about using the blog space here to share it and get ideas with it.
THanks!
Rotor
That frame looks AWSOME!!! I know a friend built it, but is there a way to get one?