
- Airframe: Tricopter V2.5
- RC TX: Hitec Aurora 9 2.4GHz AFHSS
- RC RX: Hitec Optima 9
- Camera: GoPro Hero HD set at 720p 60FPS
- Video TX: 1.3GHz 300mW, Pinwheel antenna
- Video RX: 2 x 1.3GHz Lawmate
- Video RX 1 antenna: Pinwheel antenna
- Video RX 1 antenna: OMM Open Bi-Quad
- Diversity controller: Eagletree Eagle Eyes
Author: RCExplorer – David
-
Running Waters
-
New video! – “Running Waters”
I brought my trusty old tricopter along with me when visiting my friend “Kajakmannen”, up in Älvkarleby.
They have a hydroelectric power plant which, with it’s surrounding terrain, was just too beautiful not to fly over.
Setup:
RC TX: Hitec Aurora 9 2.4GHz AFHSS
RC RX: Hitec Optima 9
Camera: GoPro Hero HD set at 720p 60FPS
Video TX: 1.3GHz 300mW, OMM Pinwheel antenna
Video RX: 2 x 1.3GHz Lawmate
Video RX 1 antenna: OMM Pinwheel antenna
Video RX 1 antenna: OMM Open Bi-Quad
Diversity controller: Eagletree Eagle Eyes -
Let me introduce the Quadrone
After building the Gaui 500X quadcopter I realized that in order to get a quad that does exactly what I want, I need to design it myself. So that is what I did!
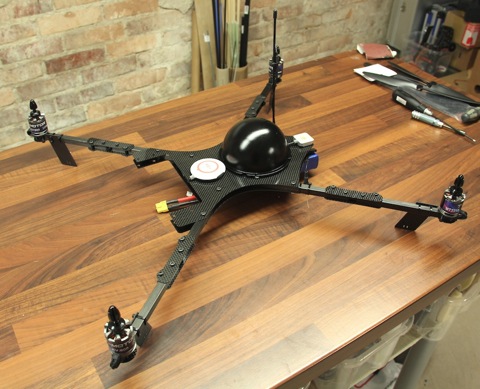
Click here to get to the build log -
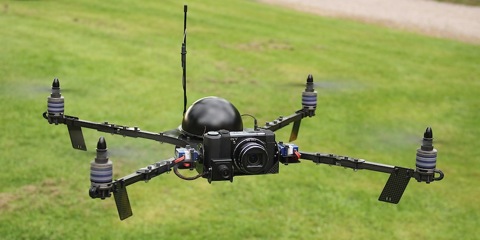
The Quadrone
After building the Gaui 500X quadcopter I realized that in order to get a quad that does exactly what I want, I need to design it myself. So this is my first attempt. The goals I’ve set up when designing this quad are:
- Stable (which means it can’t be too small)
- Easy to transport
- Light weight
- Able to carry a compact point-and-shoot camera
- Smooth, in-flight controllable, tilt of the camera
- No props in the picture
- Should look nice and professional
- Be able to grip and lift it with one hand
- 10+ minutes flight time
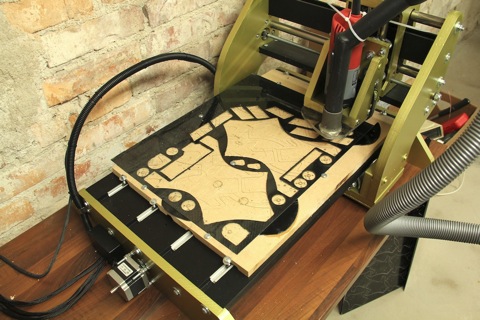
My new CNC machine really helps speed up the process of designing new parts. What used to take hours to make by hand now take me minutes. (Sorry for the raving but I’m still not used to owning a CNC)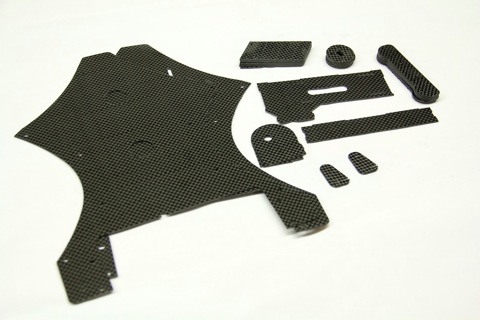
The parts cut. I decided on using 1mm carbon fiber to save weight and to be honest, it looks really cool.
I decided on making the tilt-assembly part of the main frame itself to make the quad more compact and streamlined.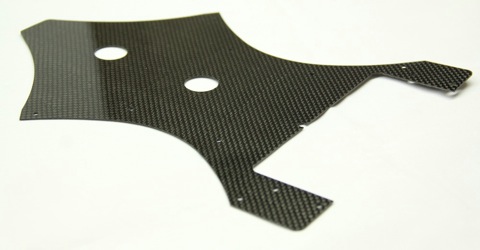
I decided against making lightening holes in the body for three reasons. Firstly, shielding the main electronics from the ESC’s that I plan on mounting in between the frame plates. Secondly, to keep the frame as rigid and tough as possible. And lastly to hide all wires away in between the plates.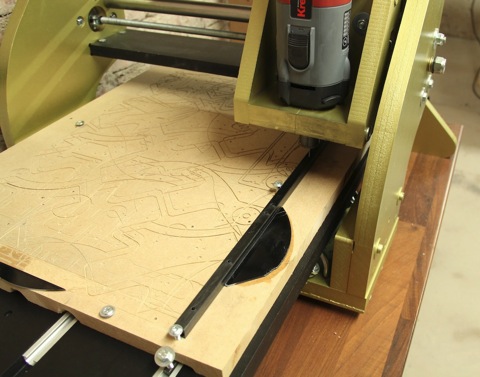
For the arms I used 10mm square carbon fiber tubes from hobbyking. I drilled the holes in the CNC as well as marked where to cut the arms.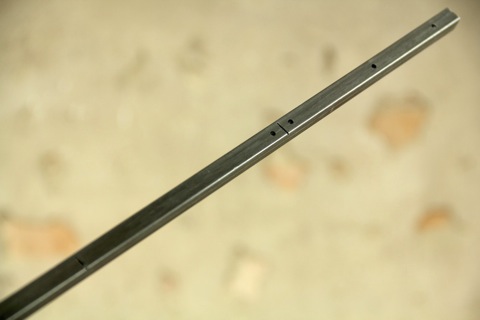
Simply saw through at the markings and you’re done.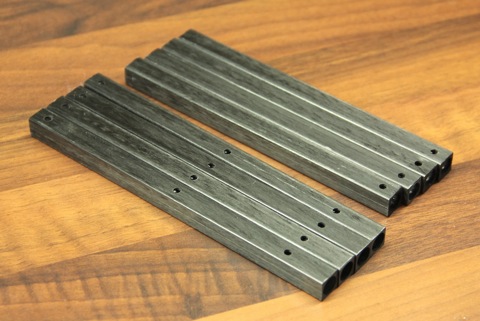
Arms done. Why there are 8 short pieces instead of 4 long ones I’ll get to in a minute.
Super simple motor mount. Most motors have the standard 19 and 16 mm hole pattern which happen to almost fit straight onto the 10*10mm square booms. All that is needed is a few strokes with a round file and it fits like a glove.
Motor in place. Super stiff and light weight, just as I like it.
Now to the interesting part. None of the quad folding mechanisms I’ve seen so far really manages to make the quad that much easier to transport. They usually just make the quad oblong and bulky. So I spent some time figuring out a new folding mechanism that would make the quad easier to transport as well as protect the quad and props from damage during the transport. And this is what I came up with. A simple ”elbow” in the middle of the arm. As simple as possible but not simpler.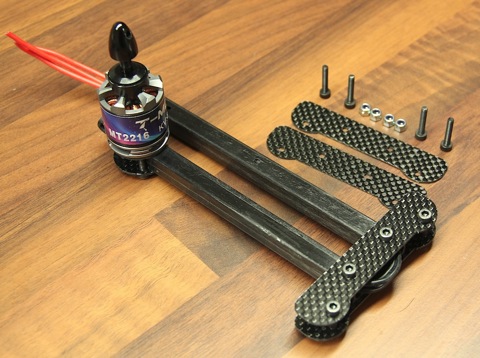
This will reduce the size of the quad as well as protecting the props and body. The cables runs through the hollow carbon-fibre arms and can bend freely at the ”elbow”.
I decided on making the quad 650 mm motor to motor, which should make it nice and stable without being too bulky.
The camera tray. Simply glued together. Note the extra little bracket on the front, it’s for the FPV camera.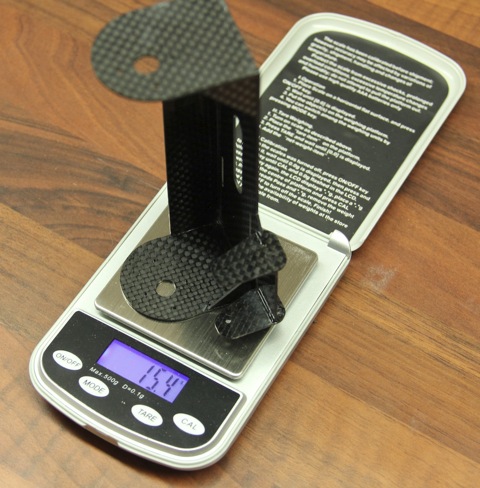
Not to heavy.
The camera I’ll be using is the Sony HXV9 which as really nice quality video/photo.
The camera is held in place with two velcro straps, which may save the camera in the event of a unscheduled crash.
To get the highest possible stability, I bought the Hobbyking F-20A ESC’swhich I’m going to re-flash with Simon K’s awesome firmware. The modified firmware has little to none filtering of the PPM signal which means that the throttle response is much quicker.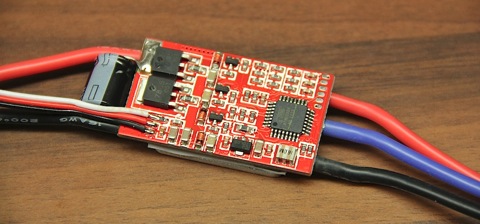
There are a number of different ESC’s that can be re-flashed (more info in this thread), I choose the F-20A ESC’s due to the fact that it has an external oscillator and has programming pads that are really easy to get to.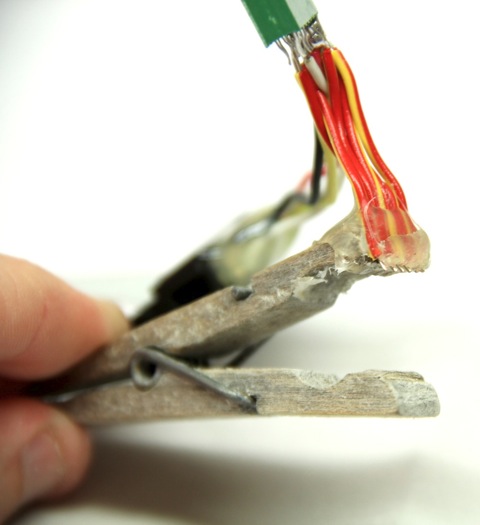
I made a super simple quick connector out of a clothespin and some rigid wire.
I simply clamp the clothespin over the programming pins and go. Barely takes a minute to flash a new ESC now.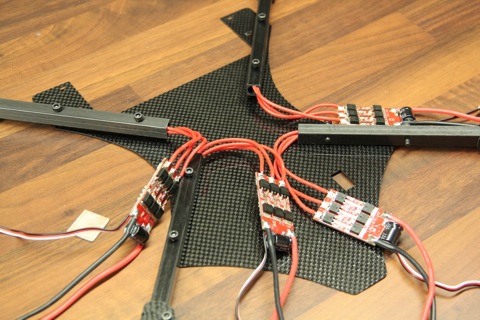
Soldered the ESC’s to the motor cables.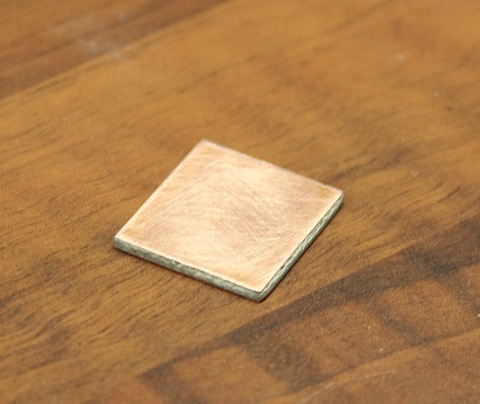
My Super-über advanced distribution board. A double sided DIY PCB laminate.
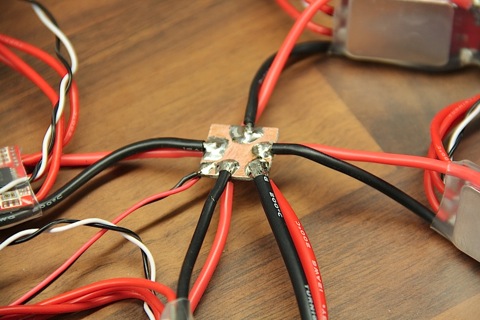
It gets the job done. Simply solder positive to one side and negative to the other.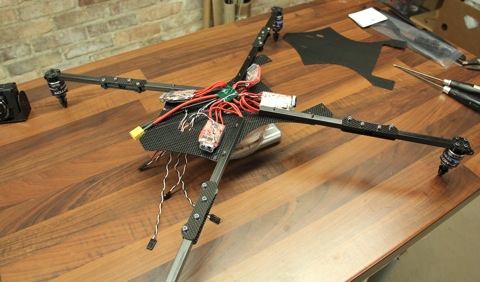
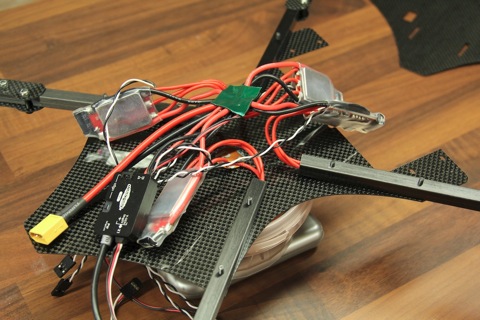
Lots of wires. Not very pretty.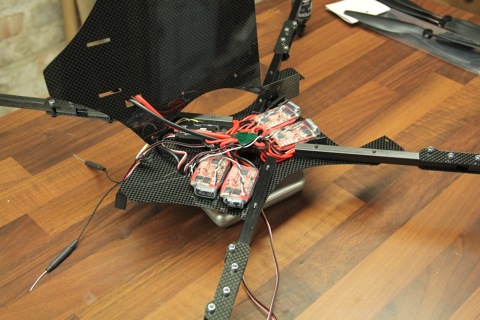
Tidied up a bit. With both frames in place, it’s neatly tucked away.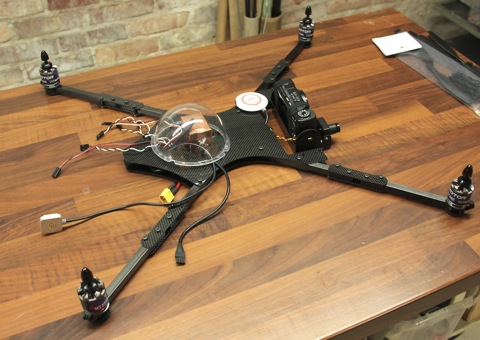
I’ll be using the DJI Wookong-M as the Stabilization unit. I found a domed security cam cupola in a local hardware store that’s the perfect size to cover the electronics. This will make it look better as well as protect it.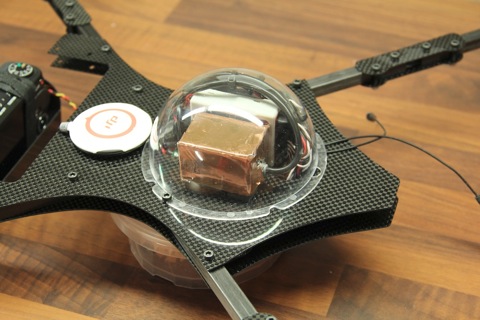
Stabilization unit in place. I used some copper foil-tape around the IMU unit to act as shielding as I have the GPS only a few centimeters away.

This is how the Quadrone looks folded up (without props and camera-mount).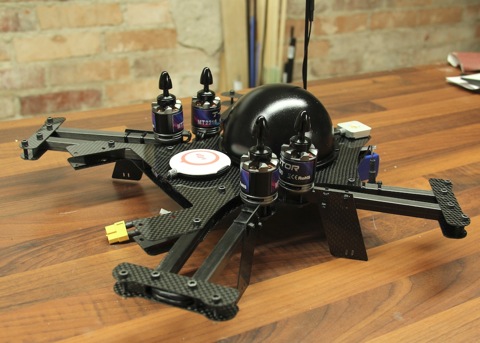
As the motors fold in towards the center, there are no sensitive parts along the outer perimeter of the Quadrone during transport.
To make the transport even easier I designed it to fit inside this peli-clone case.
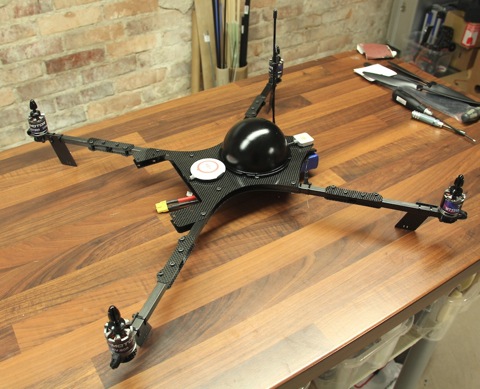
And this is the Quadrone unfolded.
Simple servo mounting.
The servo is simply being sandwiched by the screws.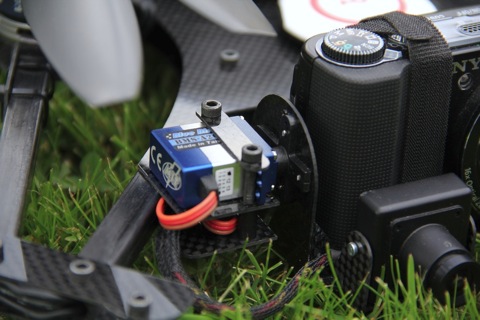
The tabs on the servo prevent it from moving back and the gimbal keeps it from moving forward.
Second servo. This is to make the movement as smooth as possible. Might be a little overkill in this application, but it saved me the trouble of making a bearing solution on the other side.
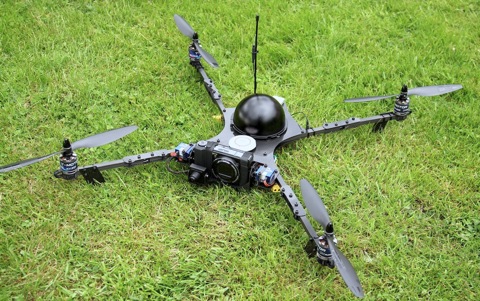
All done and ready to go.
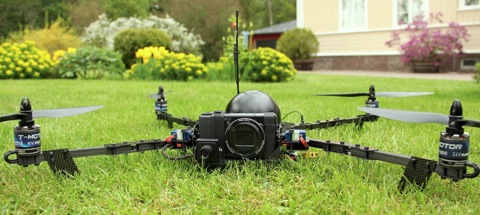
All up weight ready to fly, with battery (4s3000), camera, FPV gear and all; 1400 grams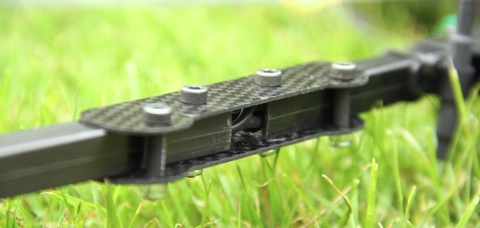


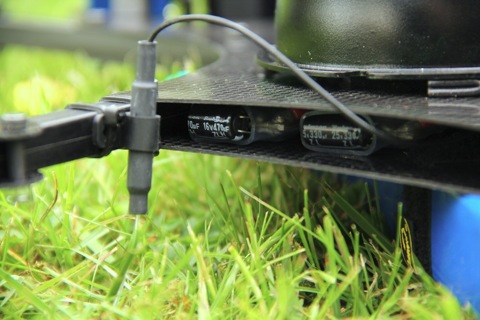


The battery is held in place by a battery strap and can be easily moved back or forth to get the correct CG.
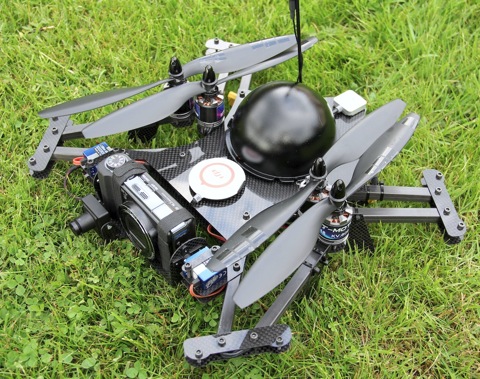
Folded up with props attached. Nice and compact with the props protected.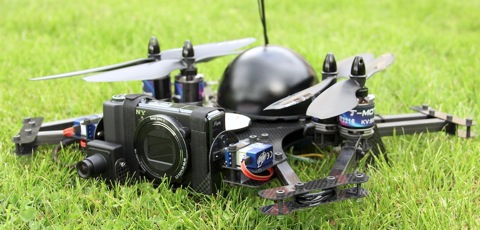

Up, up and away
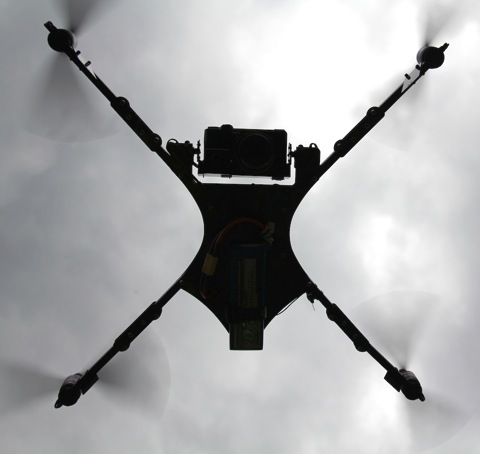
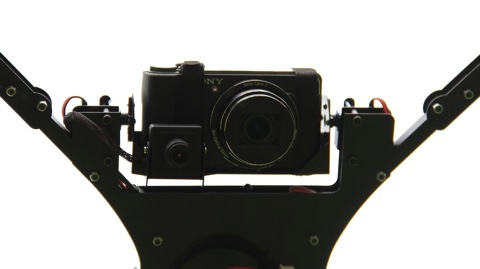

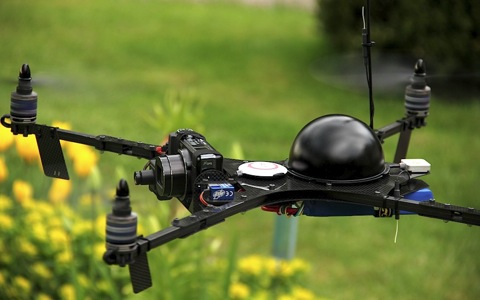
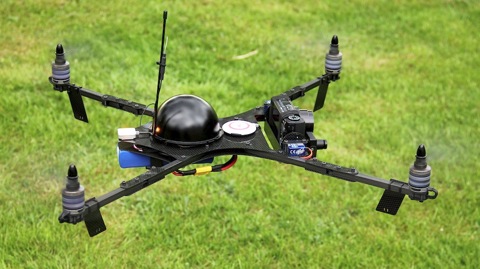

More to come!
-
GoPro challenger: HoryzonHD (pre-production, mini review)

This is the new HoryzonHD FPV camera from Foxtechfpv.com. The unit I’ve got is a pre-production unit equipped with a wide angle lens, but I should receive the stock finished product any day now and when it does I can test the camera out for real. But in the meantime here is a mini review/comparison to the GoPro.I’ve wanted a camera like this for ages. I even tried to modify my own cameras to add a long ribbon cable but it failed. So I gave up on the idea and got a GoPro when it was released instead. But now my dream of getting HD video from a tiny, light weight sensor can finally be realized. Finally a real challenger to the GoPro for HD FPV flying has arrived!
The down sides of the GoPro HD camera is that it is not very aerodynamic. It is also relatively heavy. These two things makes it less than ideal to pan and tilt on a FPV platform. The HorizonHD on the other (more…)
-
CNC cut Tricopter frames for sale
Hello fellow RC enthusiasts!
Now that I got a CNC cutter I can offer glass fiber tricopter frames to all of you that do not want/can cut your own frame or have trouble finding glass fiber sheets. (And get my wife of my back about spending too much money on the CNC…)
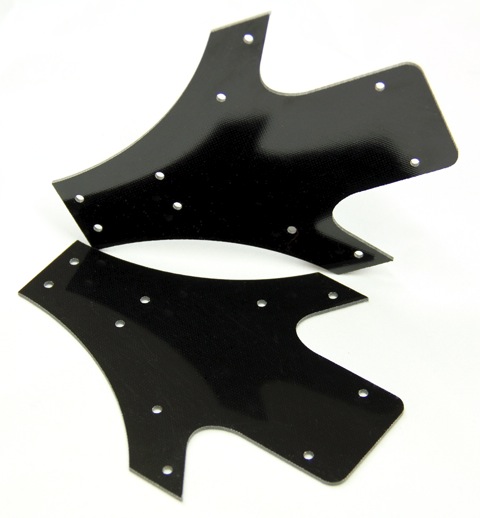
The frames are cut from 1.5mm thick black G10 glass fiber and weigh in at 38 grams/frame (1 frame consists of 2 pieces).Price: 24.00USD shipping included!
The price includes standard(non trackable) worldwide shipping. For an added cost of 7USD (Swedish postage is crazy expensive when you want it trackable) I can ship the package as insured and trackable.The package contains 2 center frame pieces (one set). The parts can have some cosmetic scratches but I try to keep it to a minimum.
Payment is via Paypal (Swedish customers can make a bank transfer instead, if so, contact me via email). Make sure your shipping address is up to date!
Update: The tricopter frames can now be ordered in the “For sale” section on flitetest website.
-
Let me present my new CNC
I found this little gem on a swedish electronics ”for sale”- forum. It’s a kit made from MDF wood that another member cut on a huge CNC router. It’s called the ”lillasyster”. This one has never been used as it’s not completely finished. Instead it’s been sitting down in a cellar for a couple of years. I couldn’t resist picking it up as I got a really good price on it.
The machine when I got it:
 (more…)
 -

Gaui 500X with DJI Wookong-M
Since the Carbon Y6 didn’t feel right for me, I decided to try out the DJI Wookong-M on a quadcopter instead.
I happened to spot this Gaui 500X frame from a local hobby store whilst I was there on other errand and decided to try it out.

The kit and the optional landing gear.
Everything in the box.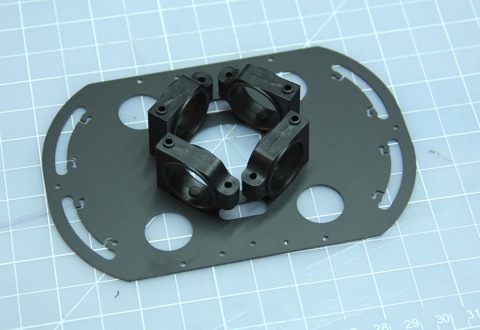
The frame is made from 1mm thick grayish-black glass fiber.
Inner boom clamps in place.
outer boom clamps in place as well as the frame stiffeners.
Middle frame done.
Motor mounts.
Screwed together.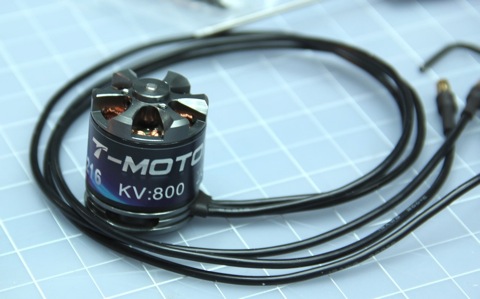
I’ll be using T-motors on this quad. The model I’m using is the 2216 800KV.
Fits nicely.
Perfect match.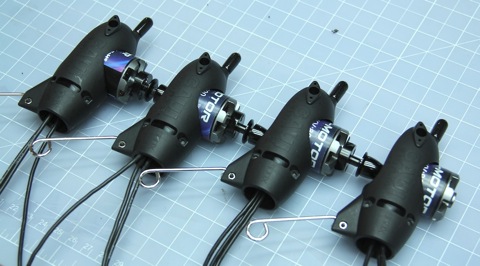
All motors screwed in.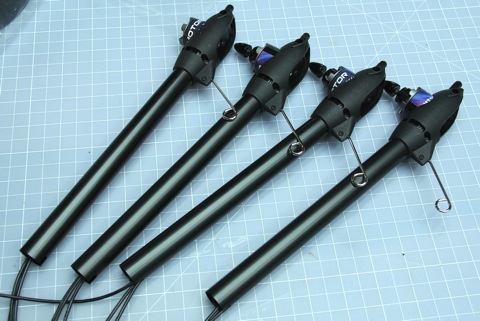
Booms inserted and clamped.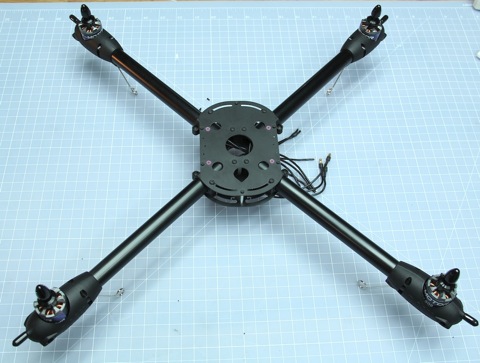
Arms in place.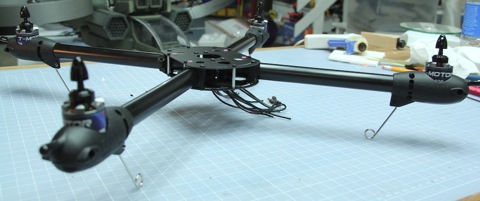

ESC’s soon done
After testflying the 500X I thought it was a bit to ”small” for my taste. So I decided to stretch it using some 22mm helicopter tail booms.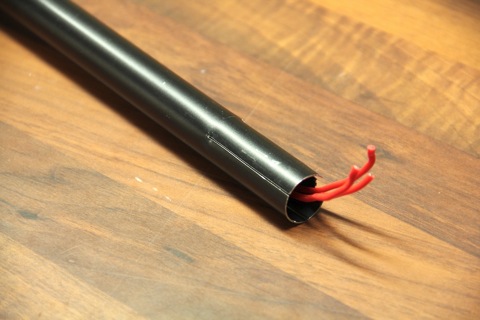
The 22mm booms didn’t really fit though so I had to cut 4 slots with a dremel to reduce the diameter slightly.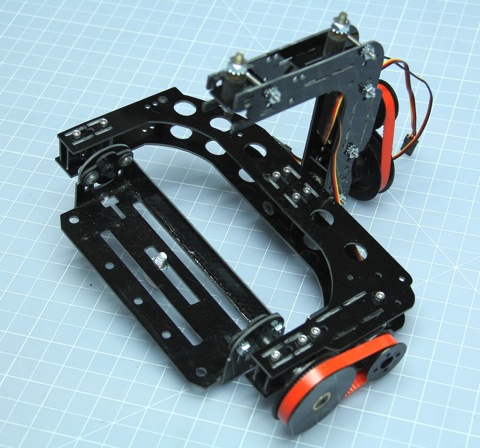
This is the gimbal I used in the Y6 build. I thought I would try using it in this project as well.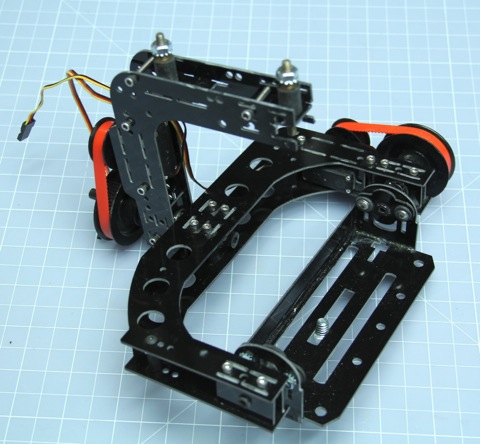
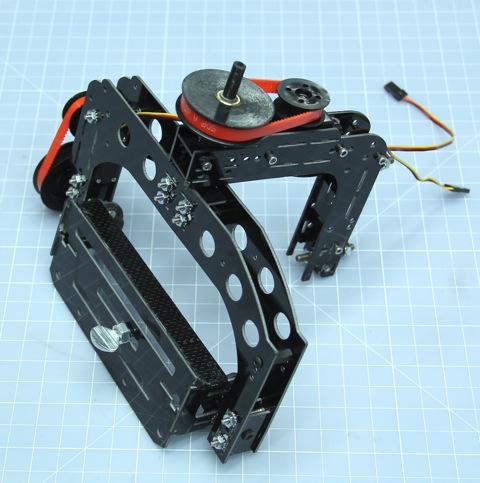
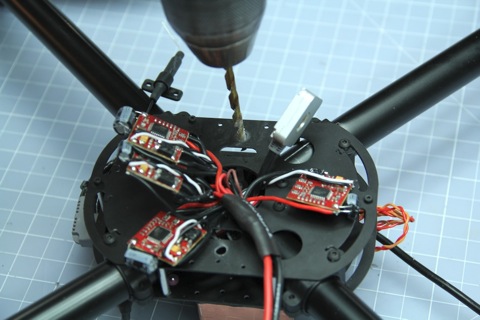
Drilling holes to mount the gimbal.
Rubber vibration mounts in place.
Gimbal in place.

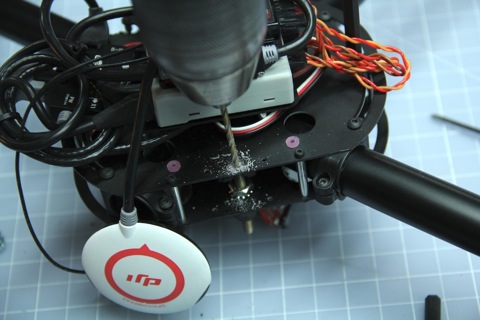
Now I need somewhere to place the battery.
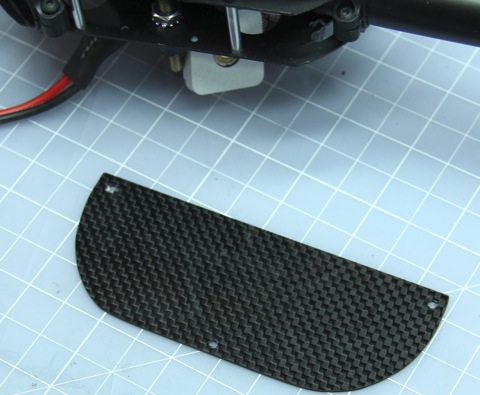
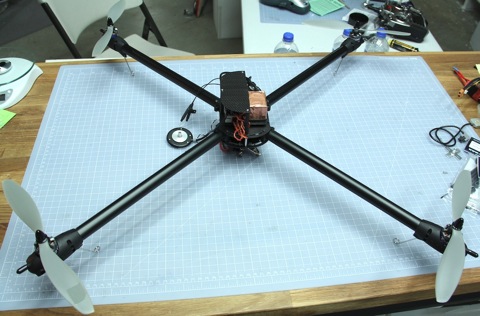
Bigger is better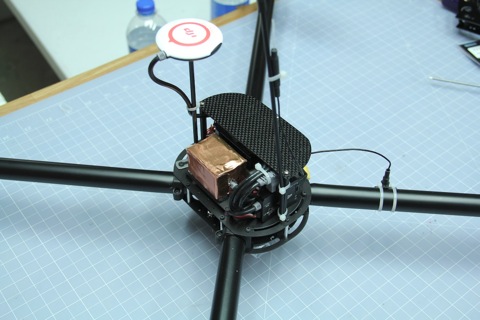
Battery tray in place.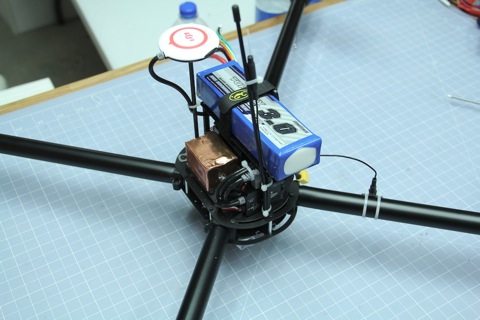
Works good enough.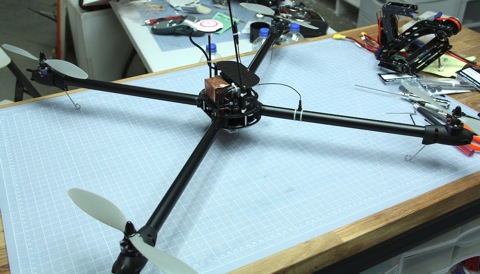
Unfortunately I don’t really have any video of or from the quad except when I flew it over the Niagara falls:
The reason I don’t have any more videos is that I could not get the gimbal to work properly. It was always twitching and vibrations amplified in the construction. Also I didn’t really liked the 500X frame. The folding mechanism wasn’t really to my taste as well as a couple of other small little things. However I liked how the quad flew so I’ve decided to start design my own. Stay tuned! -
Gaui 500X build-log
Time to build a quad copter! I spotted this 500X kit in a local hobby shop and decided to try it out.
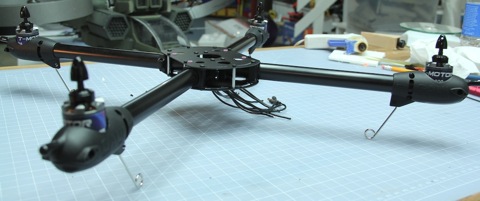
Klick here to get to the build log
