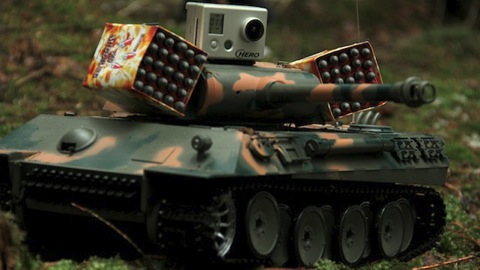
Trivia:
The video was filmed over two days with two helpers.
3 GoPro cameras were used and none of them got damaged. (more…)
Author: RCExplorer – David
-
New video – RC TANK BATTLE
-
Another sneak peek
Sorry for the delay guys. I just out of the blue got a job and the video had to be put on hold. I should however have it ready this weekend or the beginning of next week. In the mean while, here is another sneak peek pic:

-
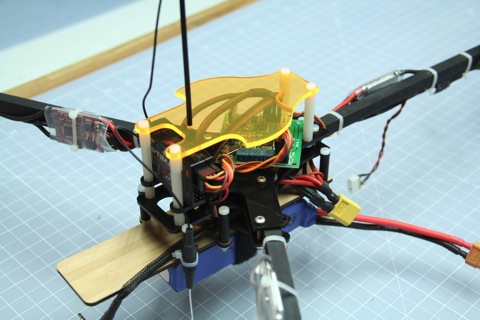
FPVManuals Tricopter
My friend Tim Nilson, the owner of FPVmanuals.com has created a tricopter kit based on my design. The kit includes all the hardware, except for the wooden arms and zip-ties, that you need to build a tricopter. A thing that makes this tricopter kit unique is the materials it’s made from. The main body and motor mounts are made from delrin plastic, which is extremely though. The camera tray is made from a 3mm bamboo plywood. The top protective plate is made from orange tinted acrylic. All these different materials together make an awesome kit. Let’s start building.

The parts
This piece is a jig. It’s made to ease the cutting of the notches in the wooden arms needed for the nylon screws.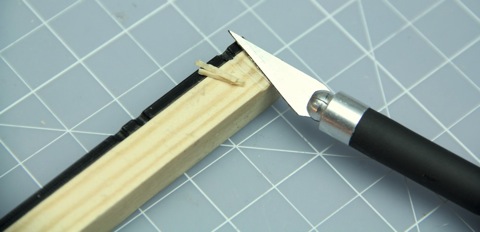
Simply cut a V-shaped notch with a knife.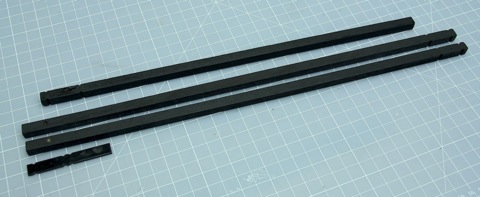
After cutting the notches and drilling the holes I painted my arms using a black spray paint.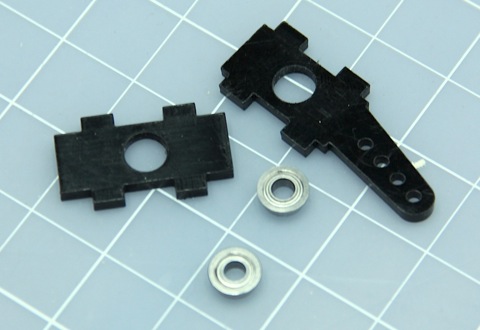
Time for the yaw mechanism. These two ball bearings needs to be press fitted in the holes.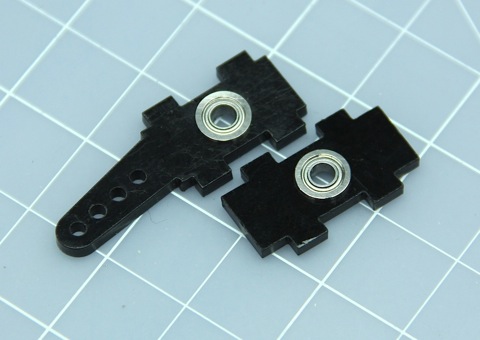
The bearings fits really snug.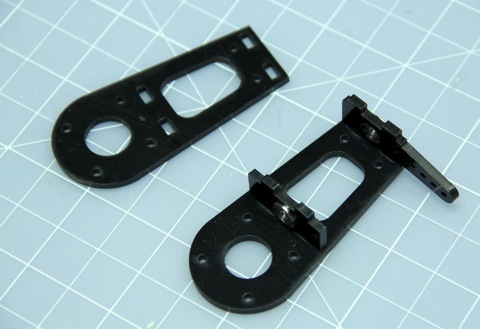
Place the two pieces with the bearings facing outwards. This will ensure that the bearings will never come loose.
I’m really impressed with the manufacturing quality of the kit. All pieces fits perfectly together.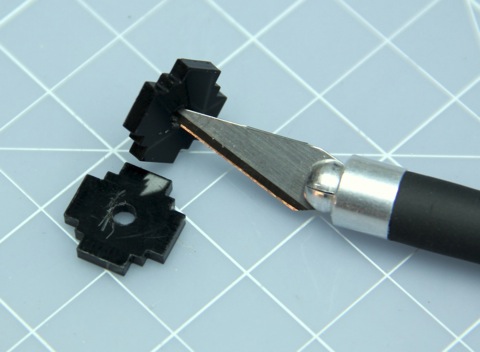
These pieces will hold the aluminum axel. They are designed to hold the axel tightly and can be a little difficult to press on. To make this easier bevel the edge of hole slightly. Do not increase the size of the hole it self, just the edge.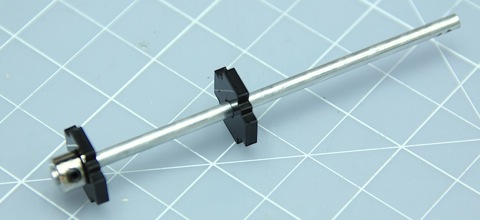
Press on and ready to be mounted.
The pieces fits perfectly once again.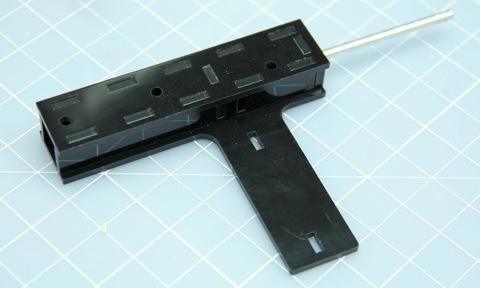
The tail ”box” done.
The motor mount and servo mount added as well. This yaw mechanism is extremely smooth and completely free from slop.
The bag of screws and other mounting hardware that’s included in the kit.
Two holes needs to be drilled through the wooden arm to mount the tail ”box”. The screws and nuts included are made from nylon, which means they are very light but also strip out very easy. Only tighten the nuts using your fingers. They will be tight enough that way and there is really no chance of you stripping them unless you have superhuman pinching strength.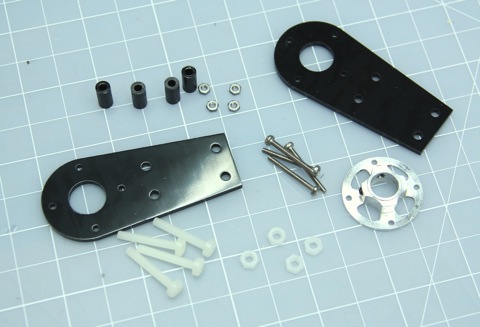
Time to assemble the motor mounts.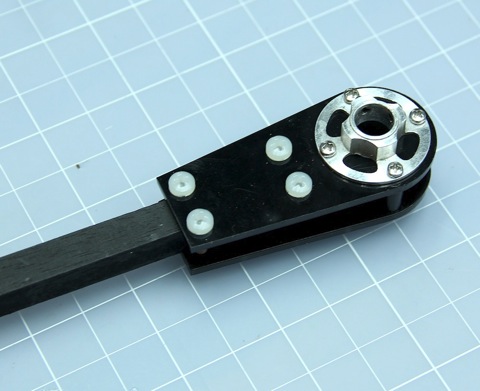
I’ll be using the good old 2213N 800Kv Brushless motors I used in V1 and V2. In fact I’ll be using the ones I rewound. Funny side story: These motors were mounted on the tricopter I crashed into the ocean in Cancun. I discarded the motors in Chads ”box of stuff that’s probably broken and can be used for spare parts” as the bearings had rusted. The second time I returned to the US I saw the motors still laying in the box, so I decided to refurbish them by fitting new bearings, axels and bells on them.
All motor mounts in place.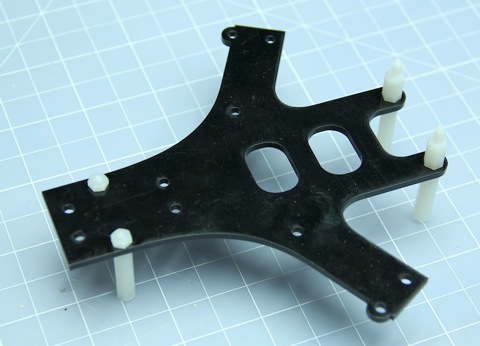
Time for the main body.
Tail boom in place.
Camera tray made out of laminated bamboo in place.
The two front arms in place. Note that metal screws are used.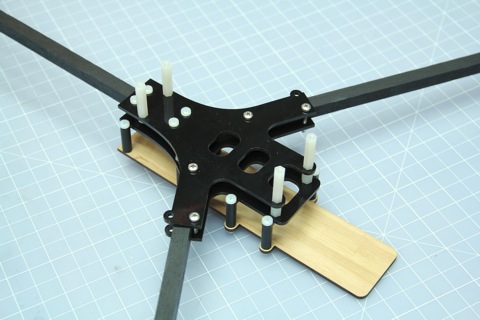

Time to mount the servo. I used a BMS-385DMAX Digital Servo (Metal Gear) as usual. The servo linkage is included in the kit as well.
Remember to add a dab of hotglue to the servo tray. This will make sure that it stays in place even after the hardest of crashes.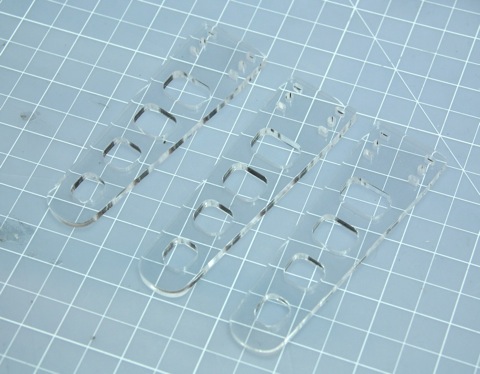
Lexan landing gear.
The landing gear can either be mounted with screws or zip-ties. I would recommend zip-ties as it makes them ”break away”.
Electronics in place. I used a HK kk board, 10*4.7 APC props and TURNIGY Plush 18amp Speed Controllers.
All it needs now is a GoPro.
The orange top plate. Looks really nice in real life, as well as protects the electronics.
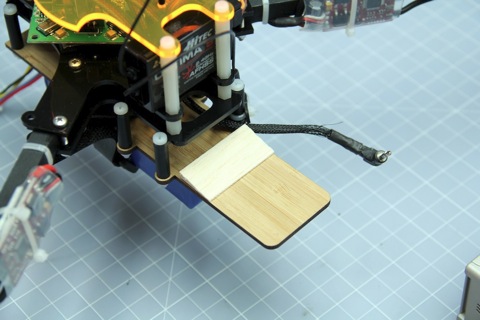
I like to have my GoPro tilted slightly downwards so I added a small piece of balsa.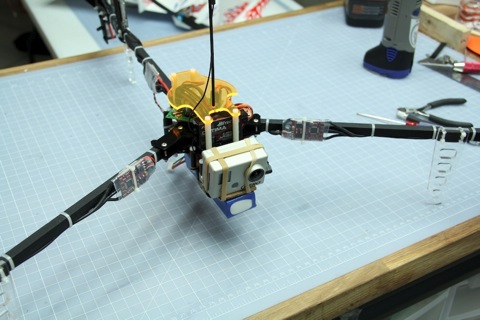
All mounted and ready to go!Here is a video where I use the FPV Manuals tricopter:
The kit can be bough at getfpv.com
-
Niagara falls – the story of a fail
- Airframe: FPV Manuals Tricopter
- RC TX: Hitec Aurora 9 2.4GHz AFHSS
- RC RX: Hitec Optima 9
- Camera: GoPro Hero HD set at 720p 60FPS
- Video TX: 1.3GHz 300mW, Pinwheel antenna
- Video RX: 2 x 1.3GHz Lawmate
- Video RX 1 antenna: virevent antenna
- Video RX 1 antenna: OMM Open Bi-Quad
- Diversity controller: Eagletree Eagle Eyes
-
New video: “Niagara Falls” – The story of a fail
Last time I was in the US I convinced Chad to take me to the Niagara falls. It was a 5 hour drive from the Flitetest base, which I didn’t think was too bad. Chads wife Julee and son Christian accompanied us when we set out at around 9am. We made pretty good time and arrived at the falls at around 3.30pm. Jumping out of the car I was hit by the most chilling wind I have ever felt. It cut like a knife through clothes and chilled you instantly. And on top of that, it was super strong. Never the less, I was determined to fly. (more…)
-
FPV Manuals Tricopter build log now complete
It’s ready!

The FPV Manuals Tricopter is ready for it’s first flight.
Click here to get to the build log -
FPV Manuals Tricopter build log update
Update time!
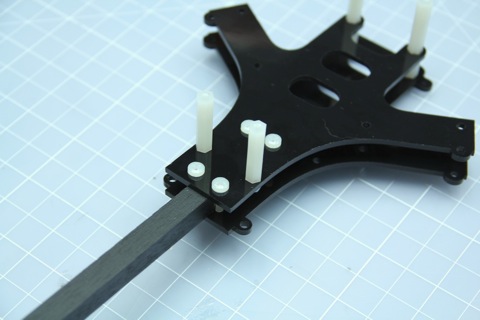
The FPV Manuals Tricopter build log is moving along at a steady pace.
Check out the build log -
FPV Manuals Tricopter build log
My friend Tim Nilson, the owner of fpvmanuals.com, has created a tricopter kit based on my design.

He sent me a kit to try out. Here is the first part of the build log -
Chat log from 29/1 -12
Another chat has passed. The turnout this time was a lot more manageable. Around 20 people turned up an I felt I could keep up with the questions. A big thanks to all that took the time to chat and I hope in return that you all got answers to the questions you had.
For those of you that missed the chat but still want to know what was discussed, here is the entire chat log: (more…)